
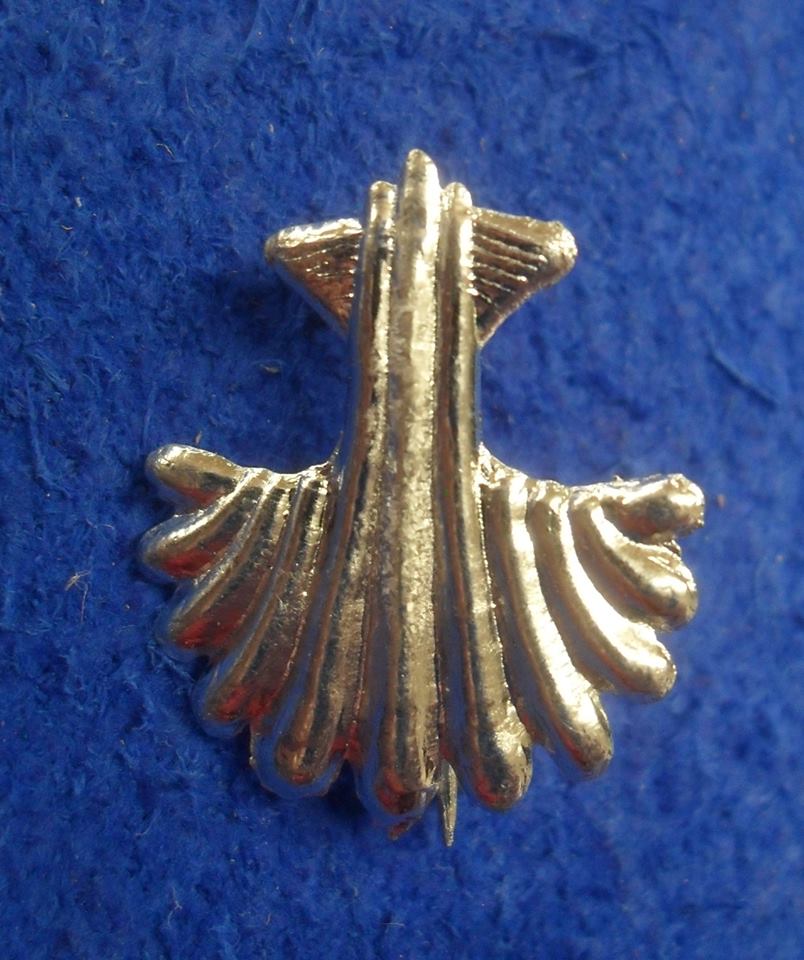
Santiago de Compostela. Compostella. St James. Iago. Jacob
Santiago de Compostela. Compostella. St James. Iago. Jacob
w
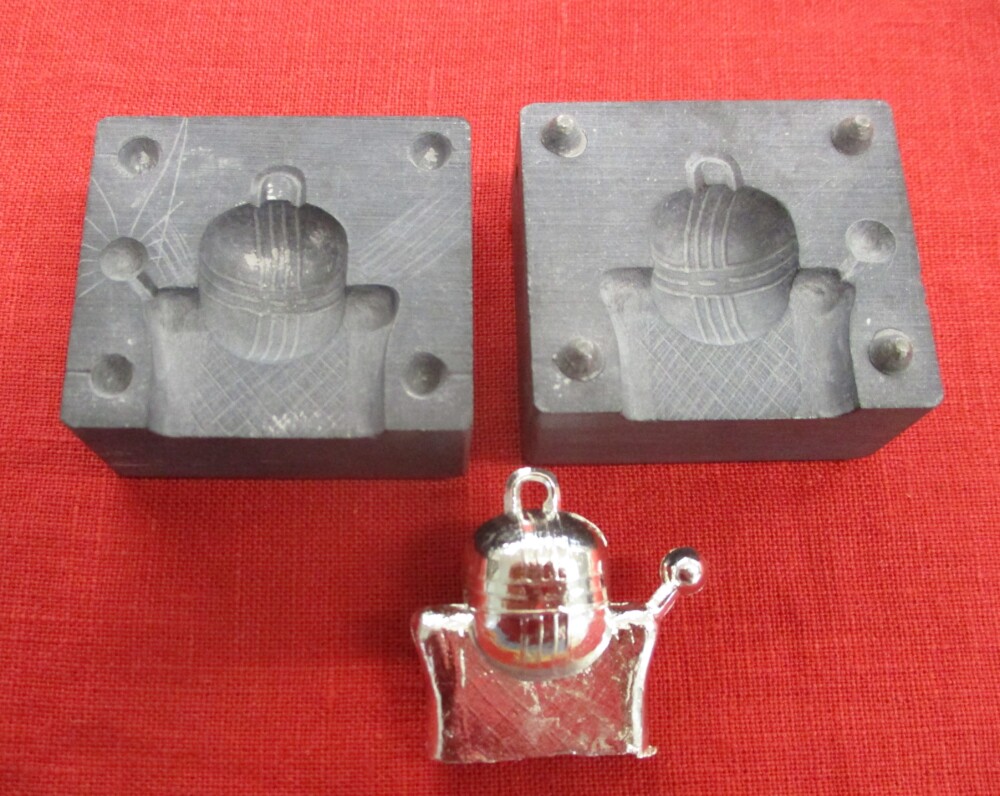
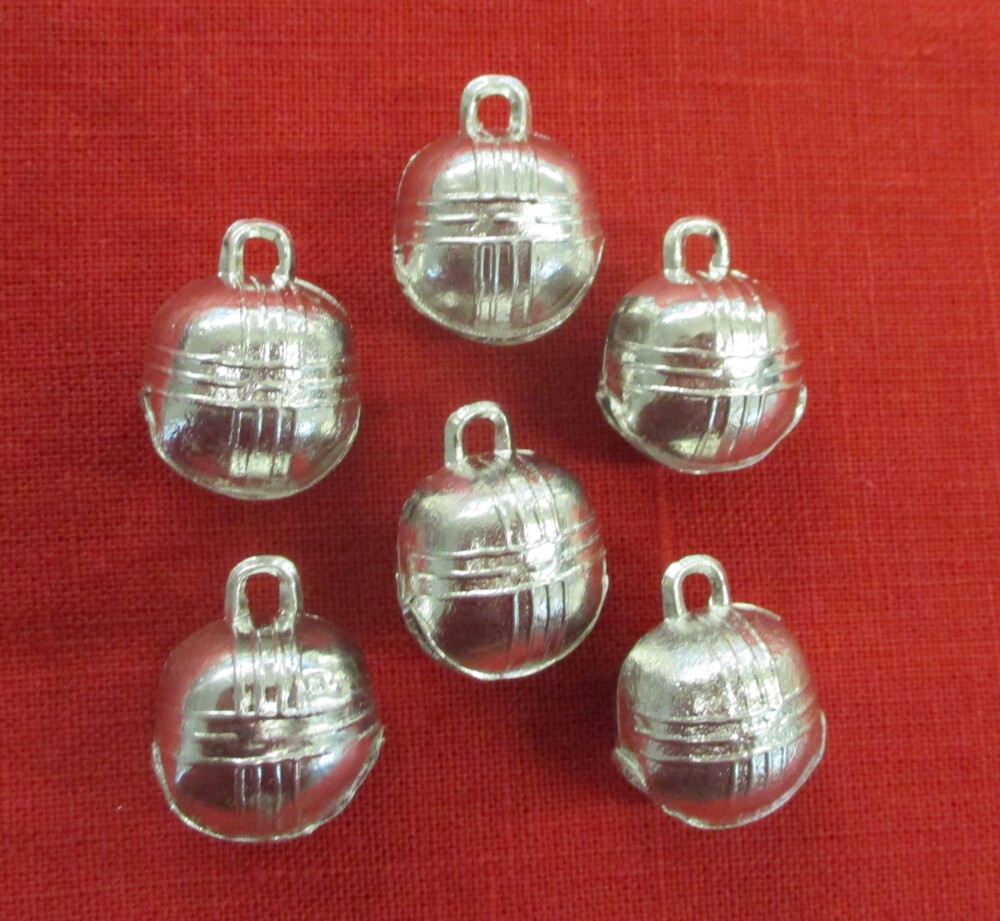
We have been wanting to make a larger, round, slush-cast bell. (Are you new to slush-casting? See the very end of this post for a brief explanation – then come back to the top!) Mac worked on the project off and on for several years. There are similar bells from London, Valenciennes, and the Netherlands. There are also (almost) two 13th-century molds (with both mold halves present) for casting them. Why almost? One of the molds has been lost, but sometime before that happened, the owner cast it, so a record of the cavity remains.
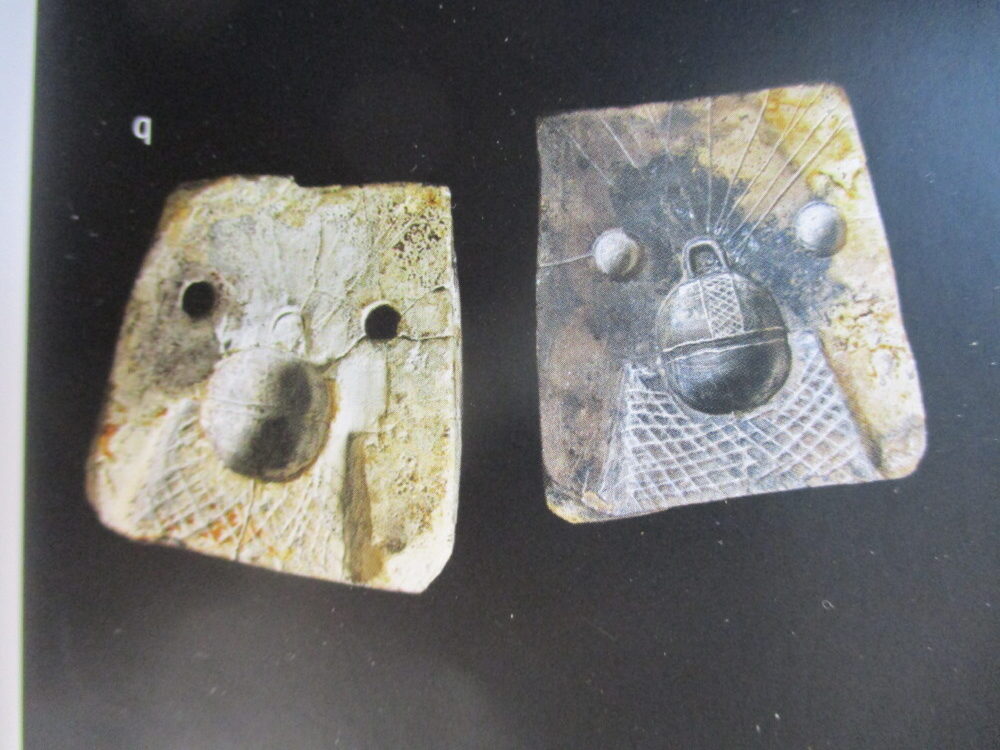
The mold on the left was found in Rostock, Germany (published in Berger, 2020, vol. 1, p.136). The lead casting in the middle was made of a mold found in the area of the medieval market and artisan quarters in Rocamadour (Rocacher, J. 1980. Les mouliers de Rocamadour. Bulletin de la Societé des Études de Lot, October–December. 284–92.) On the right, our mold.
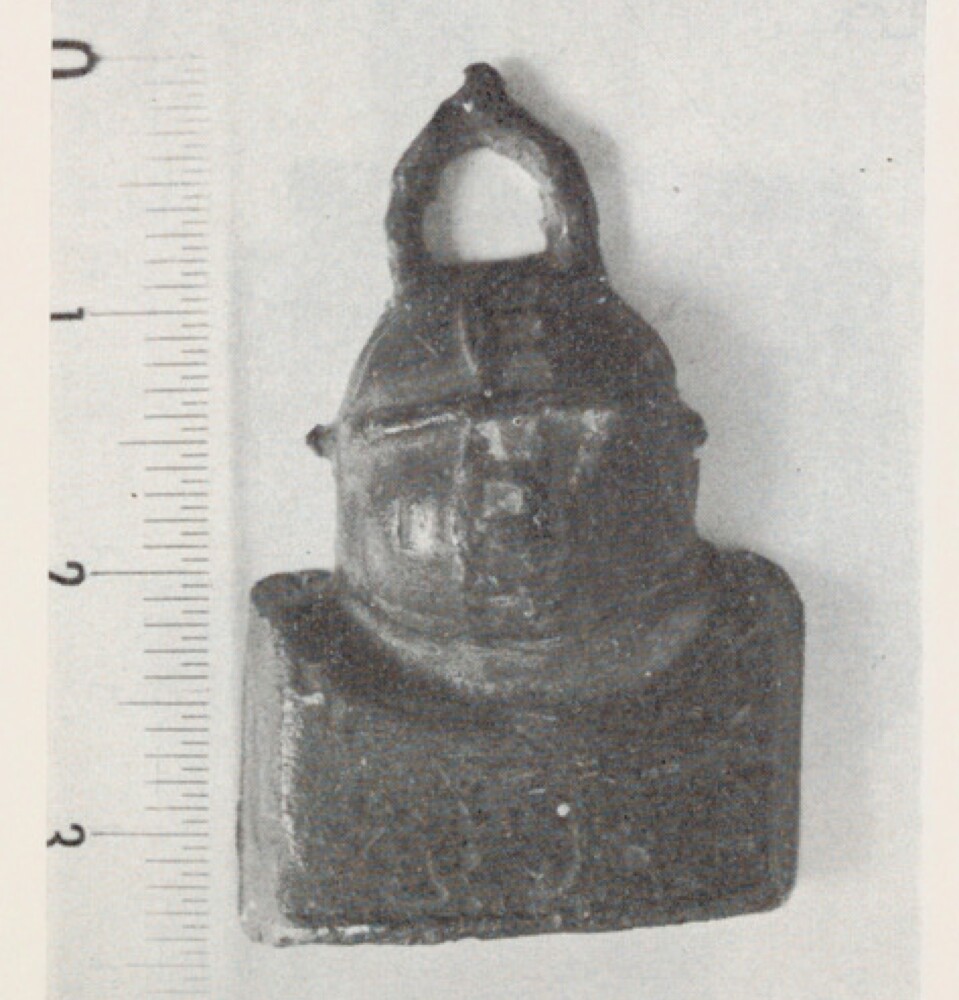
We only knew the Rocamadour casting at first and it misled us into thinking that the mold had a core – a carefully fitted piece of wood, for example, that held the bottom of the bell open. We imagined that the tin was poured into the loop and thence the bell while the core was in place, then the core withdrawn to drain the still-molten center of the casting. This was wrong – it was impossible to get enough metal through the loop and, although we do have molds that fill at one end and drain from the other (the horn whistle, the toy ewer, and the hollow domed button), it didn’t work here.
The mold from Rostock makes it clear that the square opening is the gate for both filling and emptying the mold. The shape leaves a opening of even width once the gate is cut away, and the bell can then be cleaned up and finished. Mac’s final mold (the earlier ones were altered beyond recognition in experimentation) works the same way. It casts the “pea” at the same time.
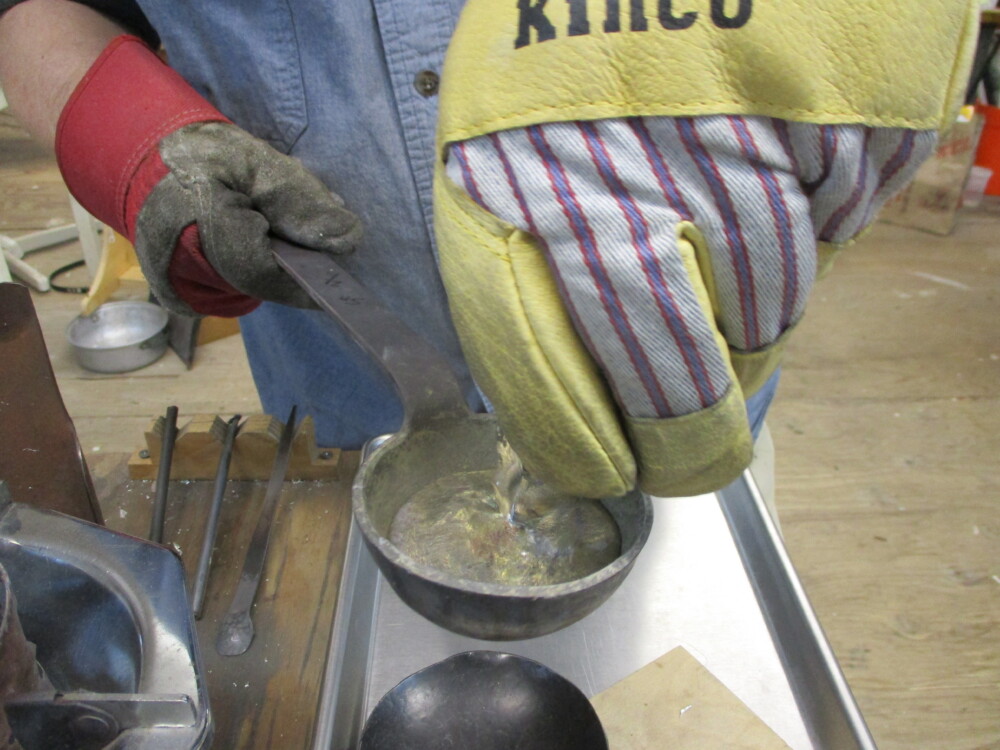
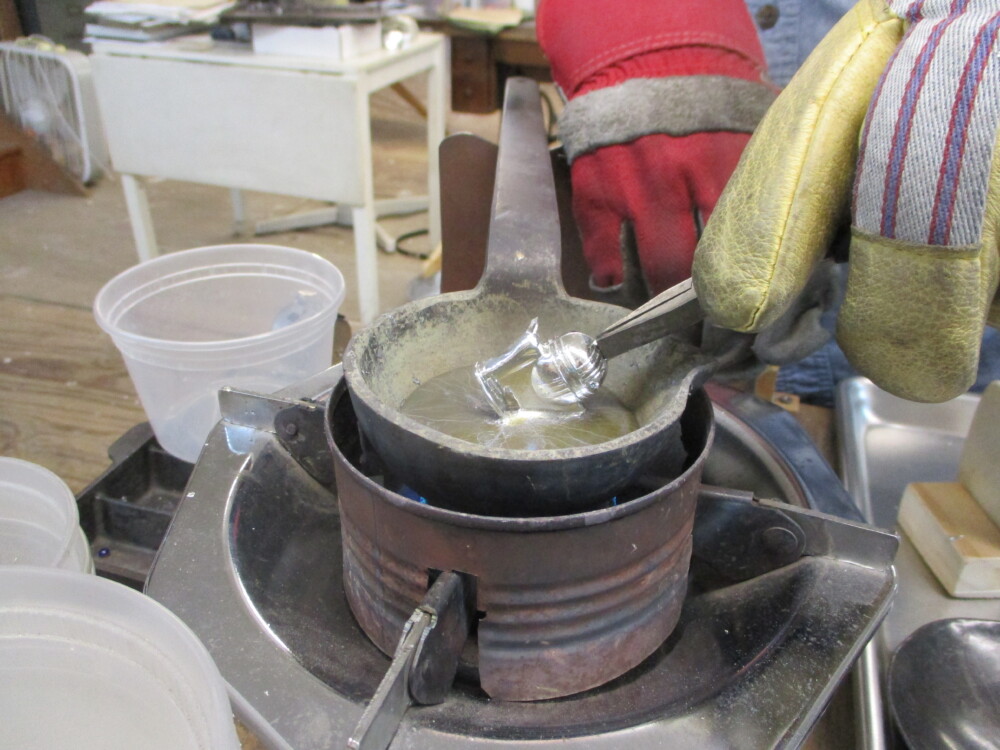
To pour the bell, we fill the mold to the top with pure tin. After a short length of time (Mac counts seconds, depending on the temperatures of the metal and the mold, and also sloshes the metal back and forth to see whether the shell is forming) he pours back the still molten metal from the center of the bell.


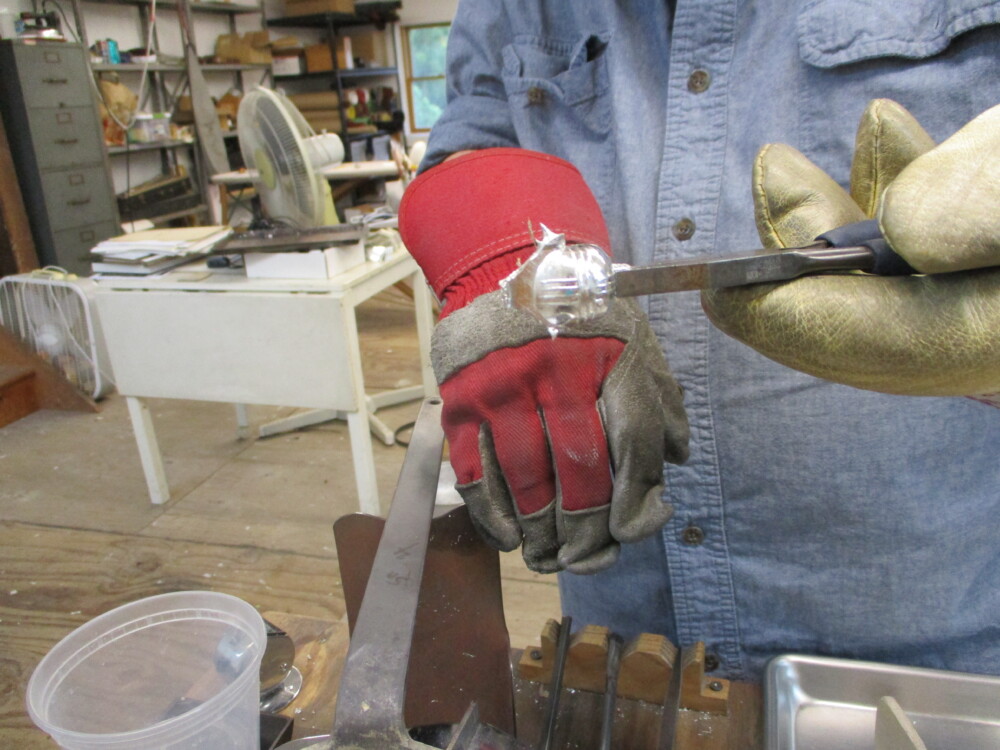
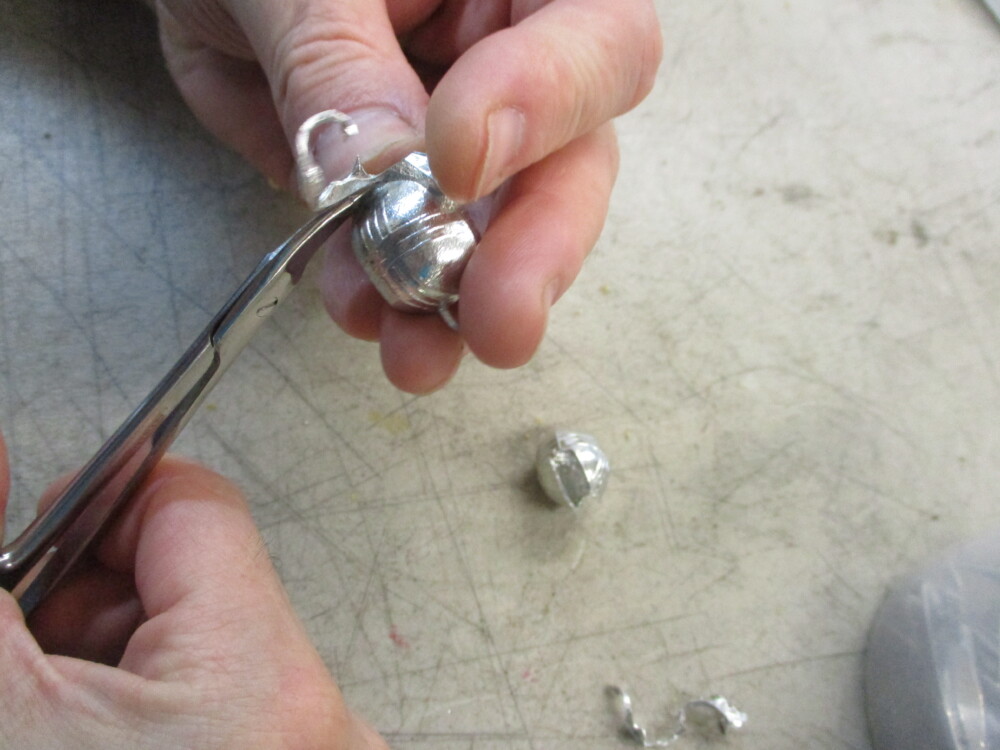
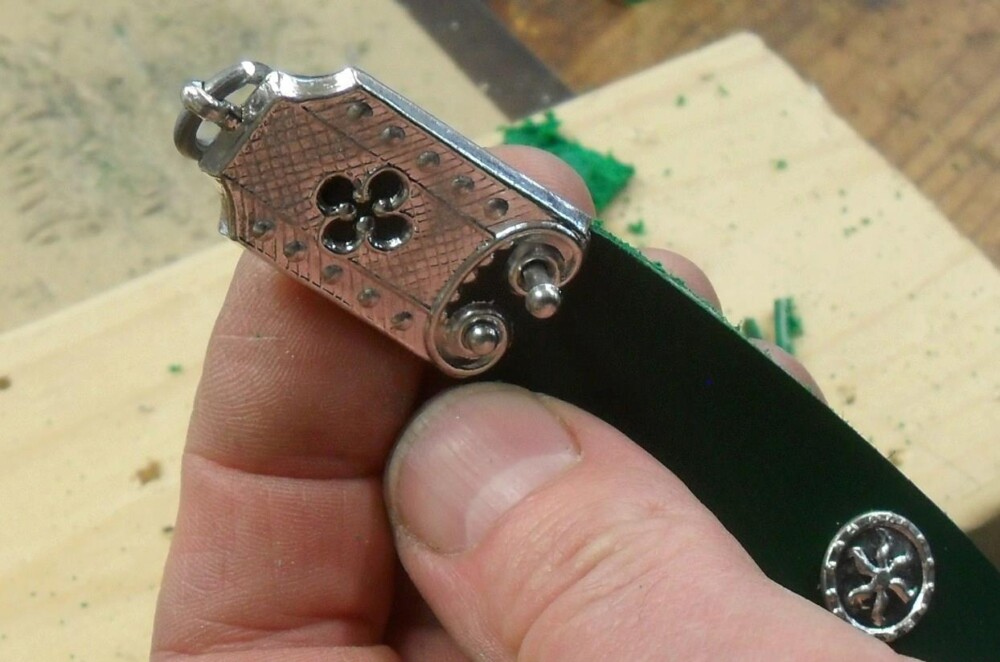
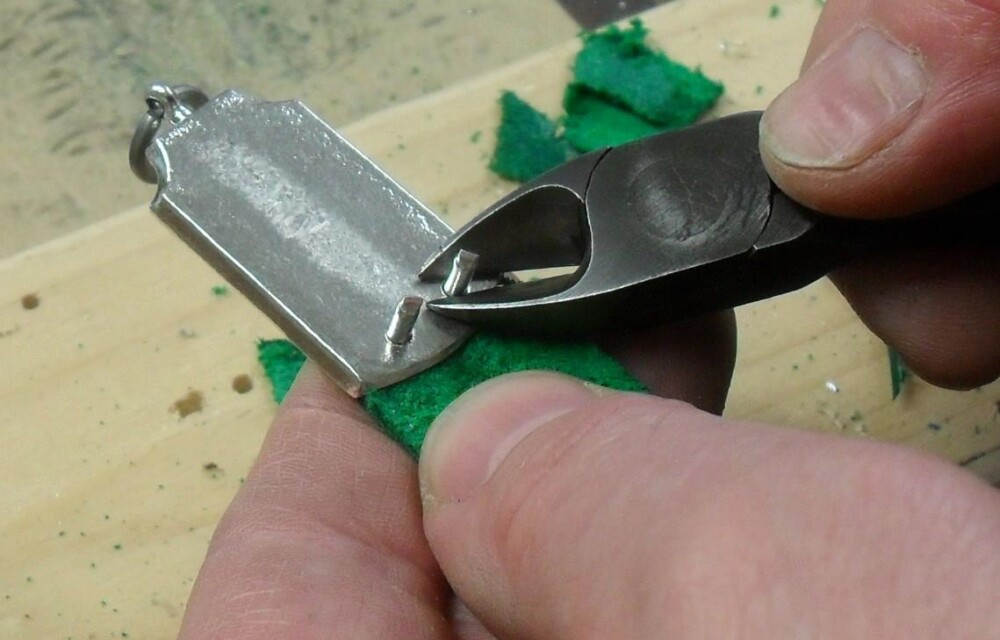
The bell comes out with a square, hollow sprue. The sprue in the middle photo is unusually baroque. We clip the “peas” off.


We melt the excess sprue back into the metal in the casting ladle. We think a hot iron is probably a more authentic means of removal, but that is not convenient in our studio.
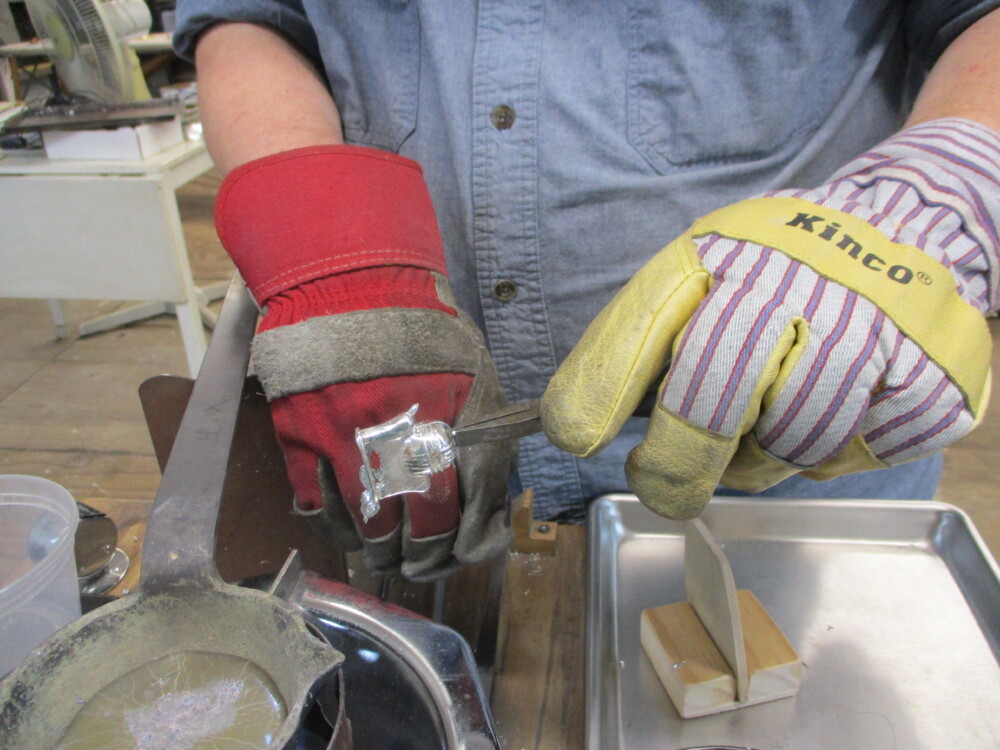
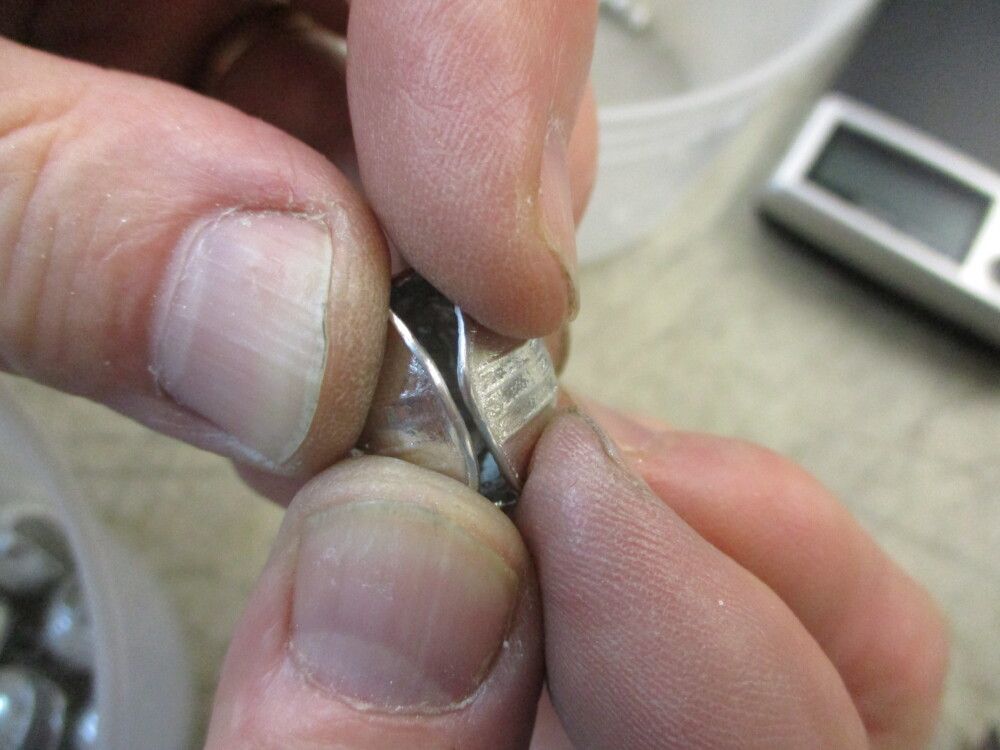
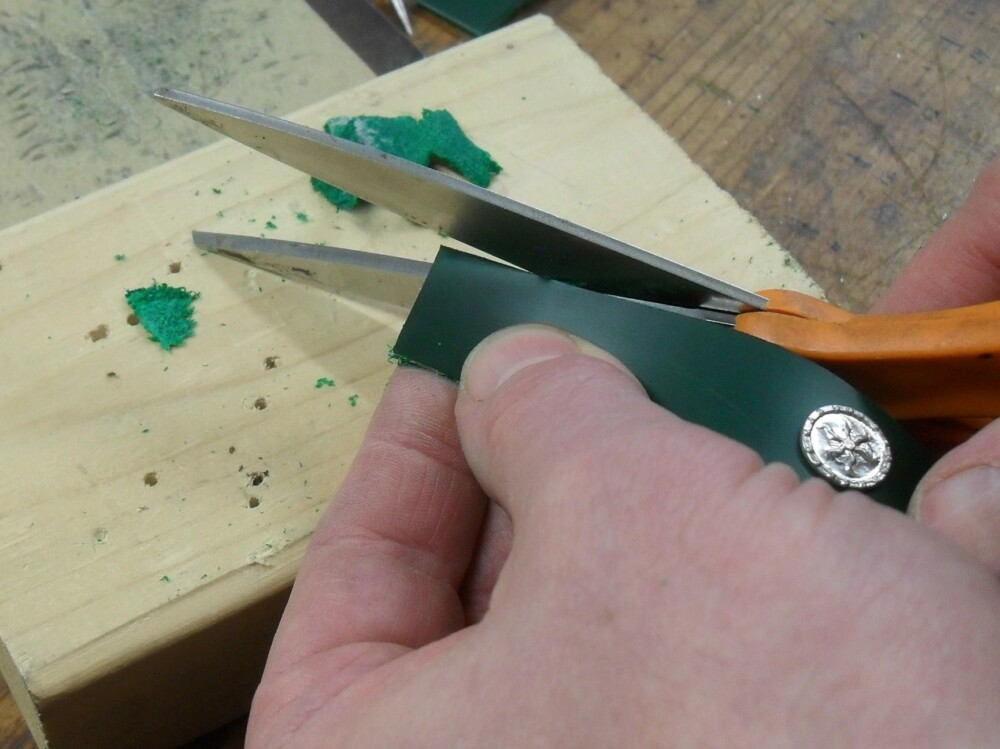
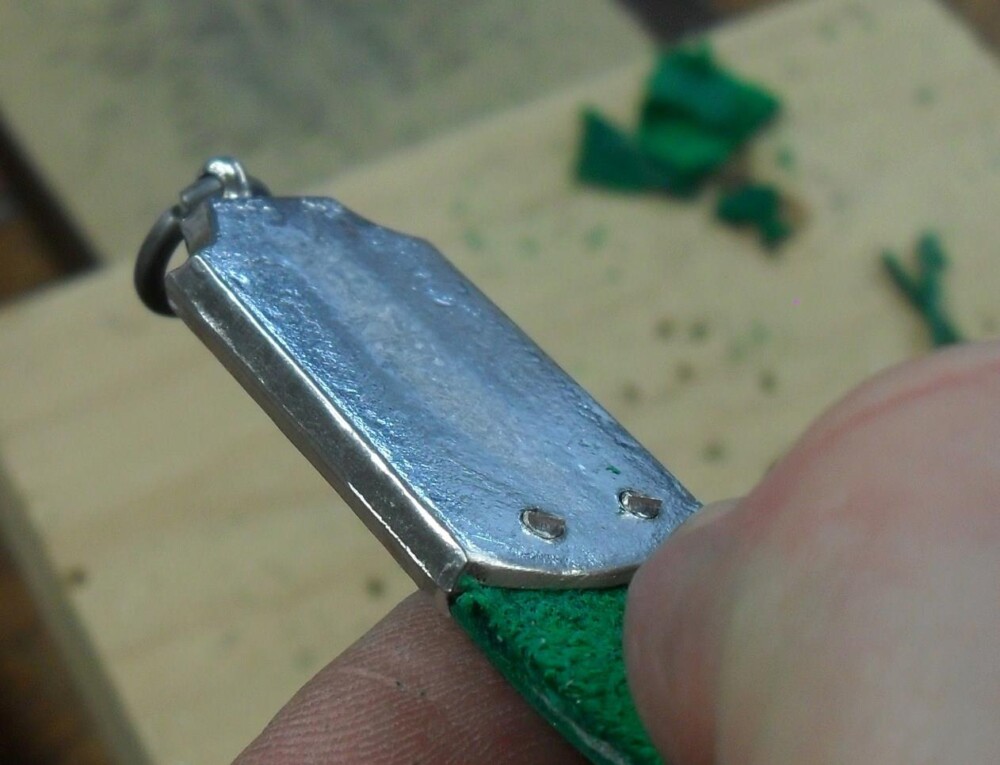
We trim along both sides of the bell to remove the sprue.


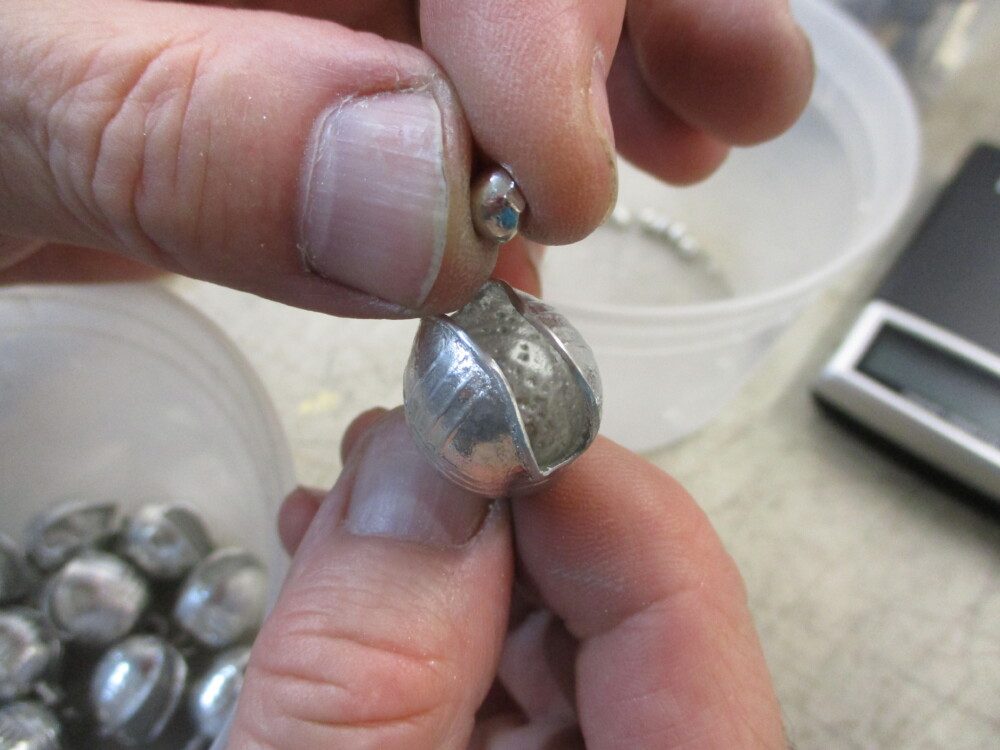
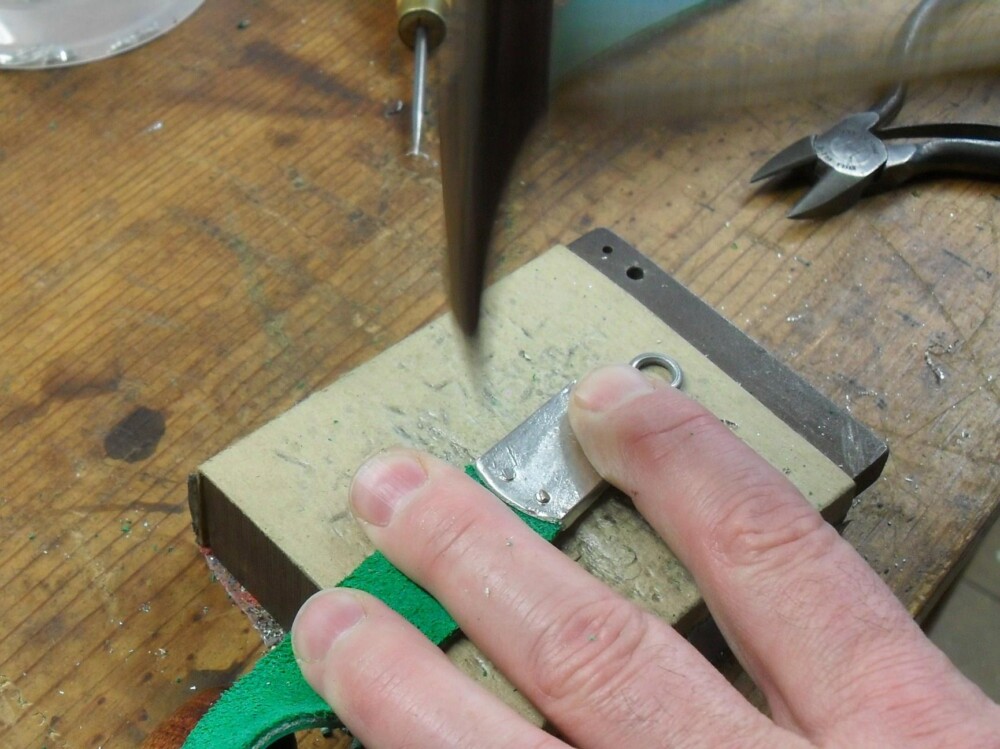
After a quick trip across the grinder (not illustrated), we drop a pea in each bell and squeeze it closed. The completed weight of the bells ranges between ~.29 and .37 ounces/8.25 and 10.5 grams (from a quick weighing of about a dozen sample bells).
Slush casting is used to make hollow objects – ampullae, whistles, toy cooking pots, three-dimensional figures. We have about two dozen items made this way. The molds have large openings and you pour the metal in, wait for it to become solid around the edges, then pour out the metal that is still liquid, leaving a shell. Often there is one gate, which you pour both in and out of. Sometimes there is a gate to fill the mold, and a different gate to empty it. We made a video of Mac pouring the toy cooking pot with lid that shows the process – check it out on Youtube!
Slush casting only works when the metal has a distinct melting point – it is liquid or it is solid. Pure lead and pure tin were the metals used in the Middle Ages to make this sort of object. We, of course, stick with tin. Alloys do not slush-cast well. The various melting points of the different metals in an alloy mean that over large temperature ranges the alloy is not either liquid or solid, but is sort of like grainy, wet sand – and it will not empty the mold.
Are you leveling up your appearance with a new belt? We have useful advice on how to make it successfully the first time! This tutorial shows you how we cut the leather, attach buckles, attach chapes, install eyelets, and put in studs. Enjoy – and do write us at billy@billyandcharlie.com if you have a question! We will answer you and improve this post if we see where we should explain something better.
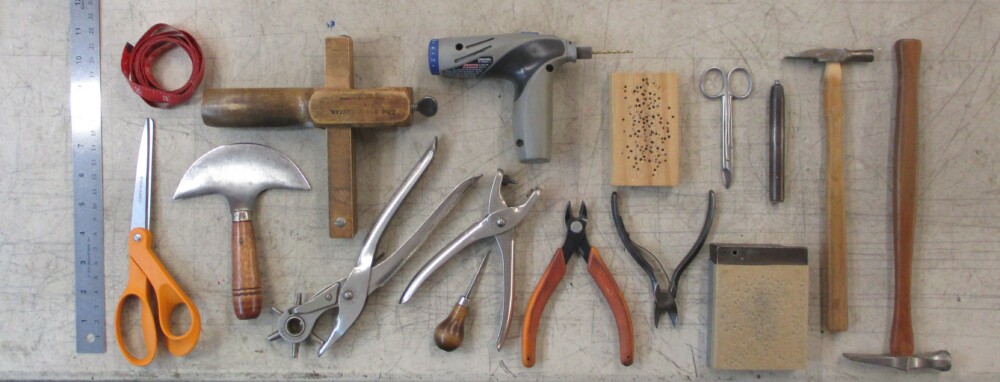
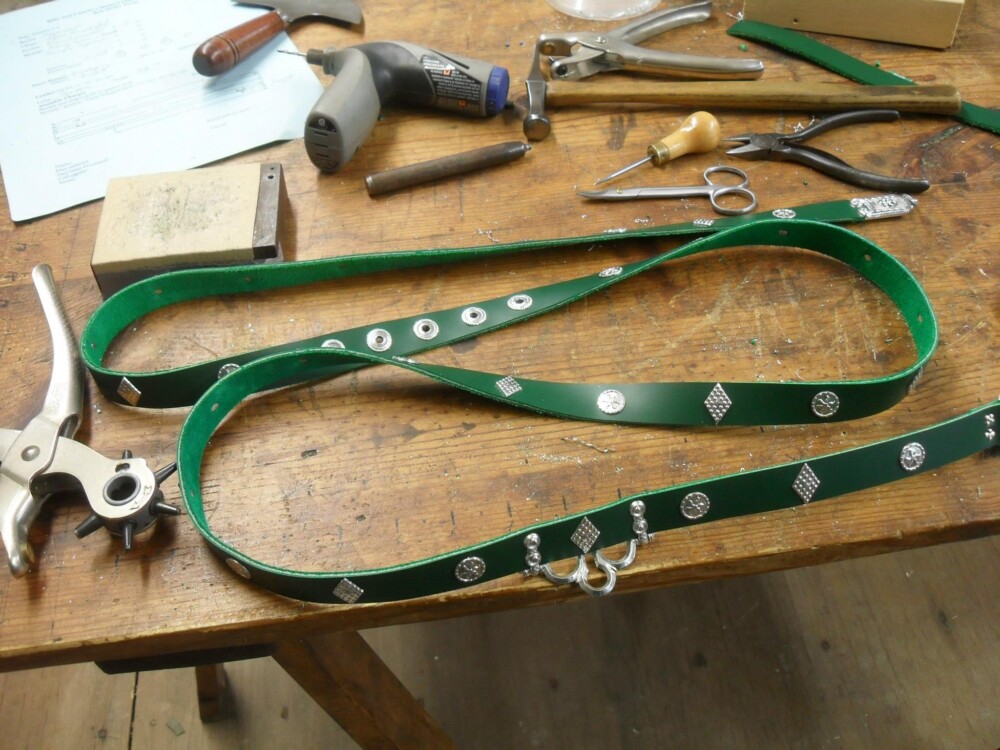
These are the tools we use when making a belt. You may not need all of them and you can substitute/make do for some. From left to right: Ruler, tape measure, scissors, head knife, strap cutter, rotary leather punch, small leather punch, awl, drill, wooden block to drill into, two sorts of rivet cutters (you only need one), fingernail scissors, rivet setter, anvil, cross peen hammer (two examples: the one on the left is the sort you can readily buy at a jewelers supply).
Notes:
Our rivets fit in holes drilled with a 3/32″ (2.4 mm) drill bit.
Your anvil can be any piece of heavy steel. You should pad it with a piece of cardboard like that on the back of a pad of paper or a notebook cover. Do not use leather or corrugated cardboard as a cushion – they are too soft and many buckles and studs will deform in riveting.
Because we make a lot of belts, we use a standard form to make sure we don’t forget anything. When you make your belt, you should plan it entirely before you even cut the leather – how far the eyelets will be from the buckle, how long a tail you will have, the spacing of any studs. If it is at all complex, we recommend working it out on a large piece of paper at full scale ahead of time.
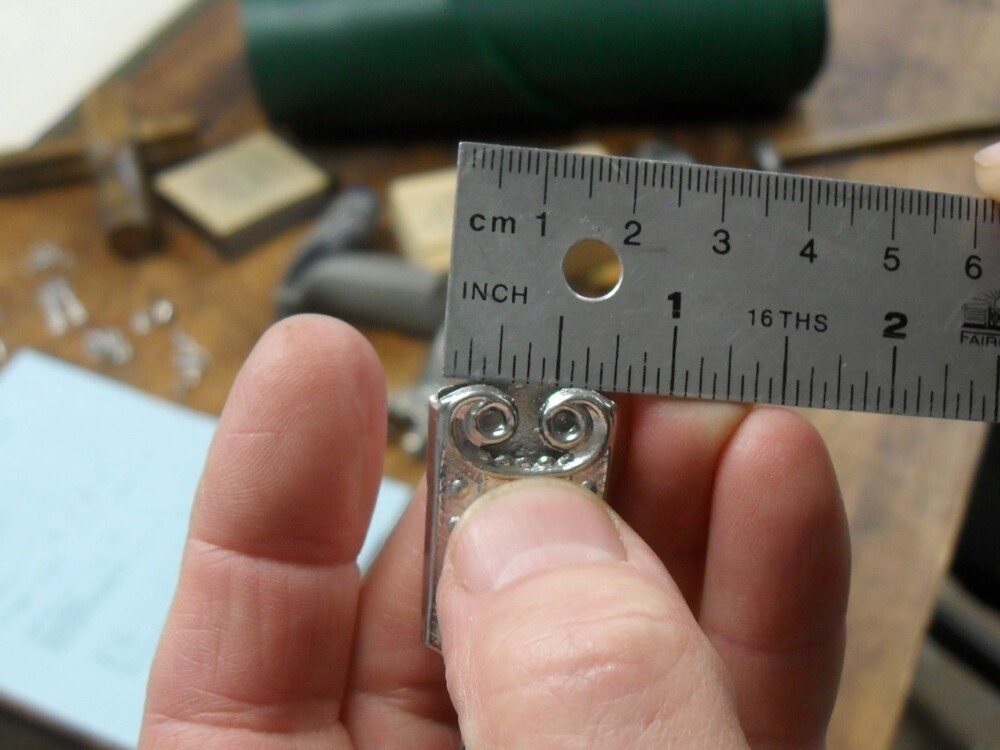
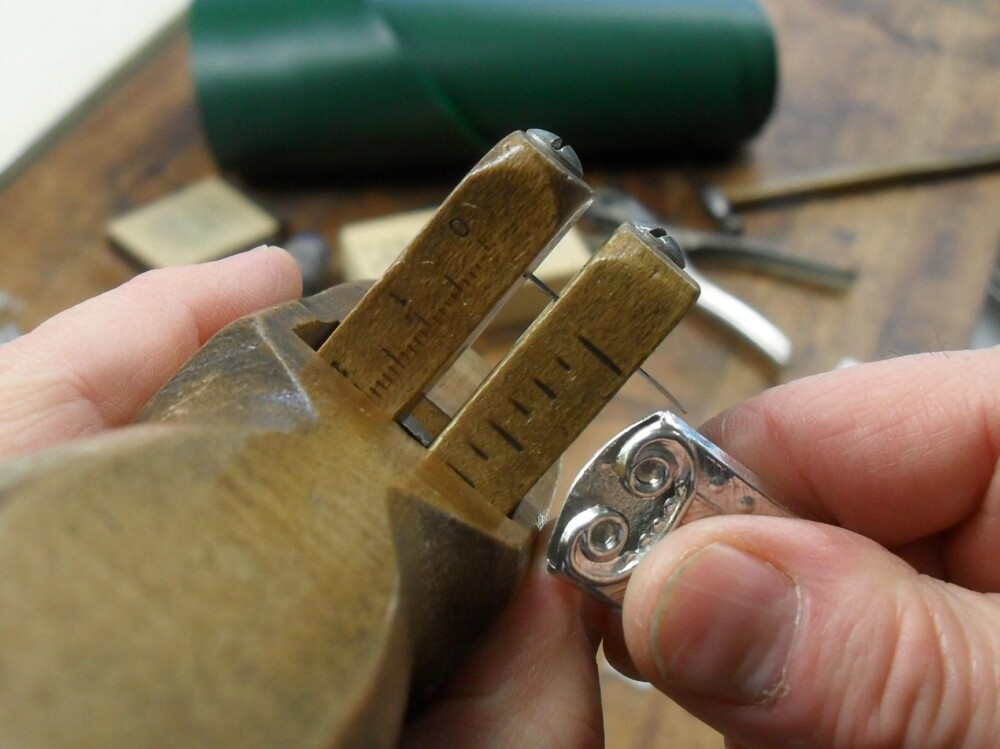
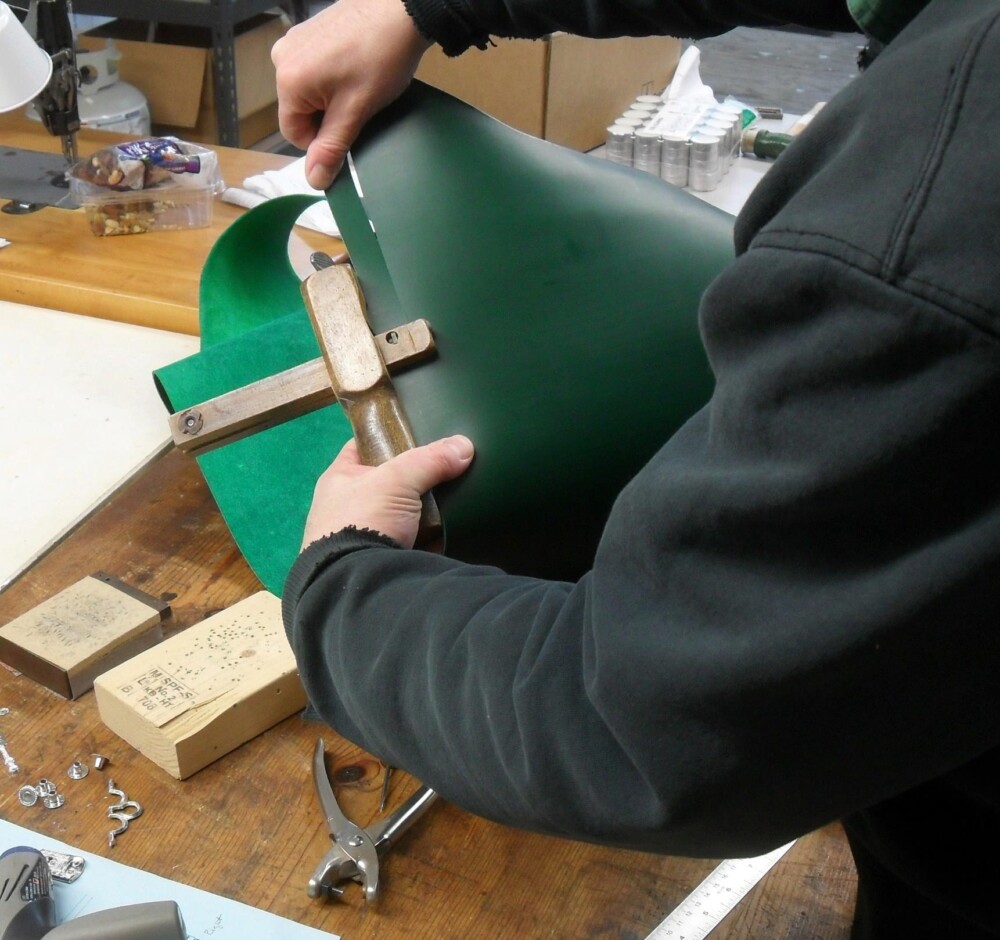
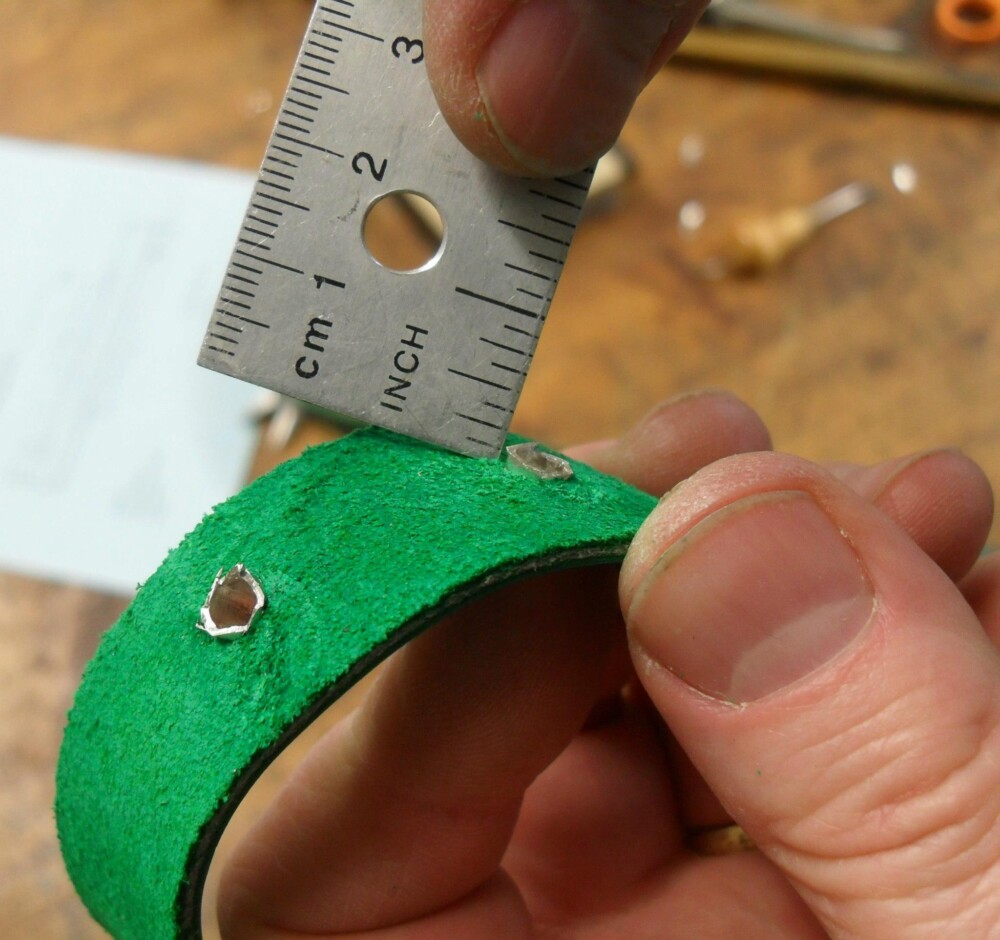
We measure the strap width…..
….and measure it a second time against the strap cutter……
…. because we only want to cut once. All of our buckles and chapes have information on the product page about the width of strap they take, but it is best to check physically to get the precise measurement.
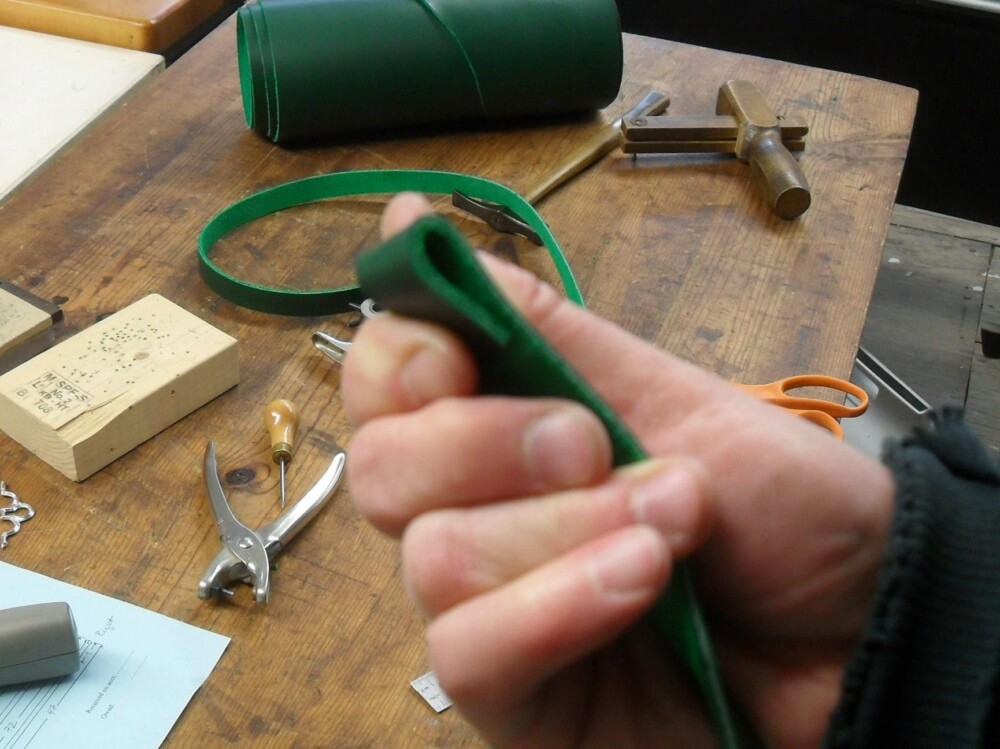
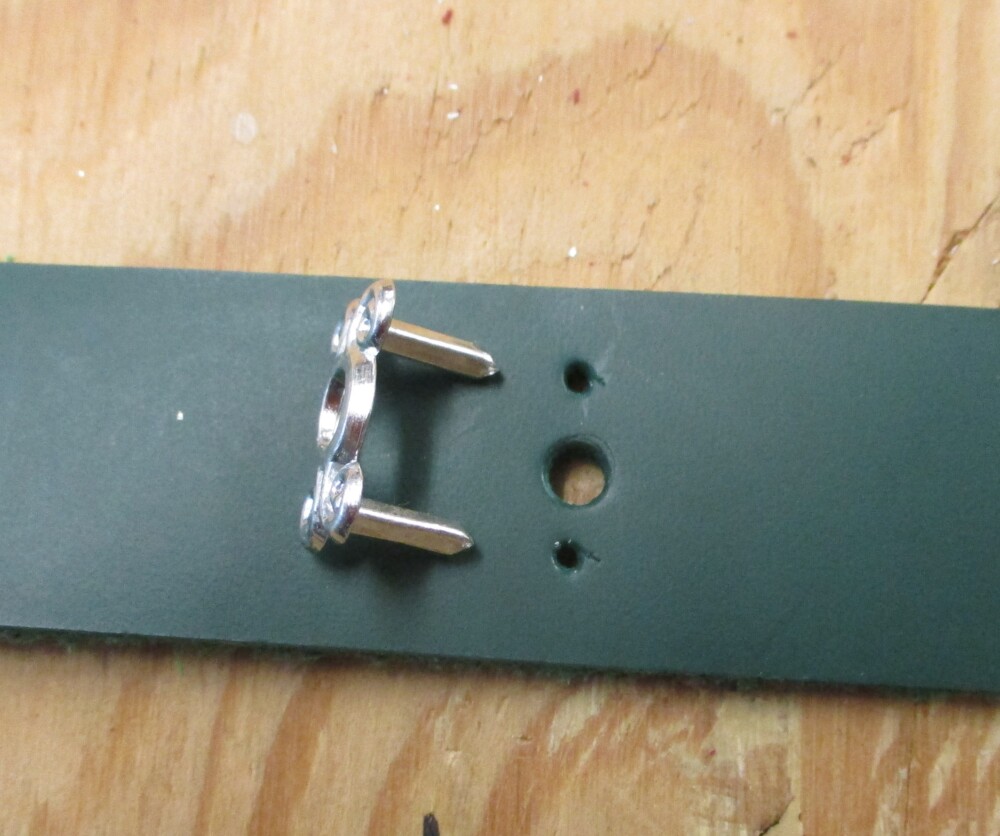
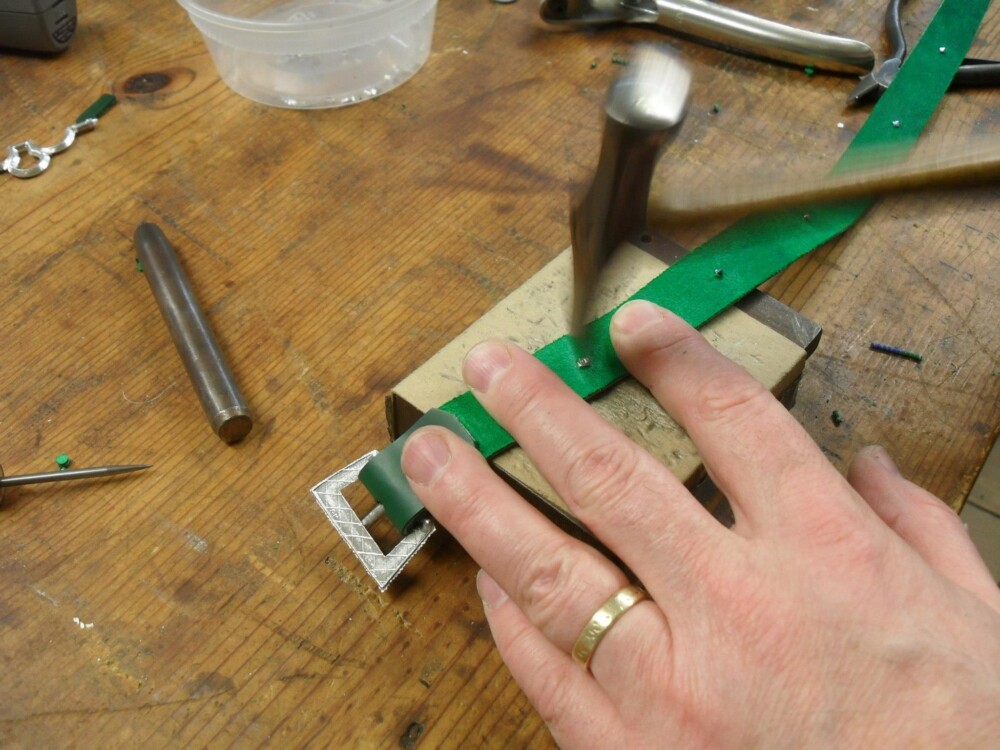
Attaching the buckle. Mac nicks off the corners of the strap so it will be neat. For this buckle, the strap is going to loop through…
… at the point where Mac is folding the leather. (Buckles that have openings the strap plugs into are installed like the chape shown below.)
Our buckles and chapes are sized like medieval originals, so the leather that fits them is lighter than the heavy leather you may see people using for belts – 5 or 6 or 7 ounce, which translates to 3/32″ to 1/8″ thick (2.4-2.8 mm). If you have a leather that is too heavy you can thin it out with a splitter if you have one. (This is not shown, because we do not stock very heavy leather and it is not part of our normal procedure.)
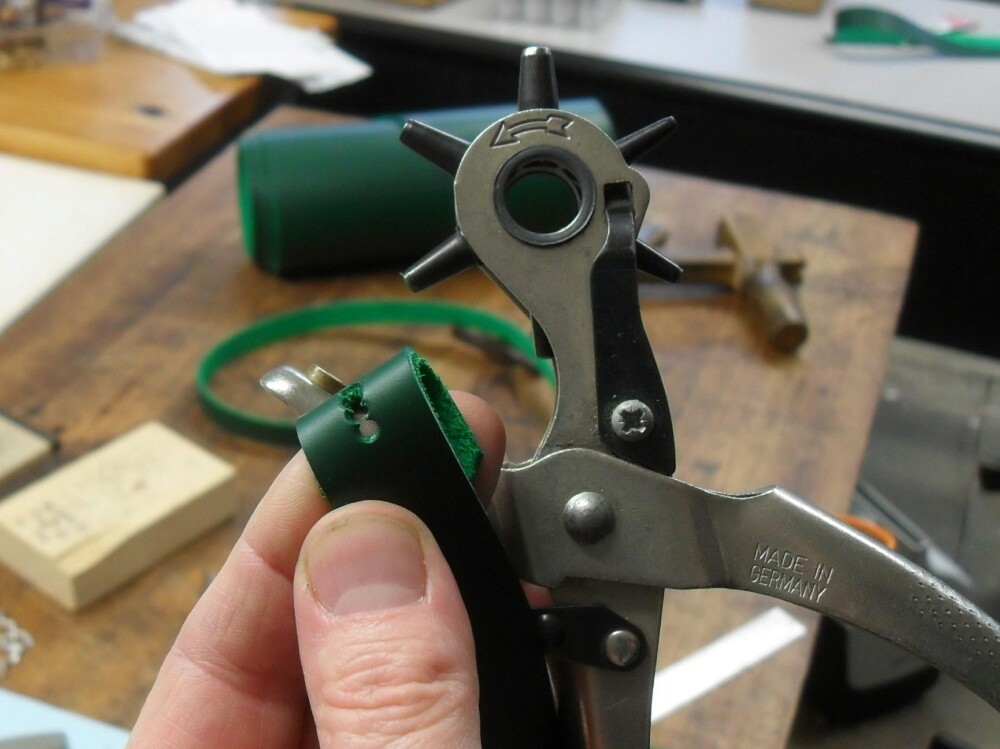
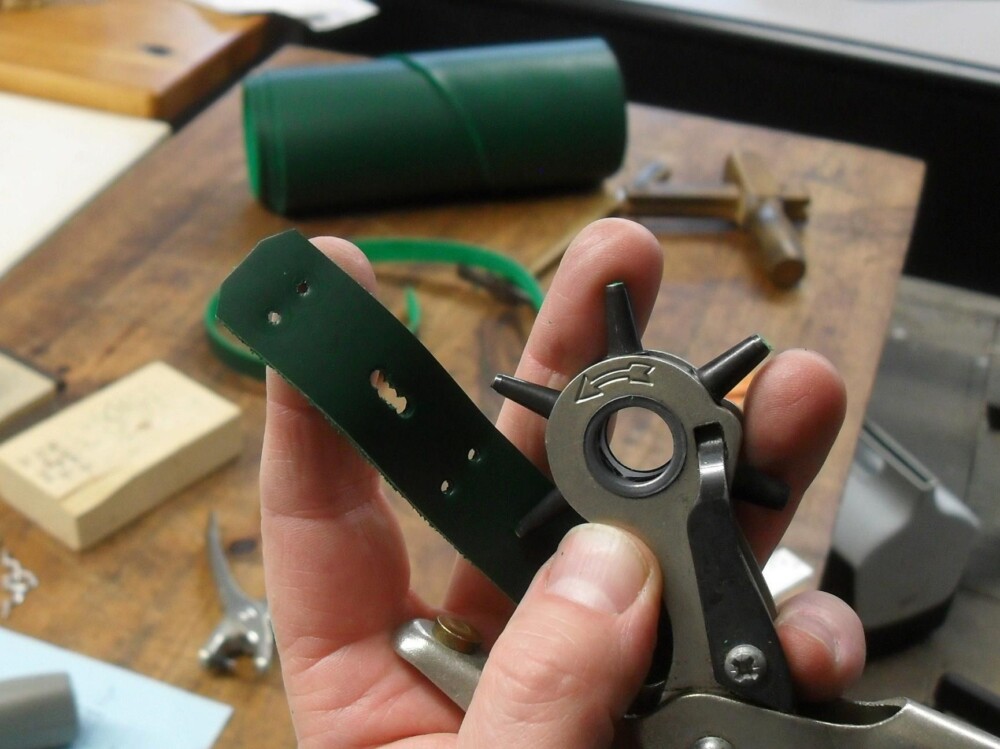
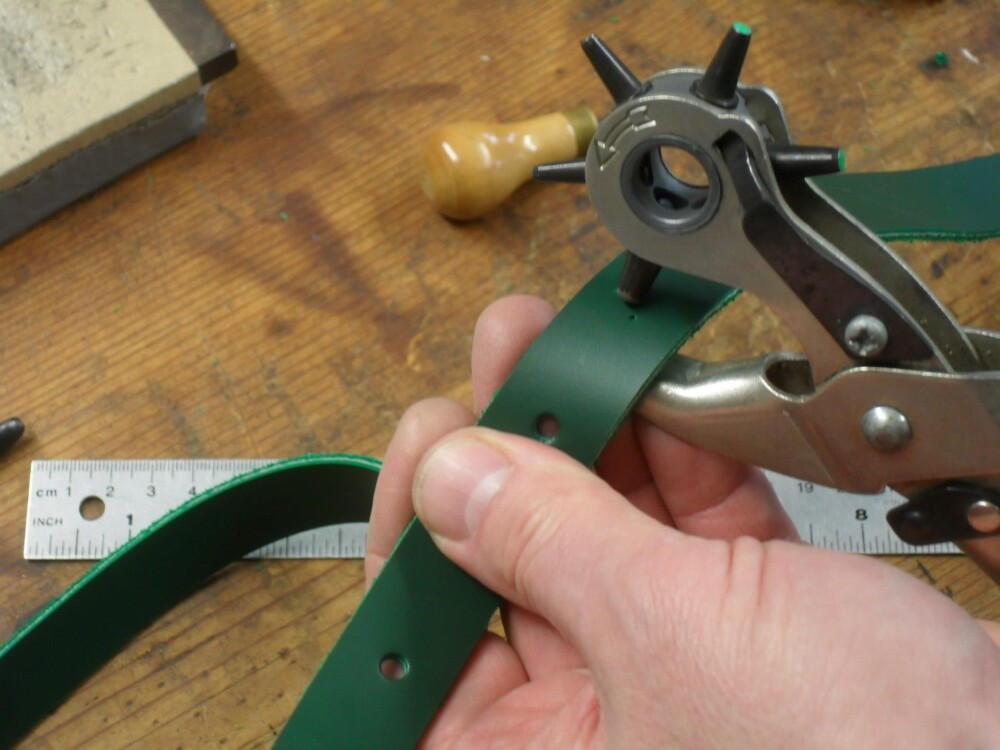
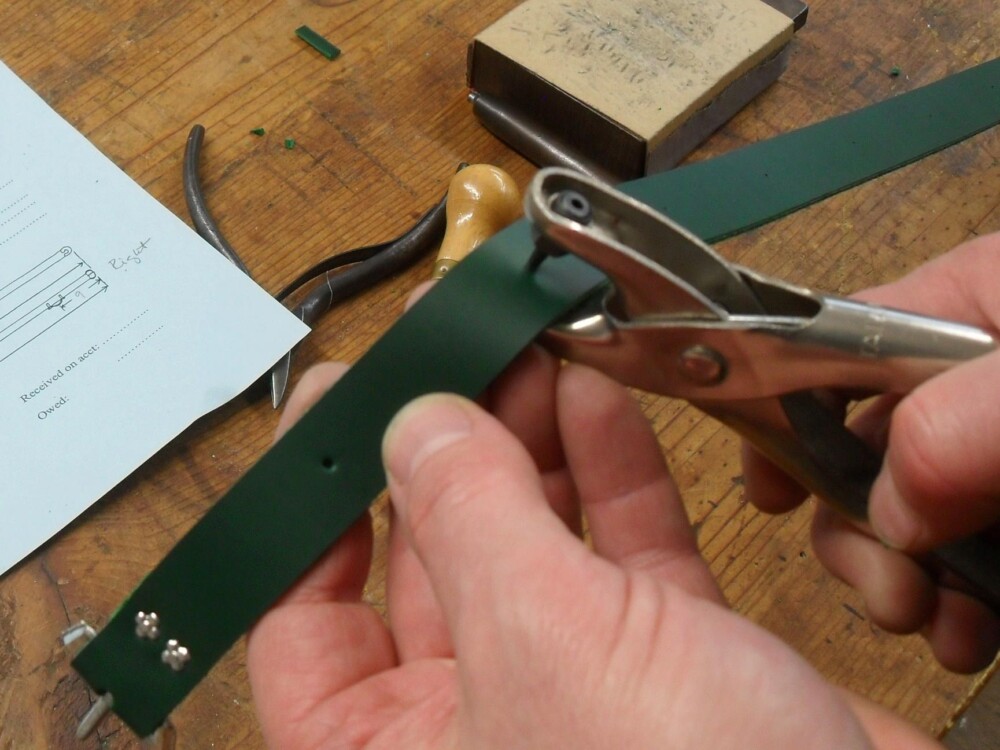
We use a rotary leather punch to make the hole the buckle tongue will go through, and extend the hole with additional punch “bites” along the top of the strap, so the tongue can move freely in the slot. If you have specialized leather-working tools, you may have a slot punch that cuts out a long straight sided hole, but you can make do with just a rotary punch as we do.
While the strap was folded, Mac punched the holes for the rivets also, using the small leather punch. These must be small enough that the rivet has to be pushed pretty hard to fit in. Use an awl if your punch is too large.
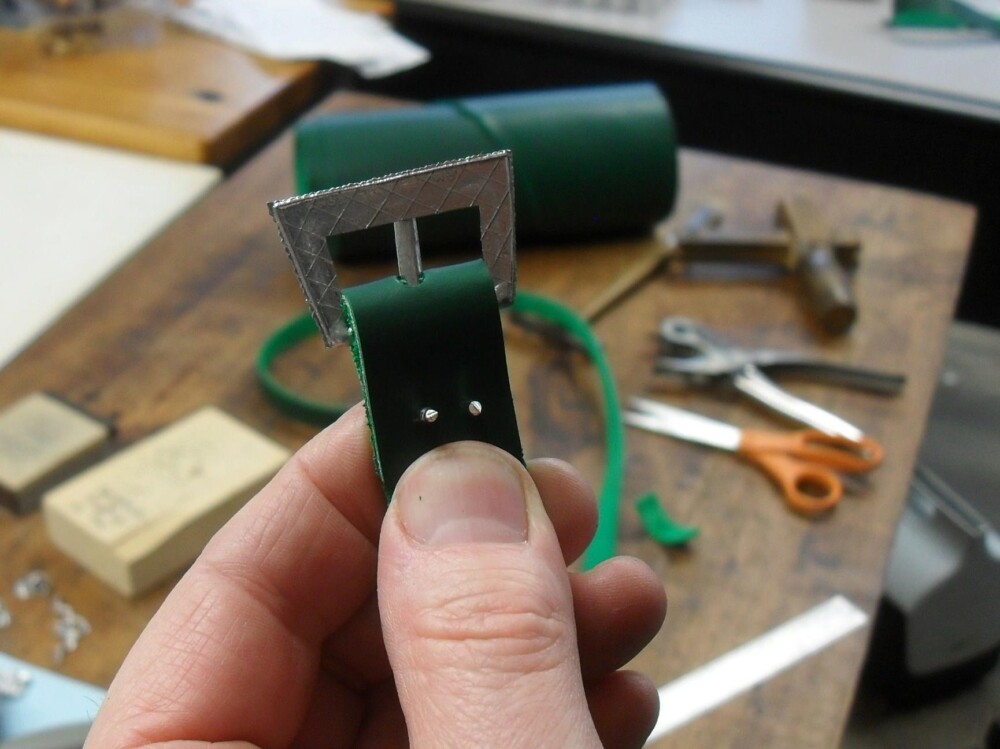
The rivets put through the holes.
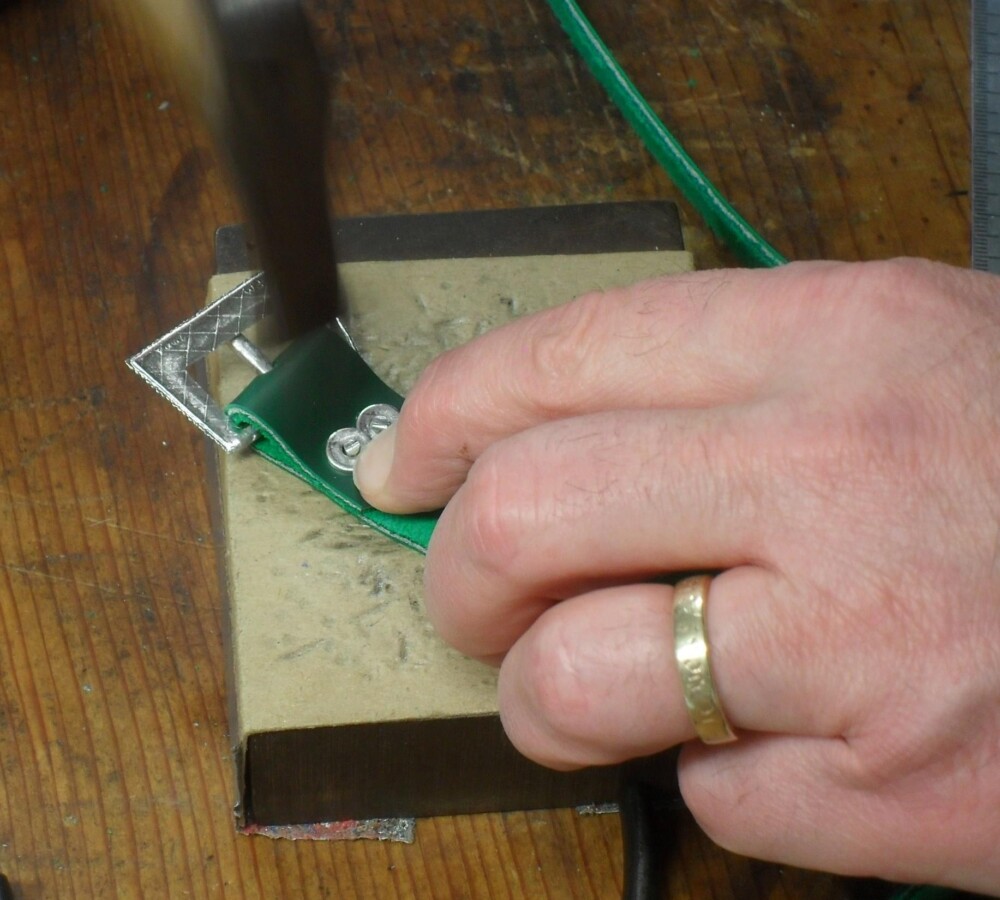
The heads of these rivets are larger than the holes we punched for them, but they need something broad on the back also to be strong, so we use washers/roves to peen them up against. The rivet is cut quite short, then peened up with a riveting hammer and a dozen or twenty little taps. For a more complete description of how to spread the metal of the rivet out over the washers, check out either our blog post, Getting Crafty with Billy and Charlie: Belt Studs, or our post Attaching a Nick Rolin Chape.
Buckles with sockets the leather fits into are put on in the same way as chapes – see below.
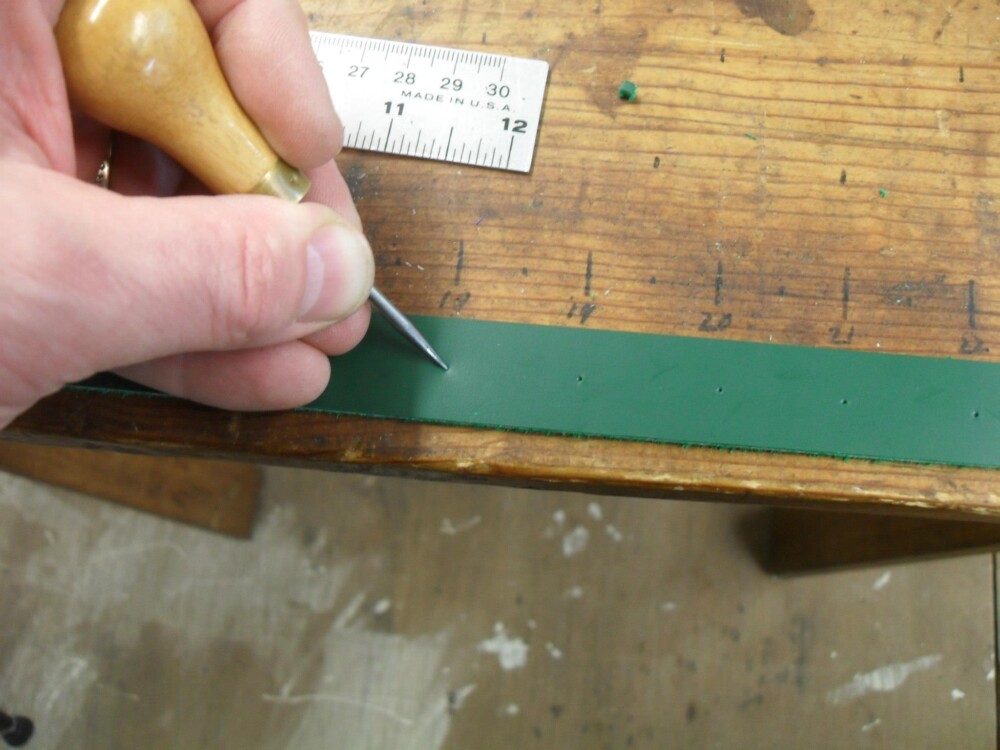
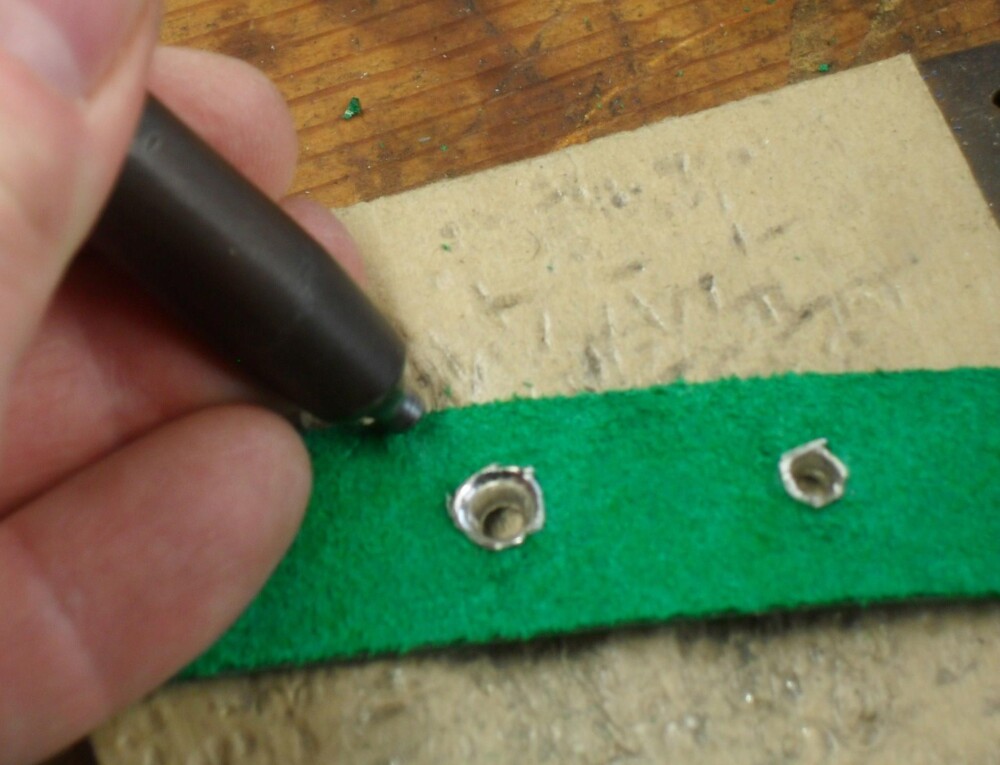
We strongly recommend using eyelets to protect the leather from the tongue of the buckle (and our standard suggestion is to put one eyelet at the length you want to wear the belt and two more to either side). Here we show how to install tube eyelets that pass through the belt and are hammered to spread and smooth them. We recommend you lay out the entire belt first, figure out where the eyelets will go, and install them before you put in the studs. We like one inch (25mm) spacing between the eyelets for belts. We usually use an awl to make light marks where we will punch later, but you can use a pencil or pen, etc.
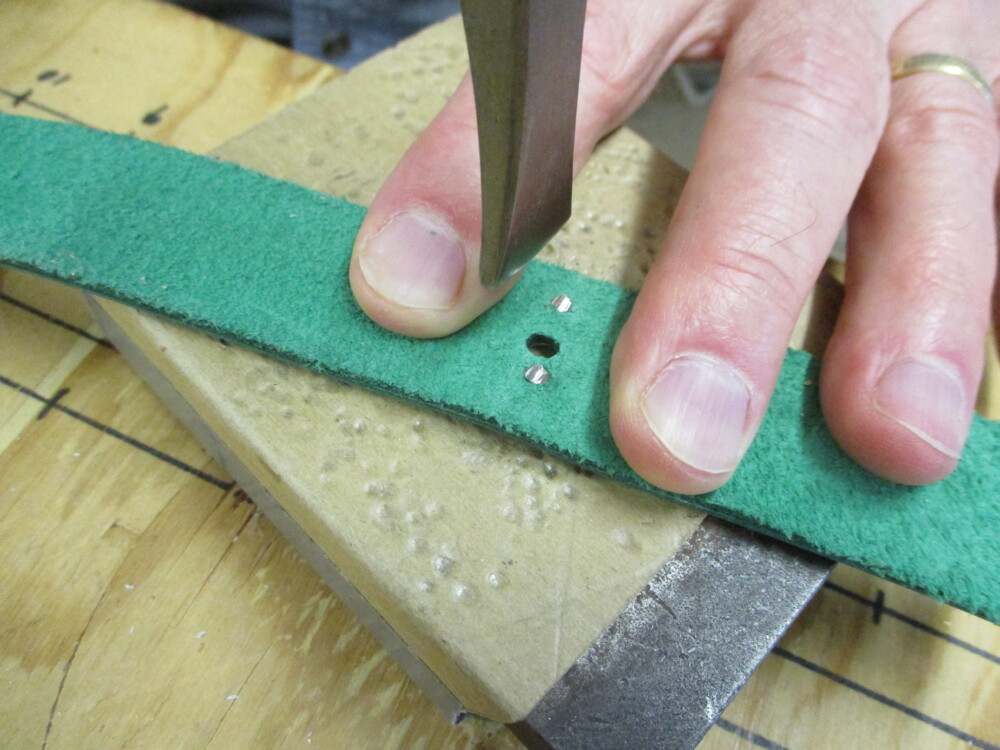
Punch holes for the eyelets. The hole should be just vaguely smaller than the eyelet “tube”…
…. so it needs to be pressed hard to go in.
The tubes are almost always too long to open up neatly…
…. so Mac trims them back. The neater the edge, the better the result will be, and when we are working at home, we usually take the eyelets and strap to a grinder and level the cuts, but a fingernail scissors will do an adequate job. If you are meticulous, you could use a file to level them out.
Very little of the tube should protrude after trimming.
We use a rivet setter to open the eyelet tube and spread it out. You can substitute any rounded steel object that you can hold and tap with a hammer. We have used the ball of a ball peen hammer driven with a leather mallet, and even a center punch. You really just need to get the top of the tube starting to spread open.

Finish spreading and smoothing the eyelet tube with the flat face of a small hammer.
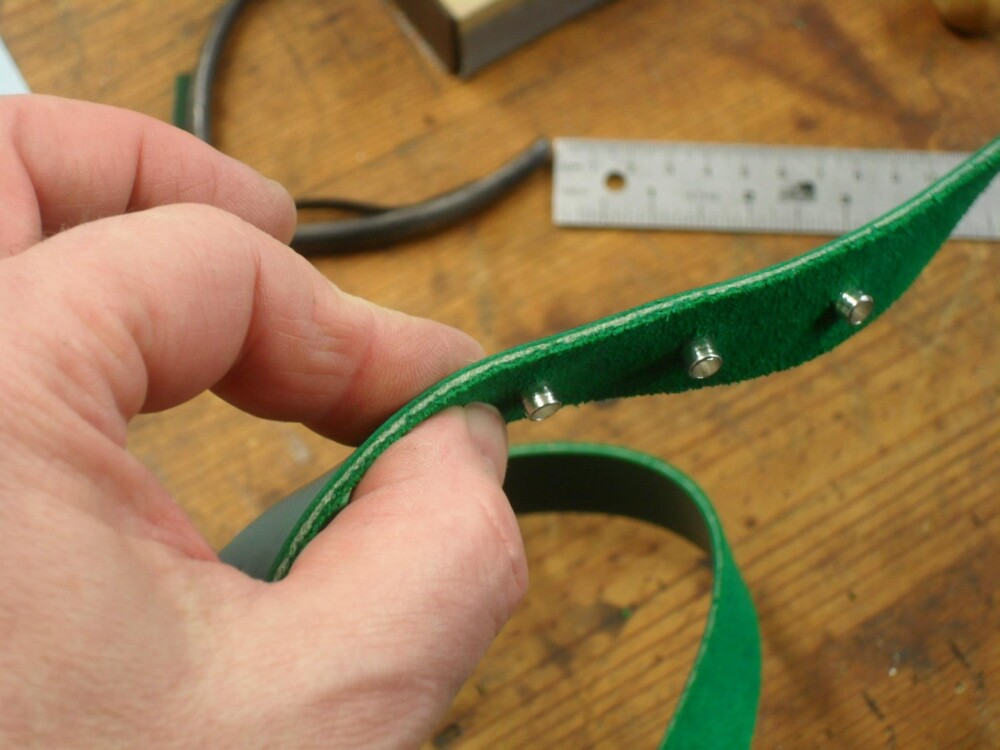
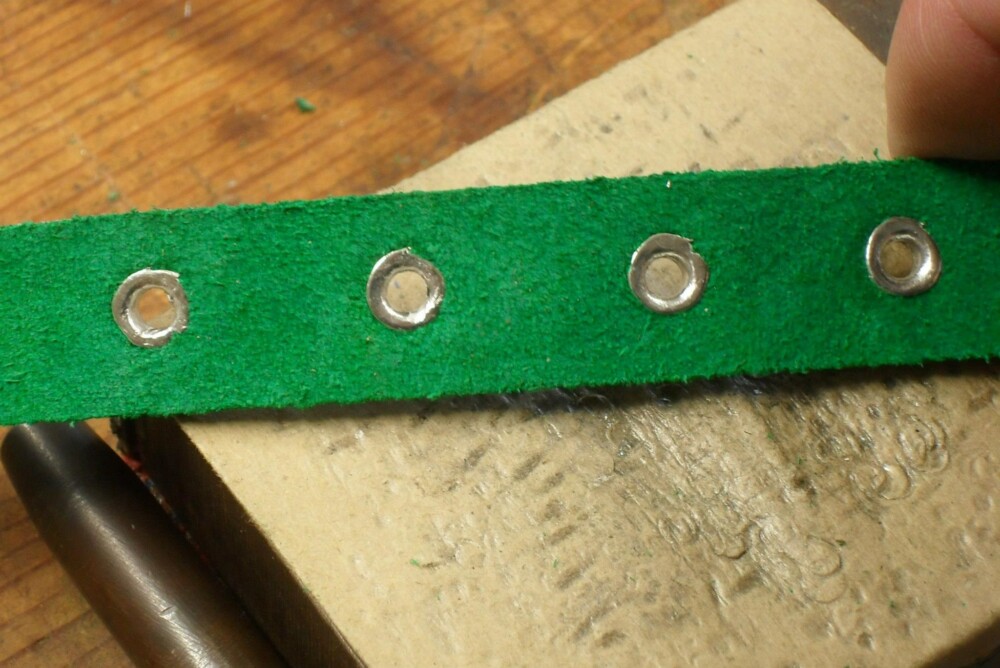
These eyelets are finished. Because we spread them without grinding them level, some of the rivet tubes split on the back. As long as the tube itself does not split these will function perfectly. You do want to make sure all the edges are pressed down into the leather and that they will not catch on the wearer’s clothing.
We also have eyelets that sit on the surface of the belt and which are attached with integral pins. Punch the central hole and the pin locations.
Put the pins through, cut them off close, and peen them up like rivets or mounts, being sure to spread out the metal on the back.
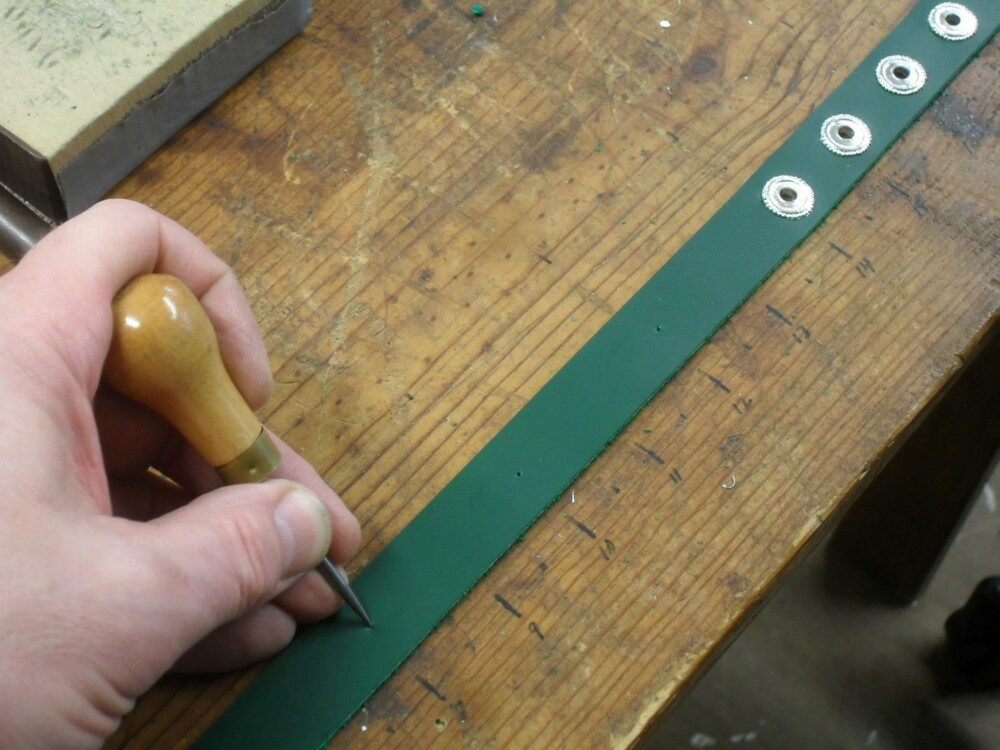
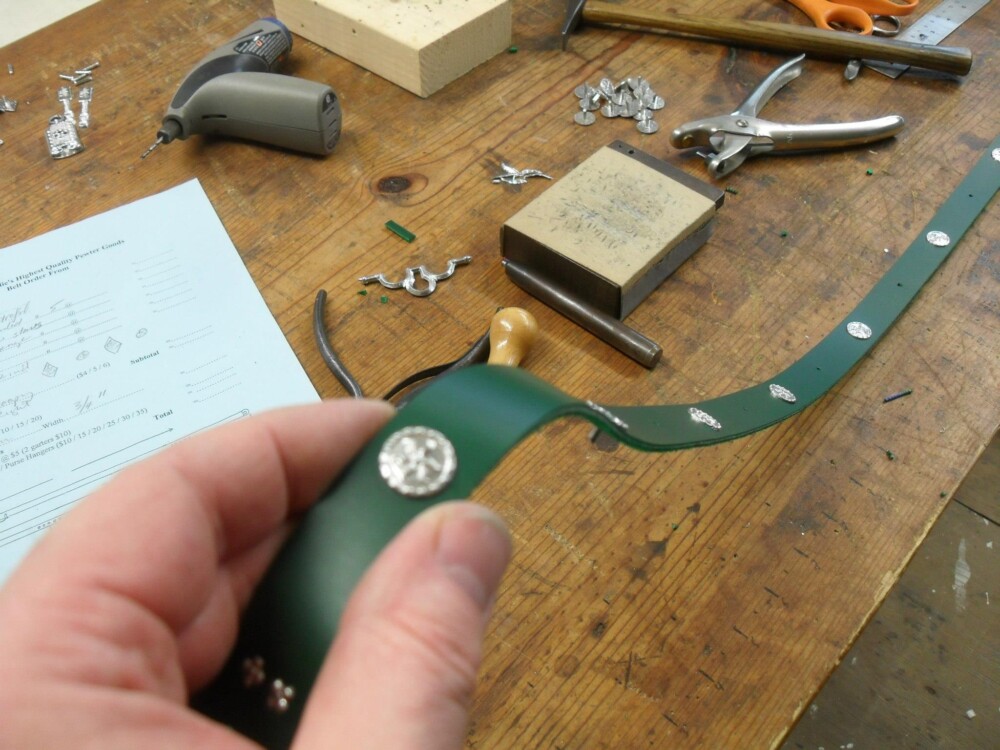
Marking the spacing for studs. Extant straps from the Middle Ages we have seen show spacings ranging from 3/4 of an inch to 3 or 4 inches (2 to10 cm) apart. It is a matter of taste – although as sellers of pewter we prefer to see them closely set. 😊 In any case, choose an easy-to-measure distance and apply it to the entire belt. (Do not guess how many studs you will need, then try to space them evenly. This is a disaster waiting to happen.)
As with the rivets or the buckle, the holes for the studs should be the smallest you can force the pin of the stud through. Use your smallest leather punch or an awl.
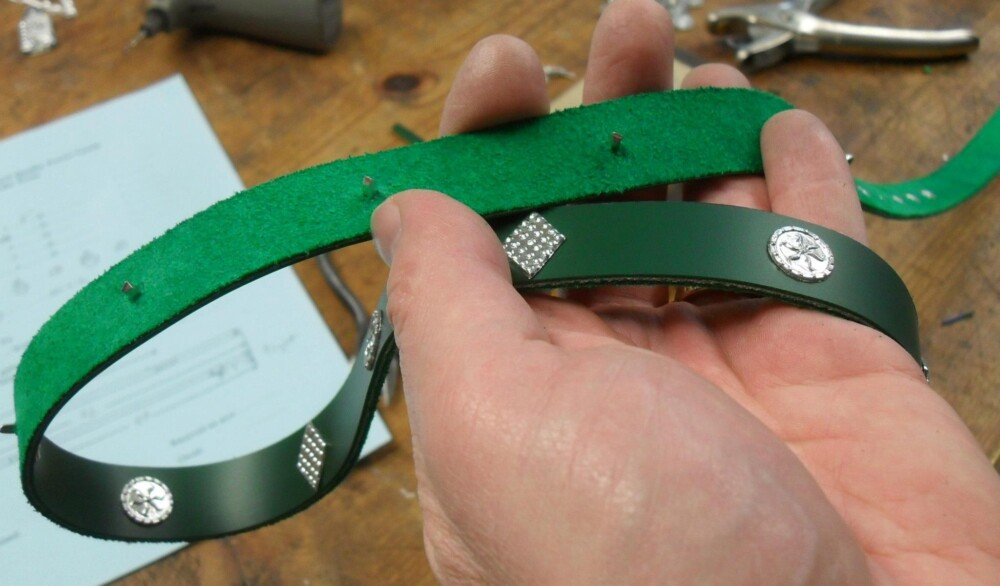
This belt has alternating studs. Sad experience has taught us to put all the studs of one sort in, leaving holes for the other, and check it over carefully…
… before plugging in the second style of stud.
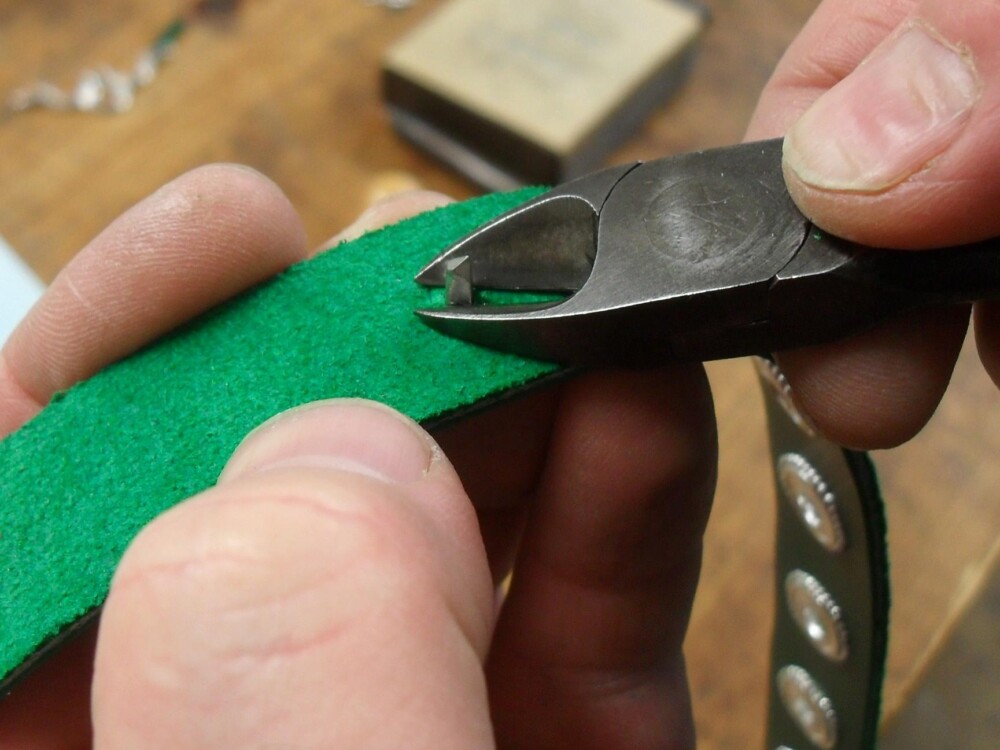
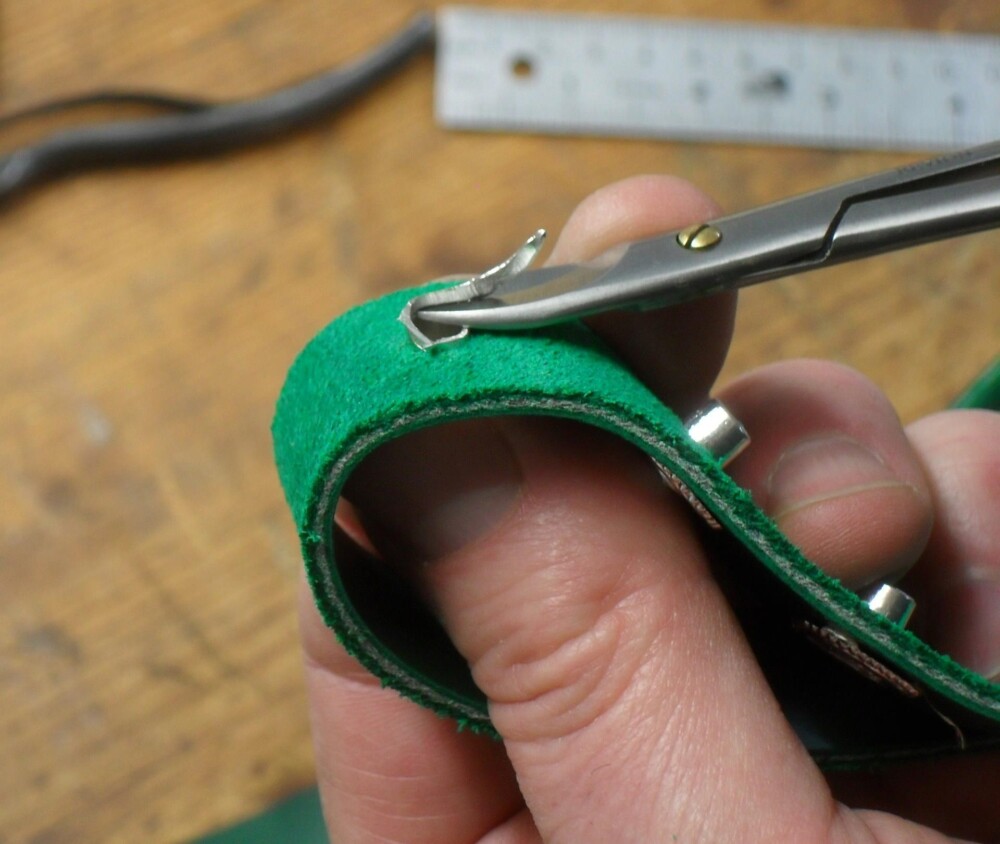
Nip the stud off pretty close – The stud shank/pin that remains should be no taller than its own diameter.
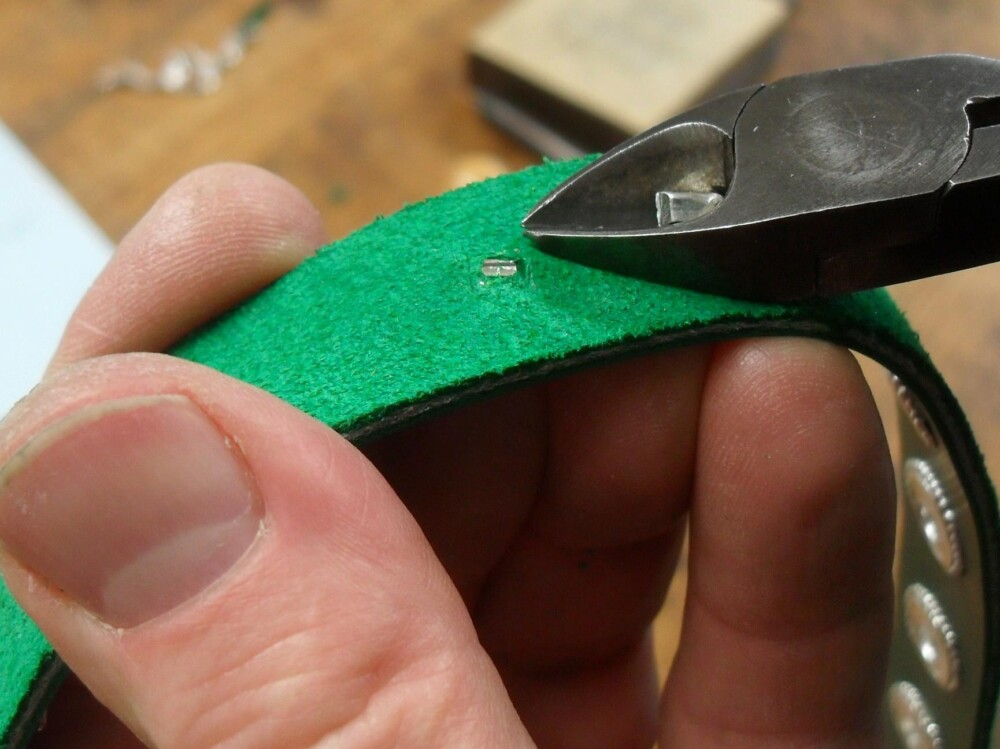
Very little is left proud of the surface…..
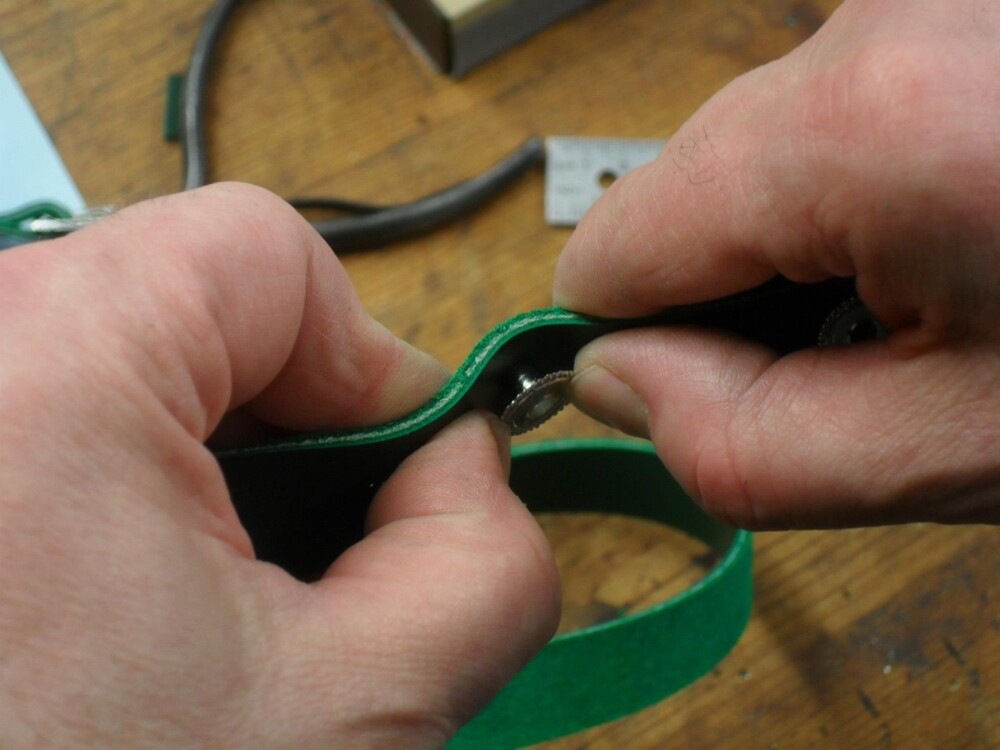
… just enough to spread out cleanly as you set the stud with a small cross peen hammer, riveting as always against an anvil covered with a thin sheet of cardboard. There is no need for washers; a carefully spread out stud shank will keep the decorative piece in place through normal use. Did I mention our blog post, Getting Crafty with Billy and Charlie: Belt Studs?
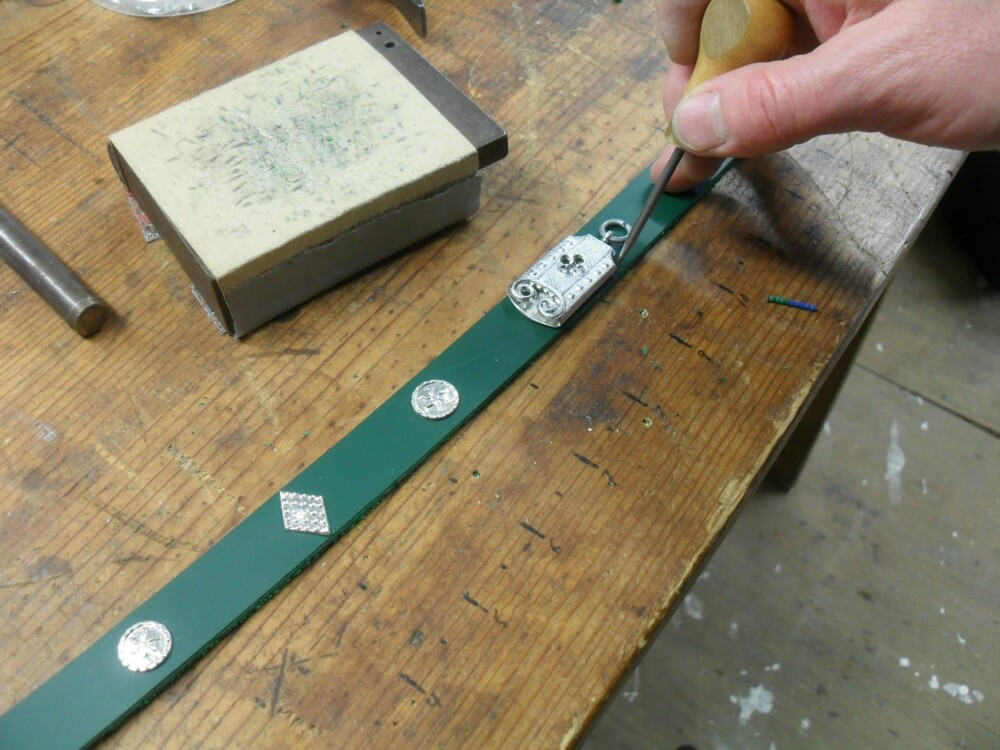
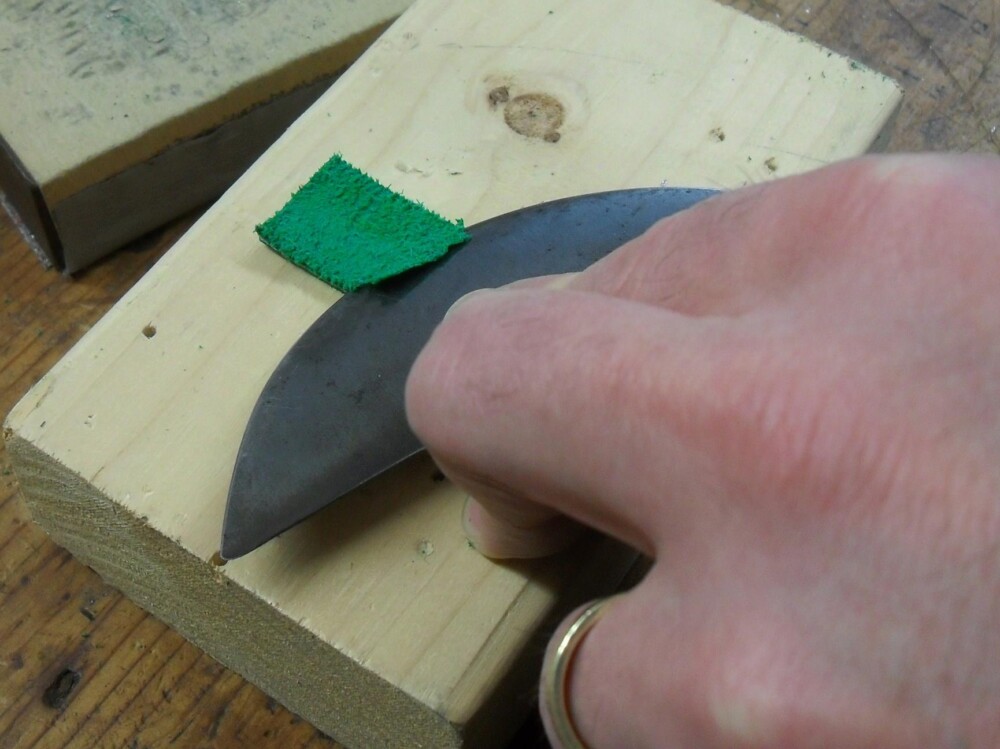
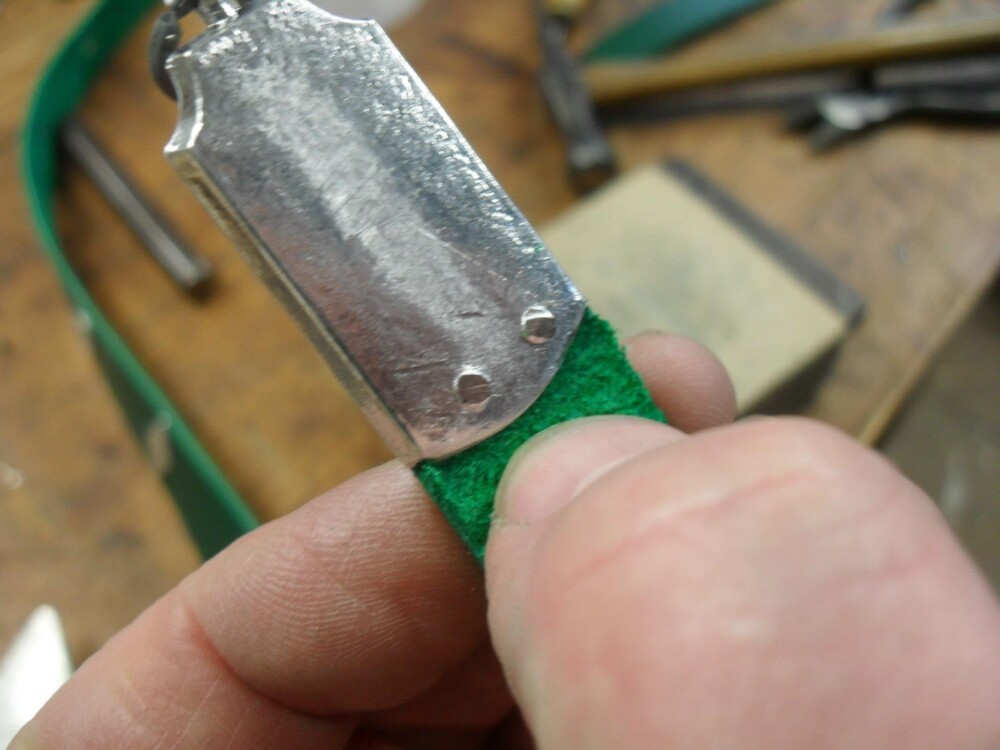
Figure out where the end of the chape will go; mark the leather, then cut off the excess.
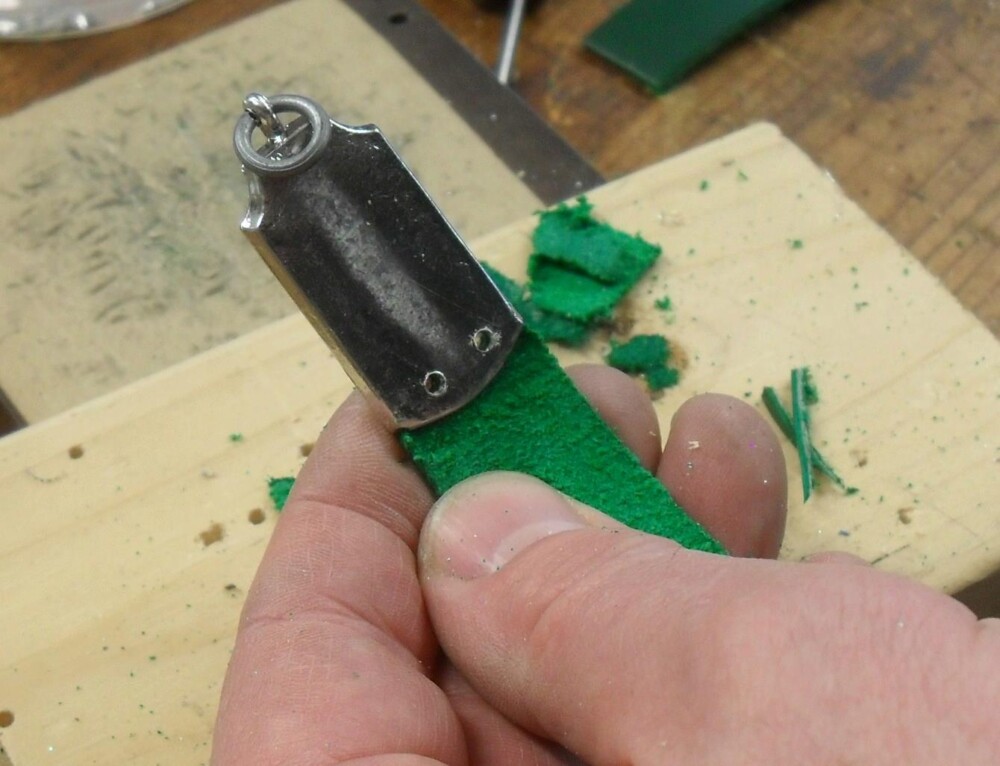
Thinning the end of the strap lets it fit snugly into the socket of the chape.
If you do not have a head knife, you can use other tools to skive down the thickness. We have used an X-acto knife, a Skife razor blade skiving tool, a leather splitter, and a grinder. Practice on a scrap piece first.
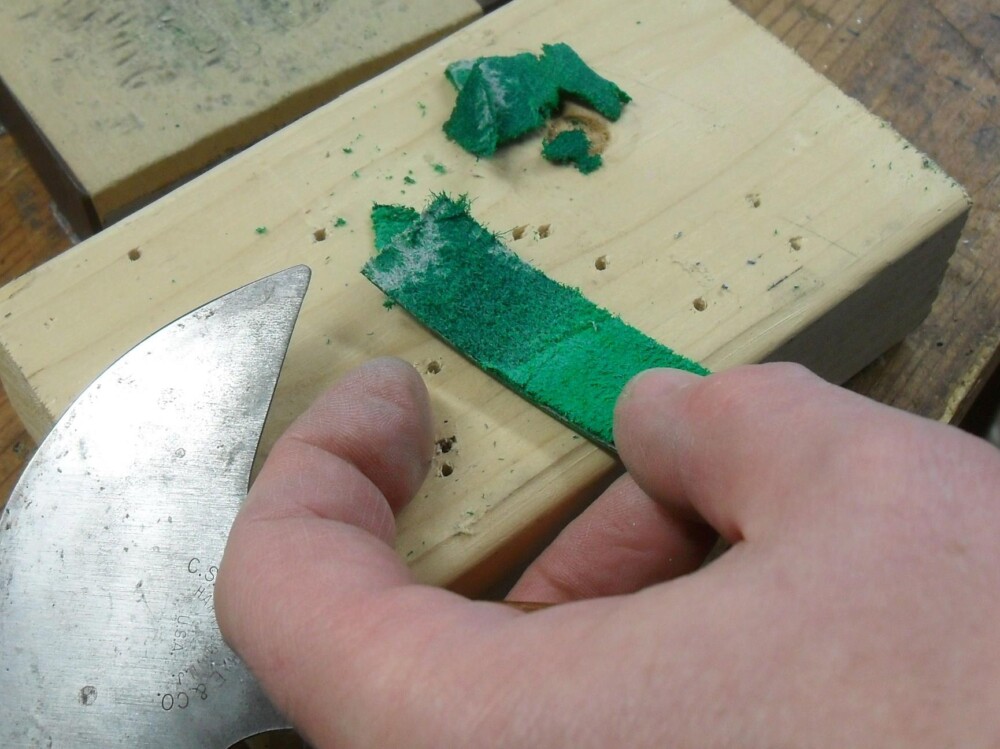
Trim the edges to a slight taper…
… that fits exactly into the chape.
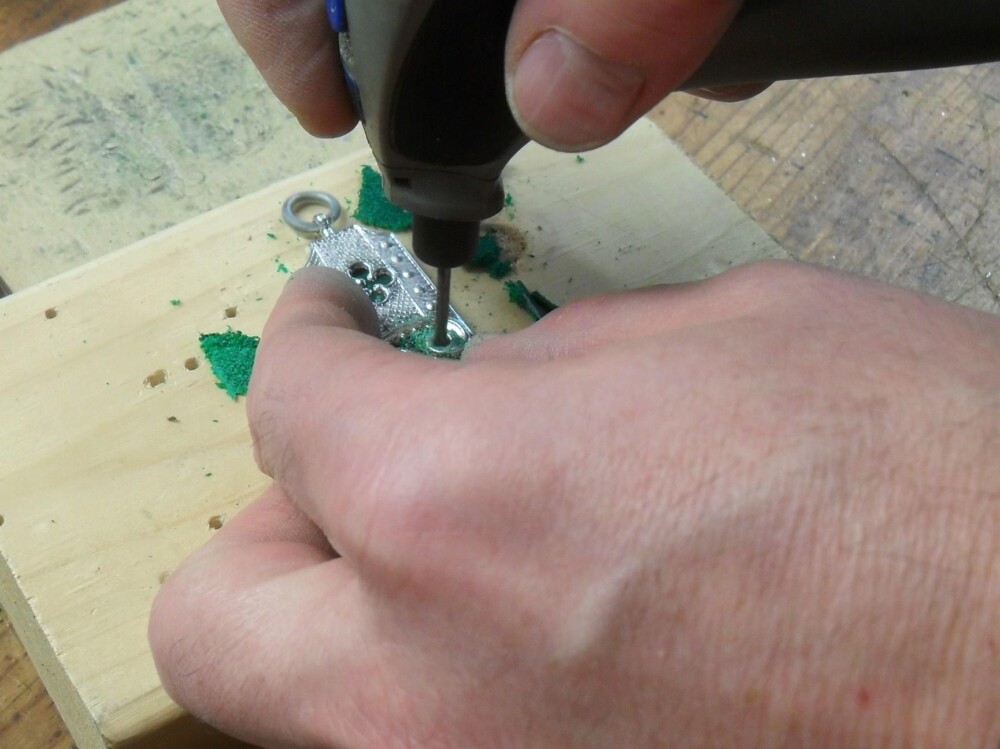
Drill straight through the leather and the chape together. Our rivets fit in holes drilled with a 3/32″ (2.4 mm) drill bit. We drill into a piece of scrap wood.
If you drill though the “sandwich” of pewter and leather, your holes are certain to line up.
Press the rivets into the holes.
As before, nip them off close.
Really close.
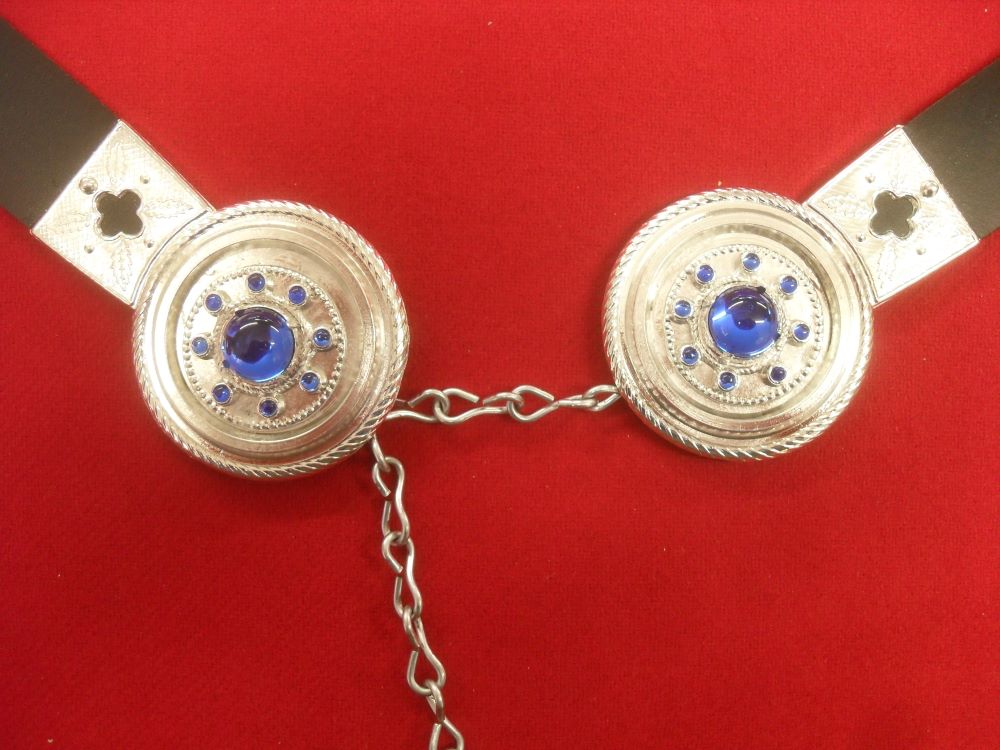
In this case the back of the chape serves the same function as the washers did when attaching the buckle – they give you something to peen the rivet up against and keep it in place.
The rivets are secure. Give them a final tap with the larger face of the hammer to make the back of the chape nice and smooth.
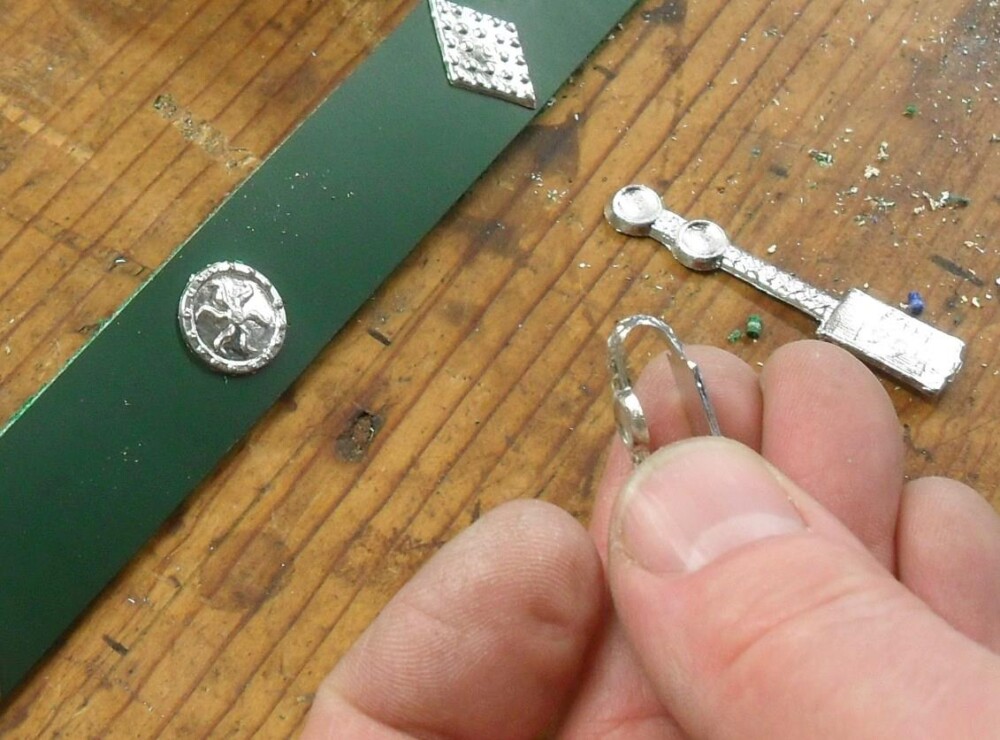

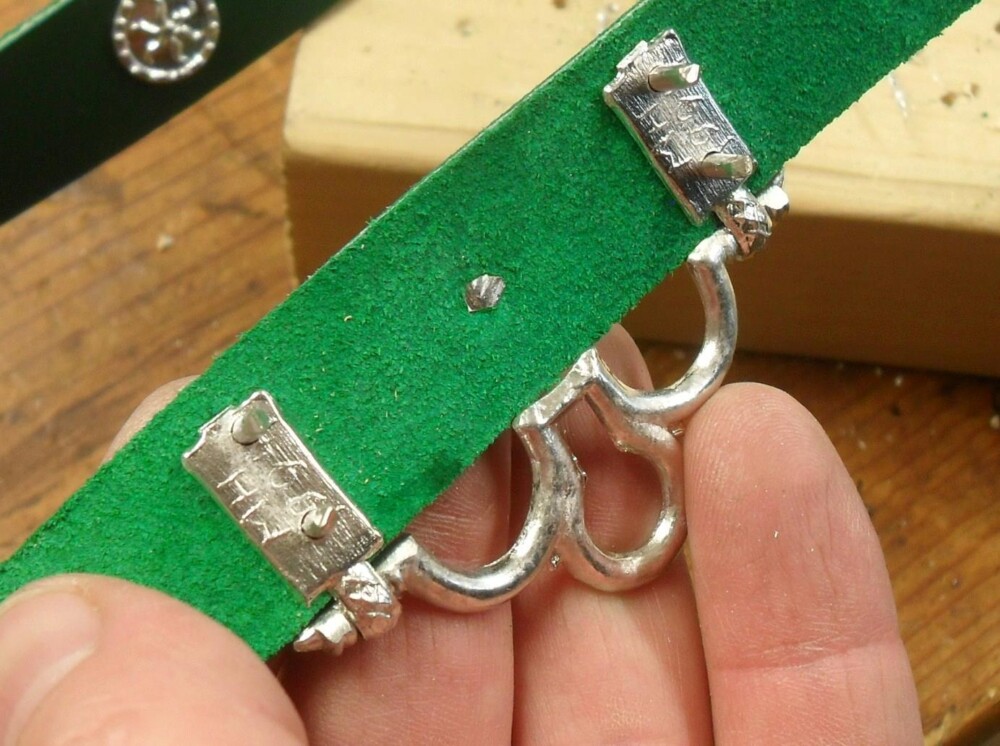
To attach a purse hanger, start by folding the hanger pieces.
Slip one over each end of the hanger.
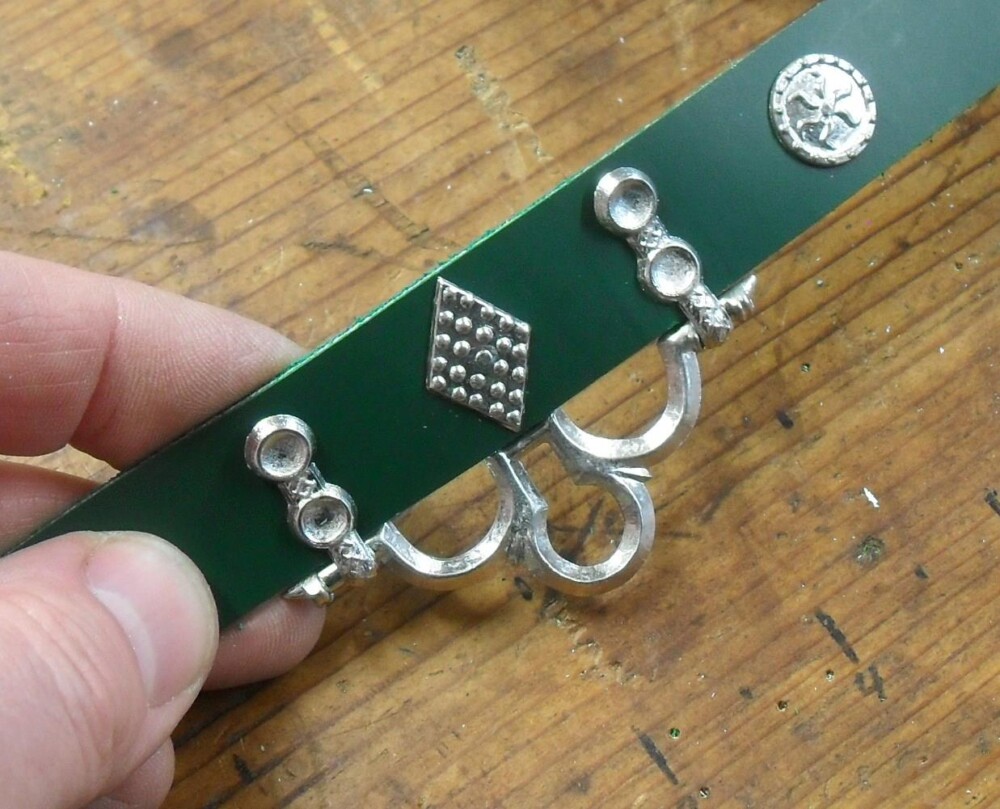
Depending on your stud spacing and your layout, the hanger may fit around one stud or replace two.
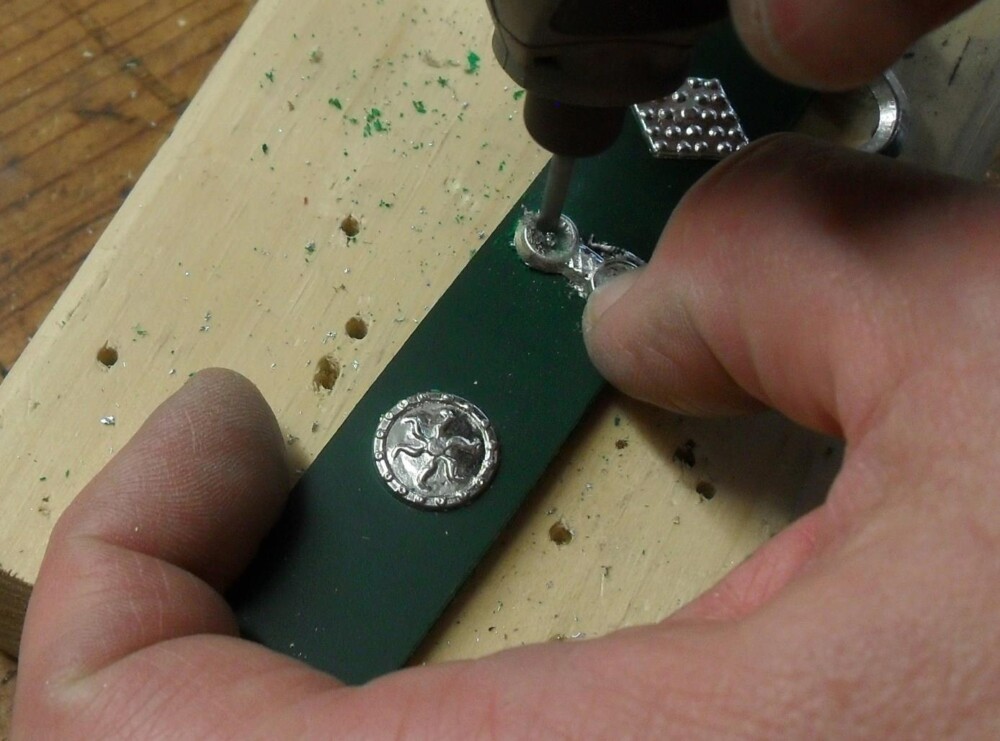
We’ve said this before: drill straight through, leather, pewter, and all, to keep all the pieces aligned.

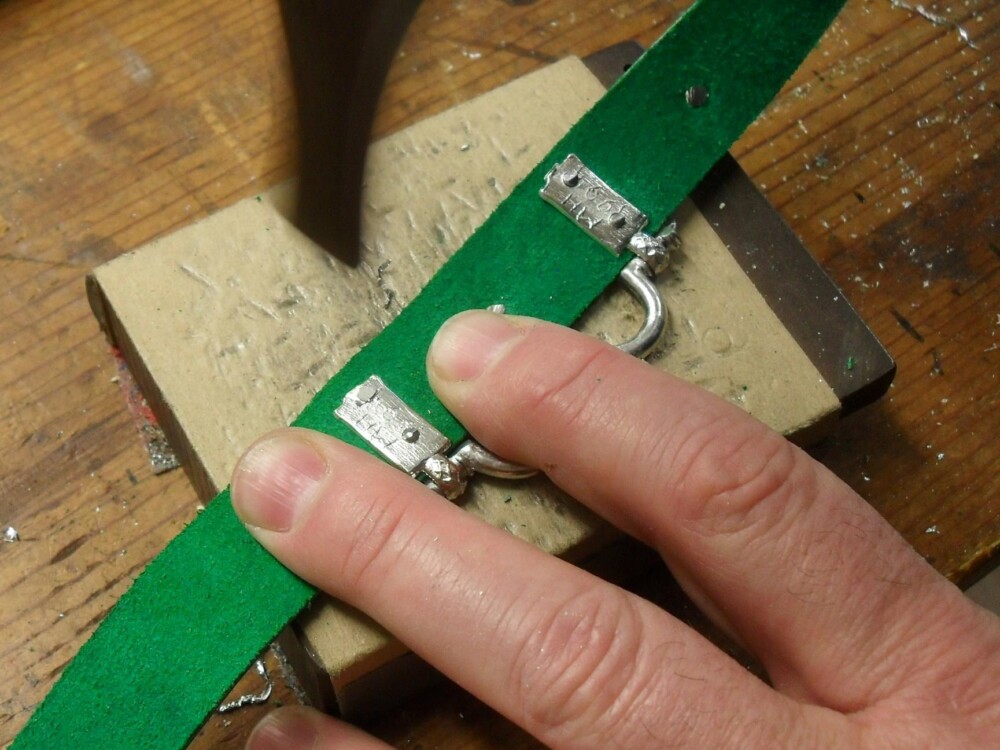
The rivets go through….
… are nipped close ….
…. and peened up. To learn more about this process, see our blog post Attaching a Purse Hanger. It covers the same information, but with more words and more and different photos.
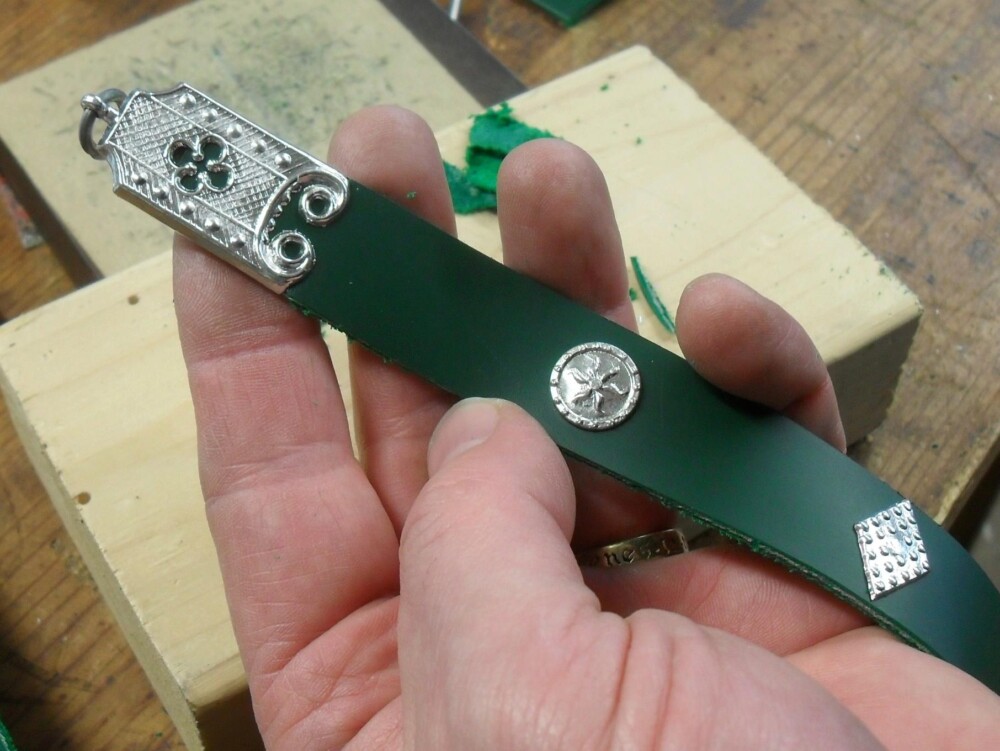
The finished belt!
Would you like a shorter version of this information with no photos? See Putting Together a Belt with Pieces from Billy and Charlie.