Posted on Leave a comment

On making things meant to be identical quite similar

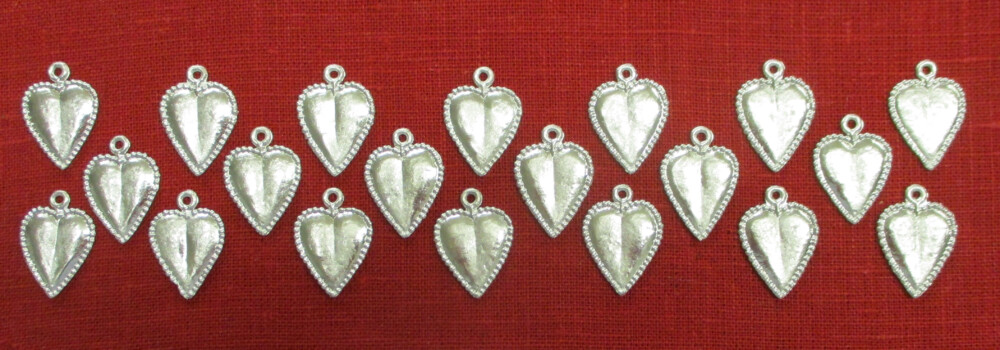
An array of heart spangles on a red background

We make molds for a lot of medieval gewgaws – roughly 525 items. Many of the smaller goods – spangles, buttons, chaplet decorations, belt mounts, clothing fasteners – come out of multi-cavity molds that cast three or more copies of the item.

It is important that the resulting castings are indistinguishable from one another except on very close inspection. We also want the mold to cast easily and completely (or nearly completely) every time. For this to happen, the mold cavities must be very similar, and they have to be laid out so that the metal fills each of them the same way. We try to choose the best mold design from a number of authentic layouts.
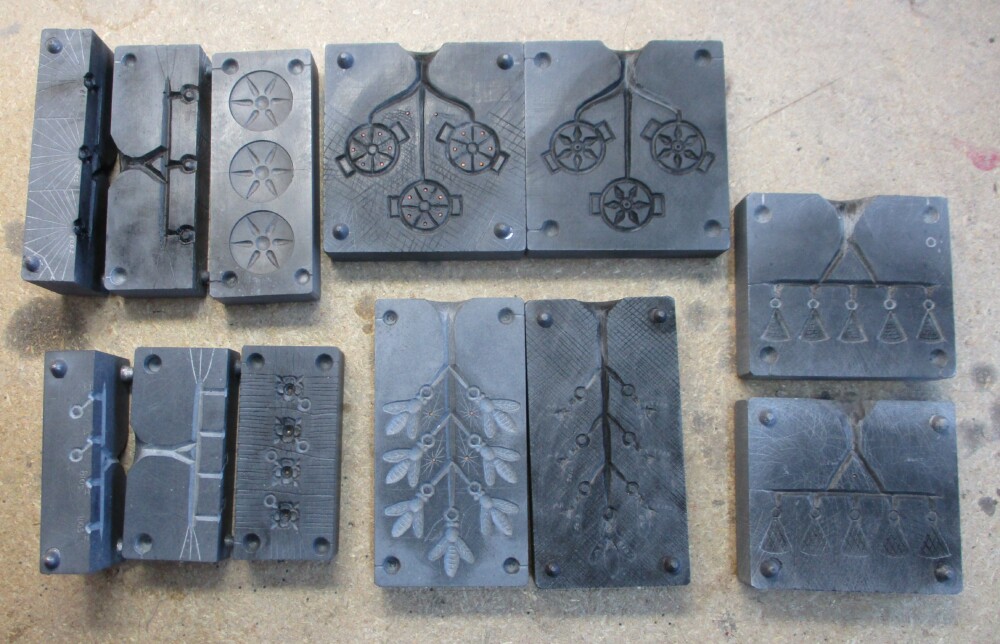
Multiple cavity molds: button, circlet decoration, spangle with stone, bee spangle, and triangular spangle

The two molds on the left are three part molds – the one to accommodate the button loop and the other so the stones can lie flat in the spangle mold while the metal pours in. The openwork star chaplet decoration mold and the bee spangle mold have cavities that branch off a central sprue. That middle sprue narrows as it descends and the lower feeds are narrower/thinner than the upper ones to balance the greater pressure to the lower parts of the mold. The mold for the triangular spangles equalizes the pressure in a different way, by arranging the cavities horizontally and splitting the main sprue to even out the flow and amount of metal to the various cavities.
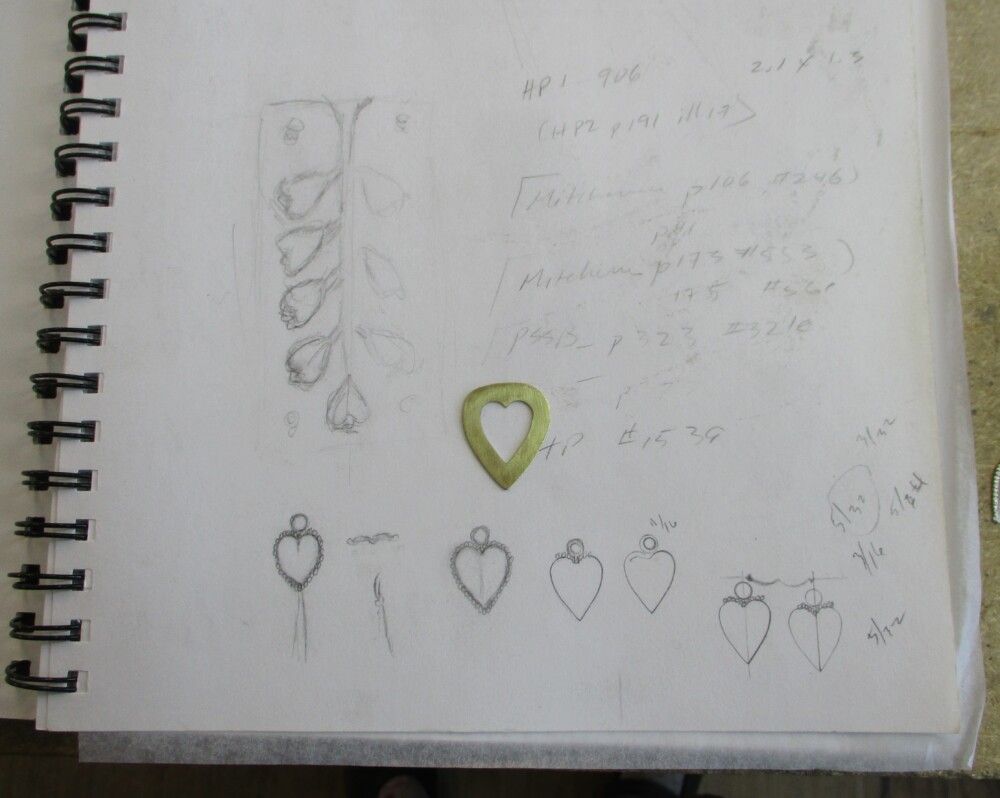
Notebook with sketches for heart spangle and mold with brass template.

This notebook page shows a layout we considered for the heart spangles, as well as some late sketches of the form the heart would take. (Preliminary sketches were on another page.) When we make round things we use a compass to lay out the pieces. But for items like the bees or the triangles – and the hearts – we employ templates to trace the shapes of the cavities. We have used cardboard and thin template plastic before; for the heart spangle Mac made a brass template to my final design. This let me trace the exact shape with a sharp needle on the stone – and also to trace the heart in pencil in my notebook to experiment with the beading, the loop, and so on.
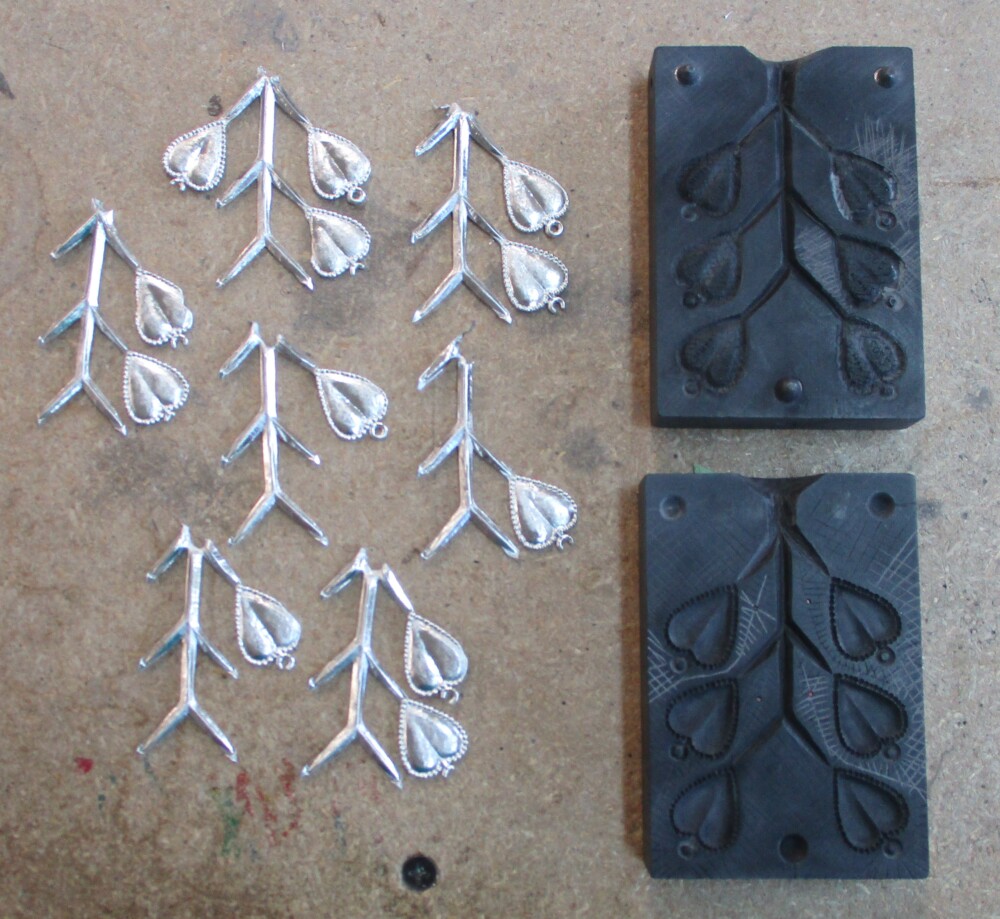
Castings of heart spangle mold with complete hearts cut off and incomplete castings left to compare and correct.

Hours of careful work into the project, I was getting many of the cavities to fill, most of the way, most of the time. I put my initials and the date on the back of each spangle, so that any examples that cast fully could be cut off, cleaned up, and sold. At this stage we keep every casting for examination. Clipping off the good examples, we lay out what is left to show where the repeating problems are. In the shot above we see that of the six cavities there is still trouble with the upper two hearts on the right. The loops are not casting, and upper heart is not filling to the edge. I corrected only the places that were not working, leaving the rest of the mold untouched. The lighter areas of the mold show where I extended and deepened the back under the beading where it was not casting, deepened the loops, and reinforced the venting both front and back.
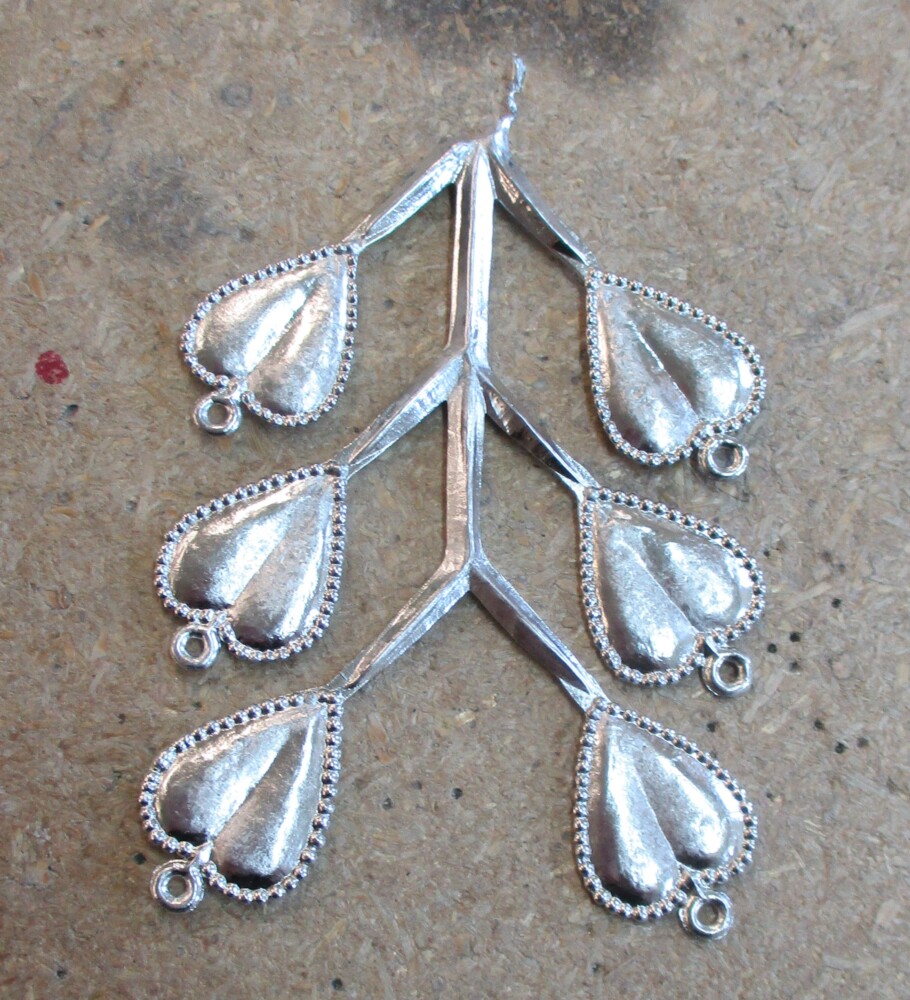
Complete cast of six spangles on sprue for heart spangle

By the time I filled the stock box, the mold still was not working perfectly every time, so the next time I cast I will continue tweaking the cavities, the sprues, and the venting. I’m almost there.
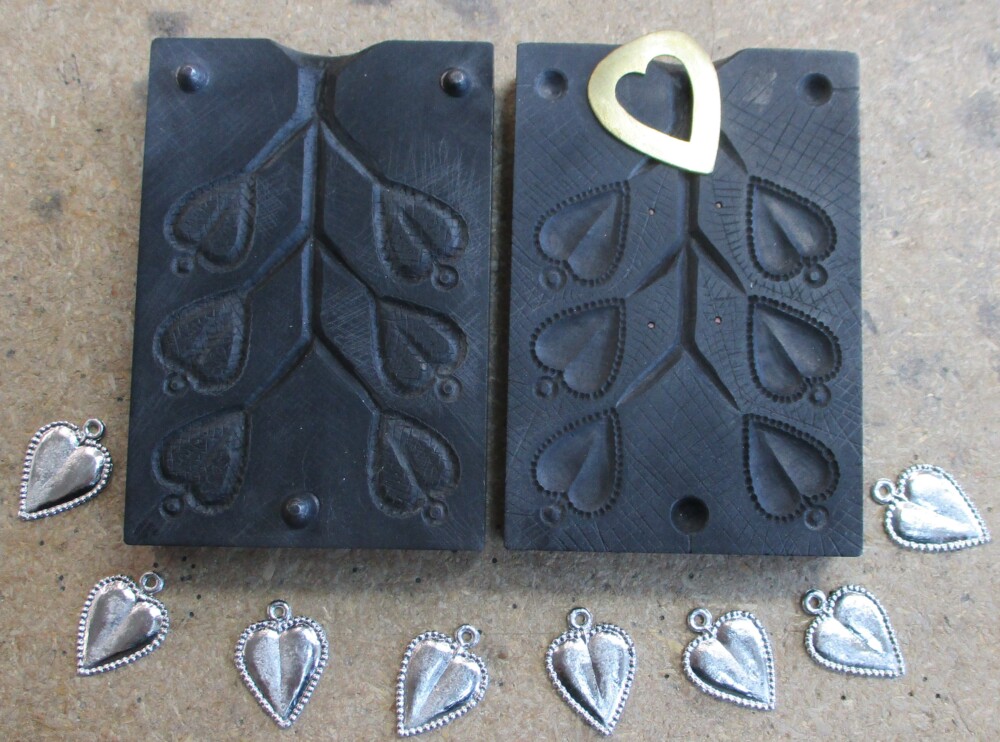
Mold for heart spangle with brass template and castings

The hearts themselves are also not perfectly identical – if you took a handful of them you could play “Spot the Difference” and sort them by mold cavity. But because I took care in design and layout, and worked as meticulously as I could, they are similar enough.

Posted on

Remaking an unsatisfactory mold

We used to offer a low-profile eyelet with three sewing holes and a pearled surface. It was copied after an original lacing eyelet in our collection. The eyelet was attractive and sturdy but the mold had problems.

There are several ways to arrange the cavities in a gang mold – and all have their uses. Marianne, who made the first mold in 2006, used a vertical sprue with individual channels branching out for each eyelet. The channels travel towards the outside of the mold, then drop vertically with the eyelet cavities all descending at the same angle.

If a gang mold is properly made all the cavities fill perfectly every time. If it is not, some cavities do not fill or fill incompletely. Meanwhile, other cavities flash (have “fins” of unwanted metal that sneaks between the mold parts) and have to be cleaned up after casting. The problem with arranging the cavities vertically in a gravity-fed mold is that the lower cavities cast completely at a lower temperature (of mold and/or metal) than the upper ones – or more consistently – because the pressure is greater at the bottom. Usually you can adjust the spruing and gates so that most of the castings are satisfactory most of the time.

Old filigree eyelets mold

This mold shows one way to try solve that problem – the upper branching channels are thicker than the lower ones, feeding more, hotter, metal to the higher cavities. Making the mold was a prolonged struggle, with repeated unsuccessful efforts to balance the pressure to each casting. It is also a tightly fitted mold and needed extensive venting. We were in the midst of a period of exploration of venting technologies, and Marianne vented it – too aggressively – with a grid of closely spaced vents across the entire back mold valve. The result was that, even after all the fuss, castings usually had fewer than four complete eyelets and many of the complete eyelets were flashy.

Flashy casting from the old filigree eyelet mold

We continued to use the mold for a number of years, fiddling with metal temperature as we poured to try to control the flash; cleaning the flash off rapidly while cutting the eyelets from the sprue; throwing a lot of partial casts back into the pot, and cursing. We eventually introduced our pointy eyelets and let the filigree eyelets drop out of production.

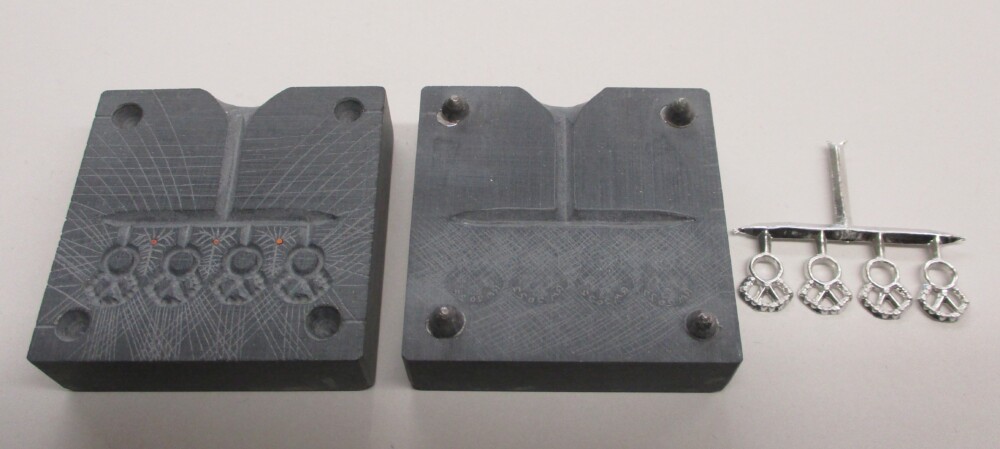
Mold for the pointy eyelets


The pointy eyelet mold is laid out on a different plan, with one sprue descending to a horizontal runner – and it worked well from the beginning. This arrangement equalizes the pressure to each cavity better, although you have to tweak the thickness of the runner to optimize it. This sort of mold is also sensitive to whether it is level when the metal is introduced, as a tilted mold may give you flashy castings at the lower end of the runner and incomplete ones at the higher end.

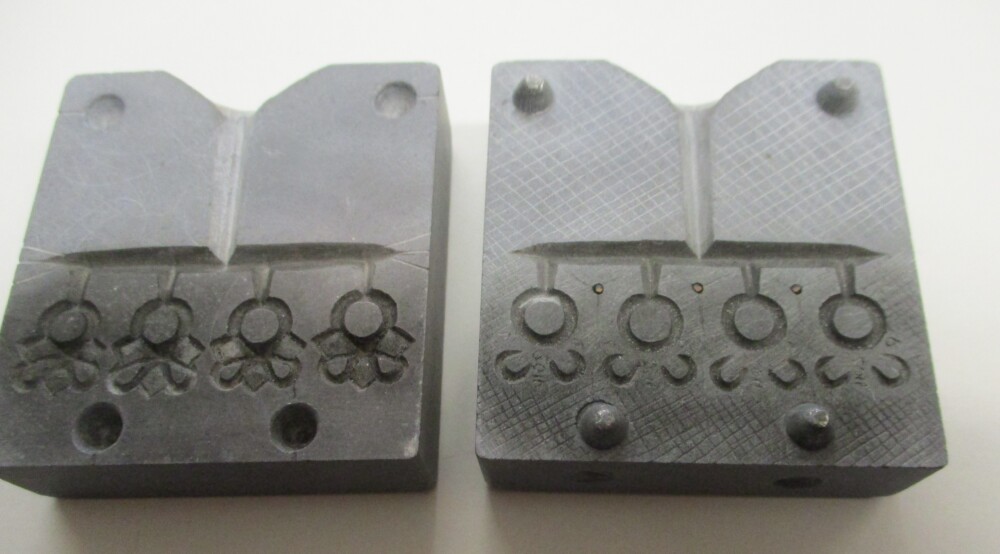
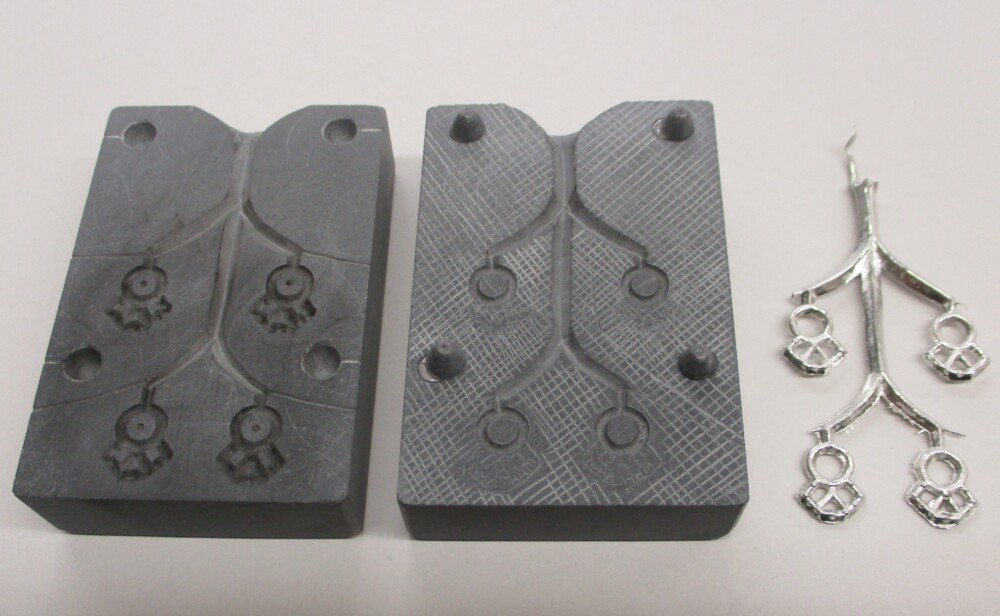
New filigree eyelets mold

This week Mac remade the filigree eyelet mold on the same pattern as the pointy one. The new mold is also vented very thoroughly – those are vents straight through the stone (filled with copper wire) between each of the cavities – but more expertly. We know more than we did 16 years ago, thank goodness.

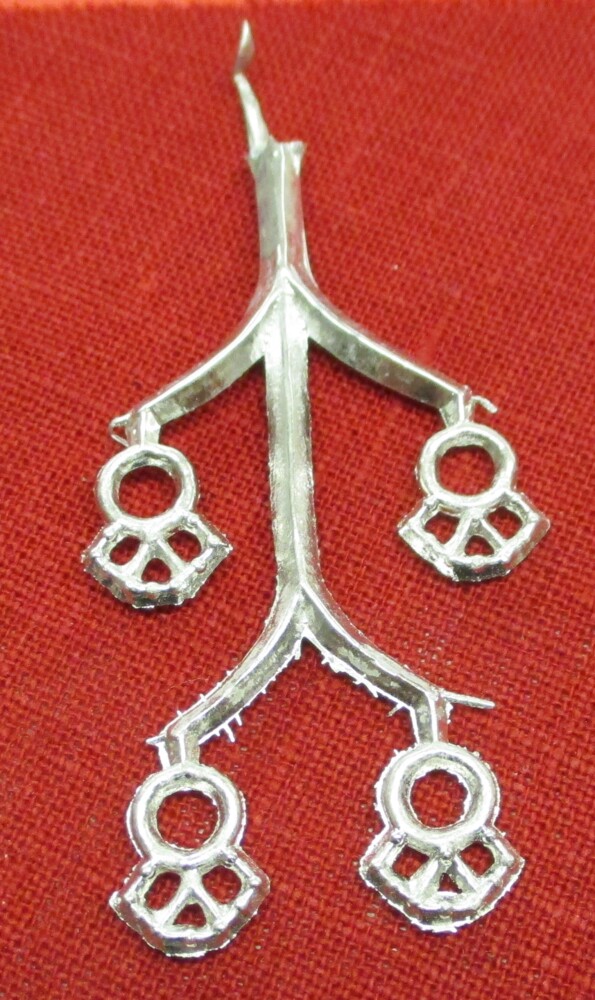
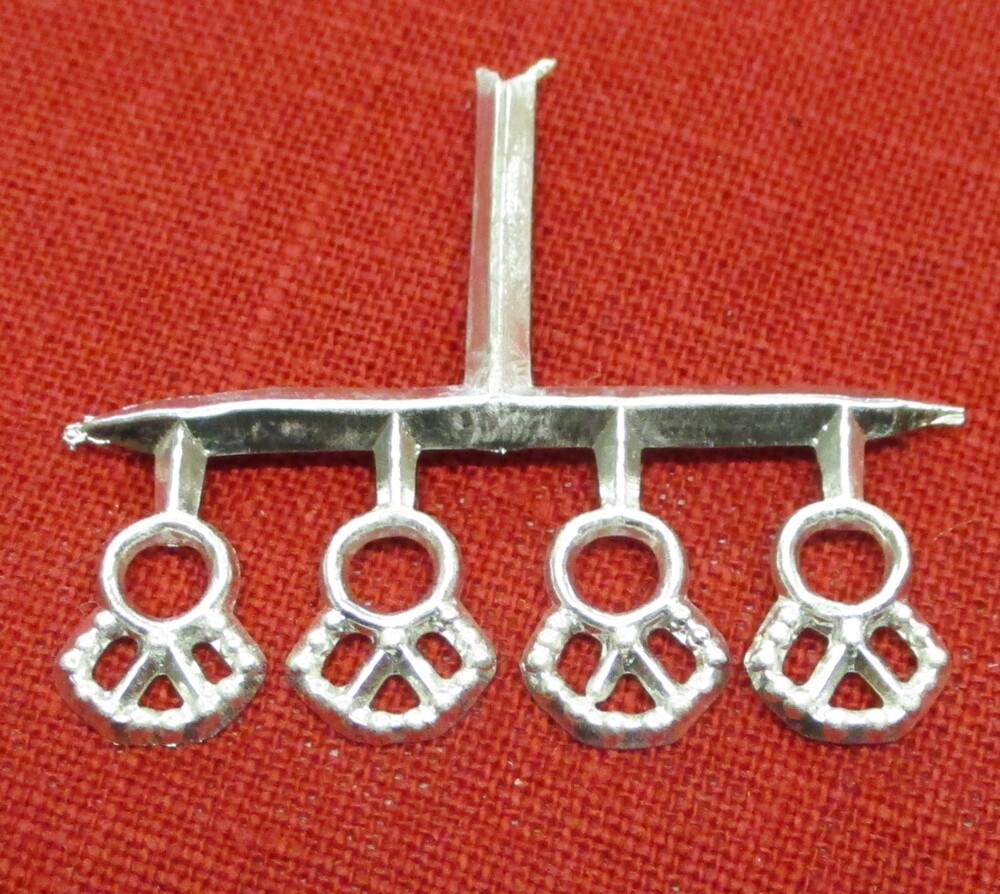
Clean casting from the new filigree eyelet mold

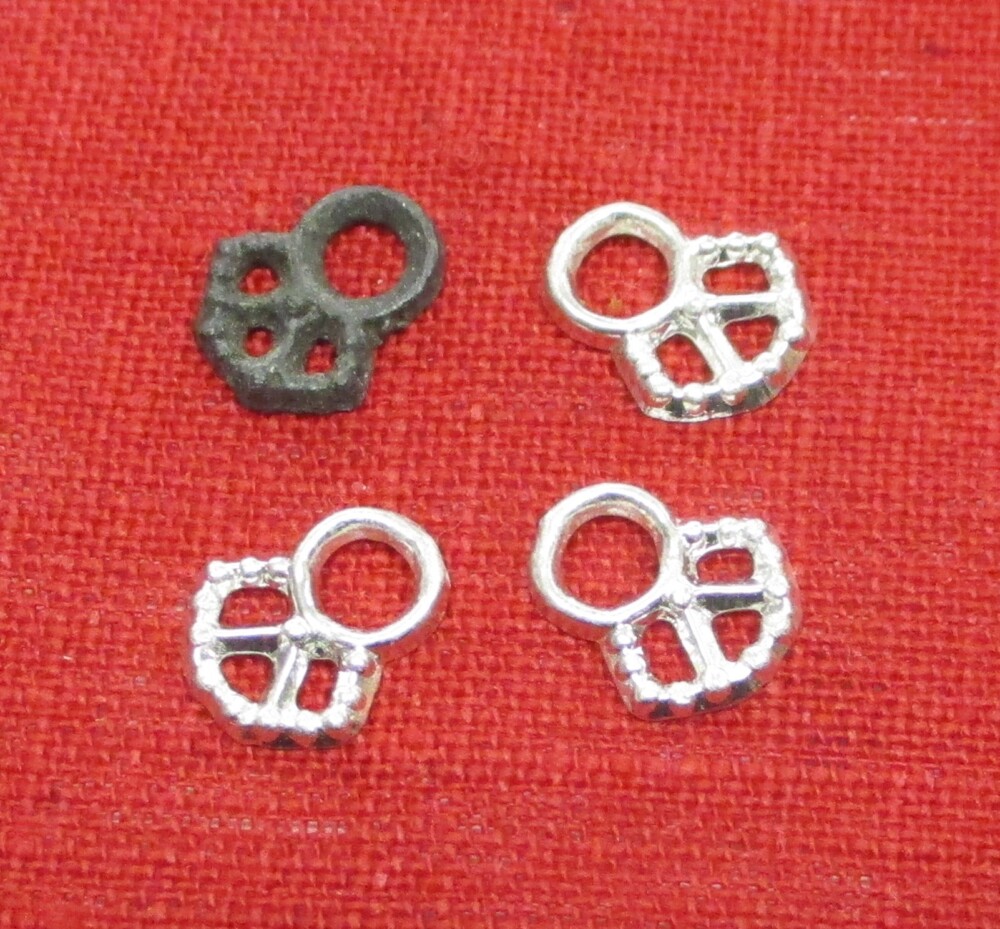
With the horizontal runner this mold consistently casts four perfect eyelets every time. We are offering this nice little lacing eyelet again.

Filigree lacing eyelets with original examplar
Posted on Leave a comment

A surprising mold from Magdeburg

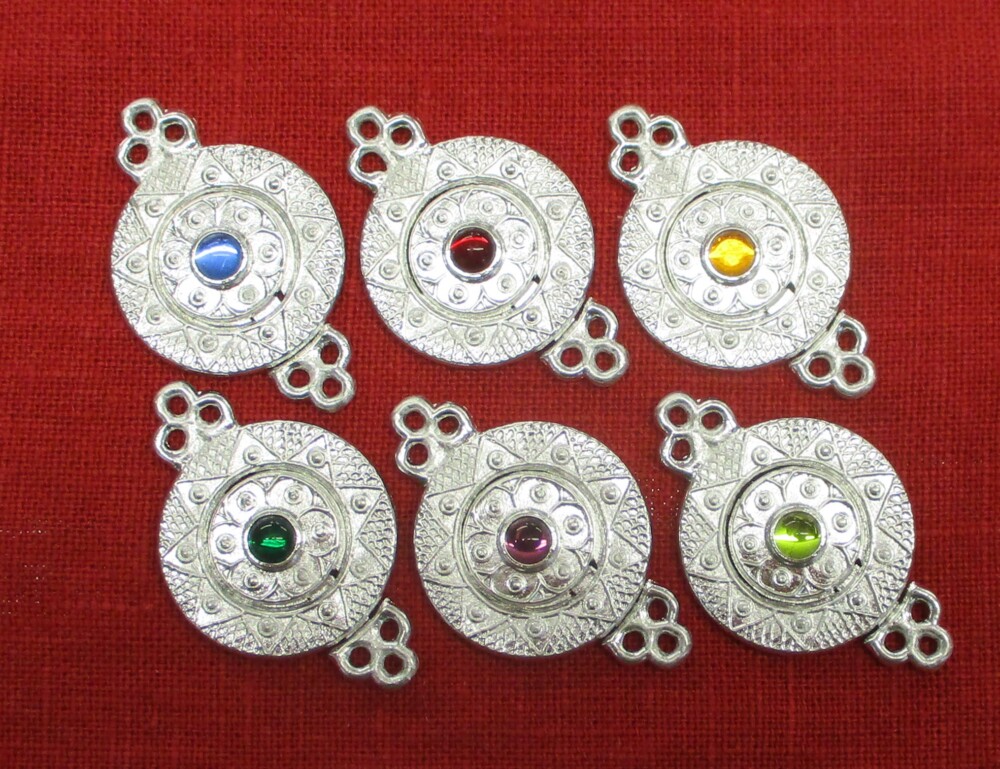
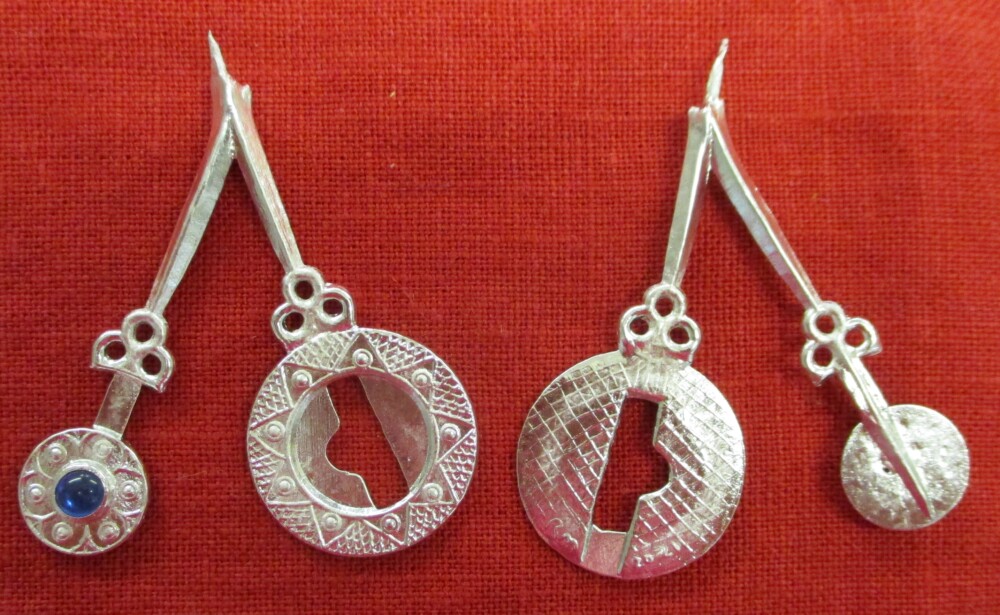
Large interlocking clasps - all six colors

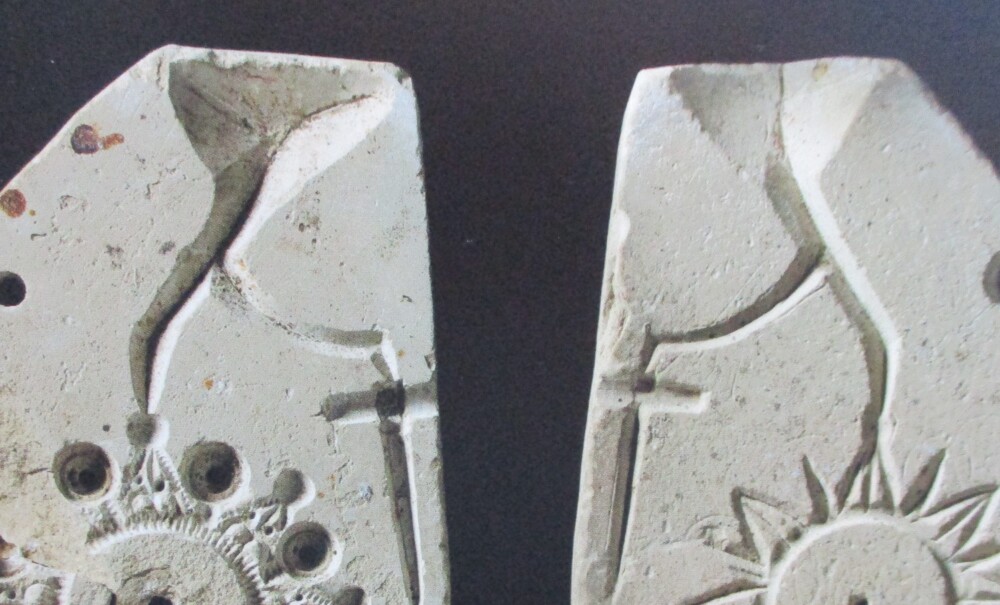
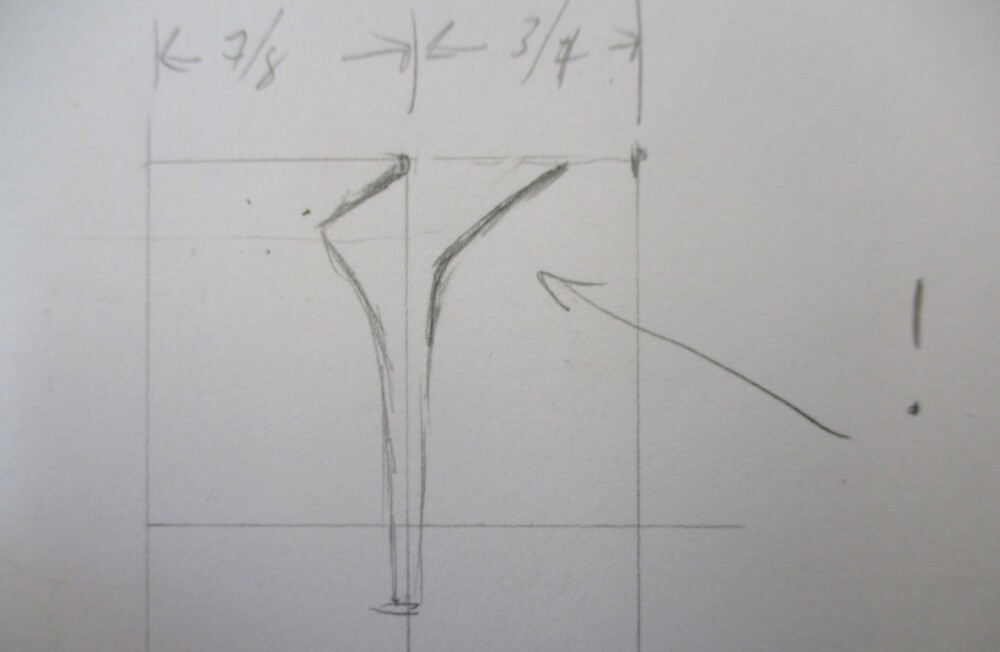
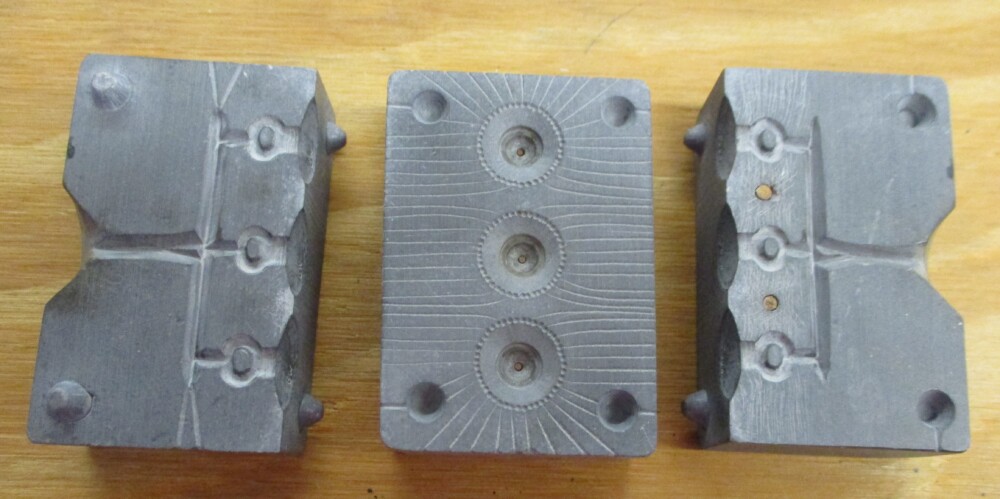
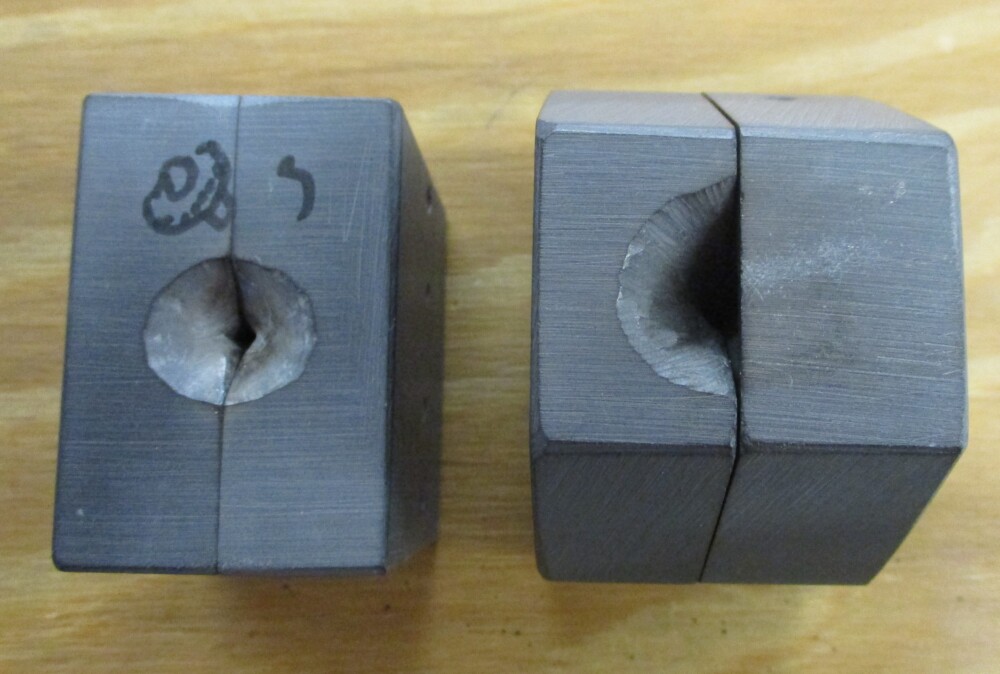
During our greedy, obsessive, first read-through of Daniel Berger’s magisterial book on the hundreds of 13th-century molds from Magdeburg* we noticed a number of molds where the gate (pouring basin) in one of the two mold pieces was closed off by a sort of dam of stone. On the left below, a detail of a dammed-gate mold from Magdeburg. On the right, a sketch of a cross-section through a two-part mold, showing the shapes of the pouring basin in the two halves.

By the second read-through we had realized that of the nine complete molds with restricted pouring basins, all also had one or more hollowed out cavities for cast-in stones. (One mold was broken and there is no way to know what was in the broken part). We have always poured molds with glass stones in 3-part molds and carefully upright, so that gravity holds the stone level while the metal washes around it (3-part mold for buttons with glass stones below, left). But except for 3-part ring molds, the pewterers in Magdeburg seem to have poured items with stones in 2-part molds – at enough of an angle to keep the stone in place, and with a dam across the lower gate to keep the metal from sloshing out. On the right, below, a view of the gates/pouring basins of the 3-part button mold and the 2-part clasp mold.

You know we just have to try something that cool – and Mac has made it work with a copy of one of the Magdeburg molds. The original (below, left) was unfortunately damaged and much of the stone that blocks the gates has broken away. Our copied mold shows what the old one looked like in its prime.

To pour the mold we set a glass stone in the bezel cavity in the lower (constrained) mold half, then level it with a wooden tool.

When the stone is level we set the other half of the mold on top. Holding the mold at an angle, we pour the pewter. Below, right, a completed casting in the mold.

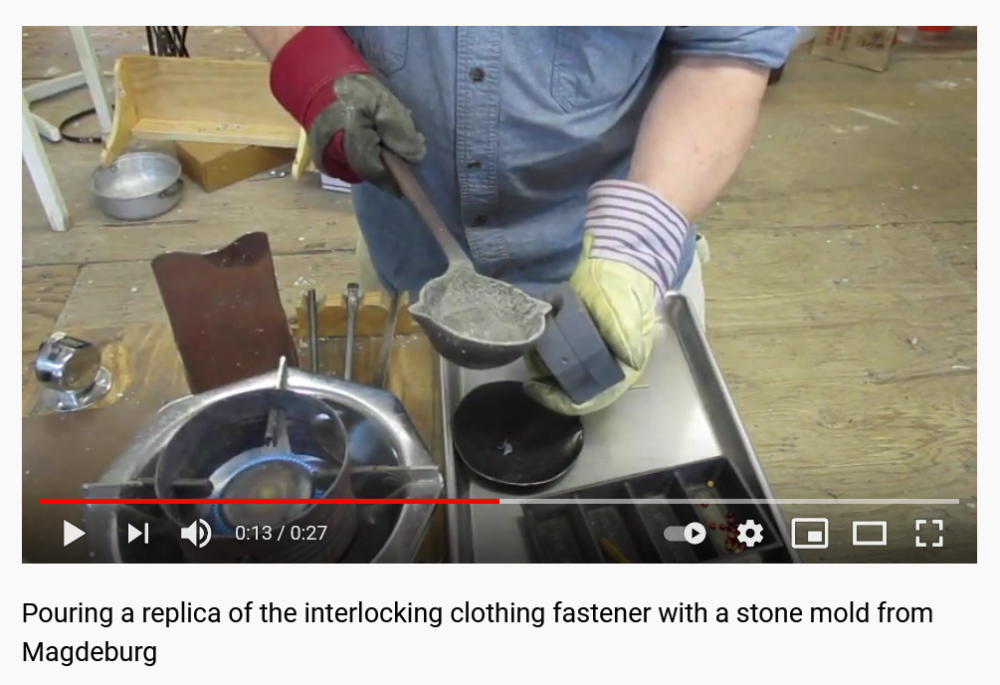
In the completed casting, the stone is held in place by a bezel on the front and the extension of the stem on the back. We have made a brief video showing Mac pouring the clasp. You can view it on Youtube.

We look forward to your comments and questions!

*(Berger, Daniel. Magdeburger Gießformenfund – Herausragendes Zeugnis handwerklicher Zinngießer in einer mittelalterlichen Metropole. Halle: LADA Sachsen-Anhalt, 2020). A must-have for the serious student of medieval pewter casting.

Posted on Leave a comment

Slush casting the large rumbler bell

Large rumbler bell mold and a casting

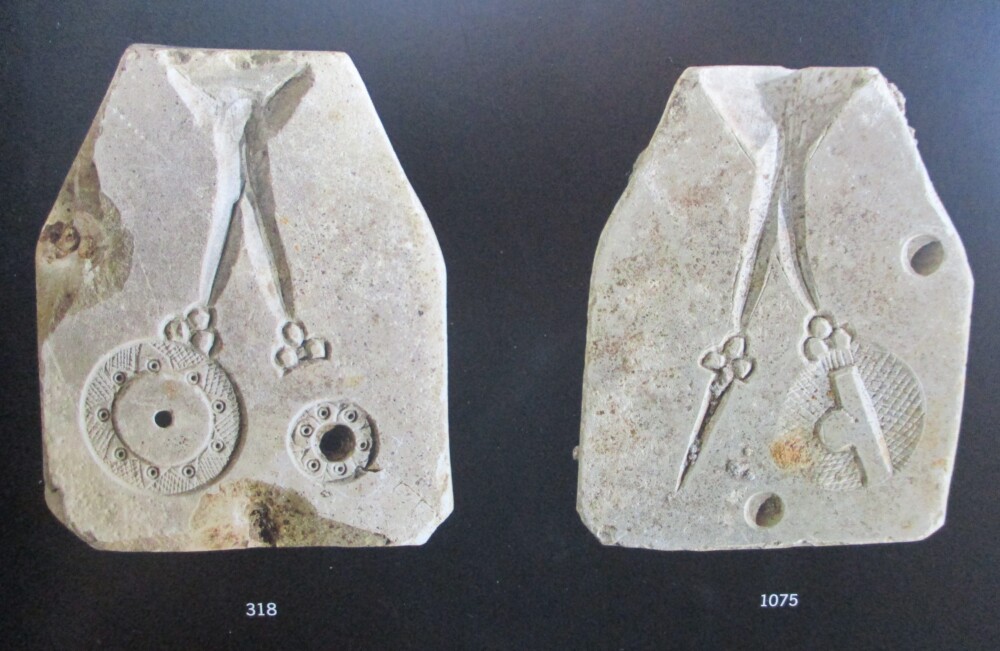
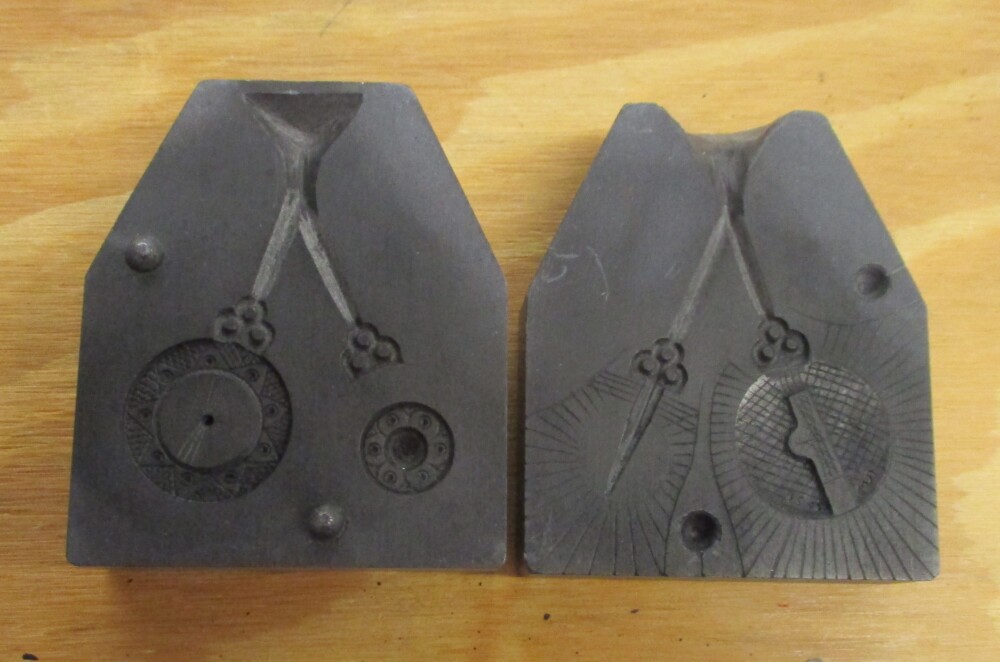
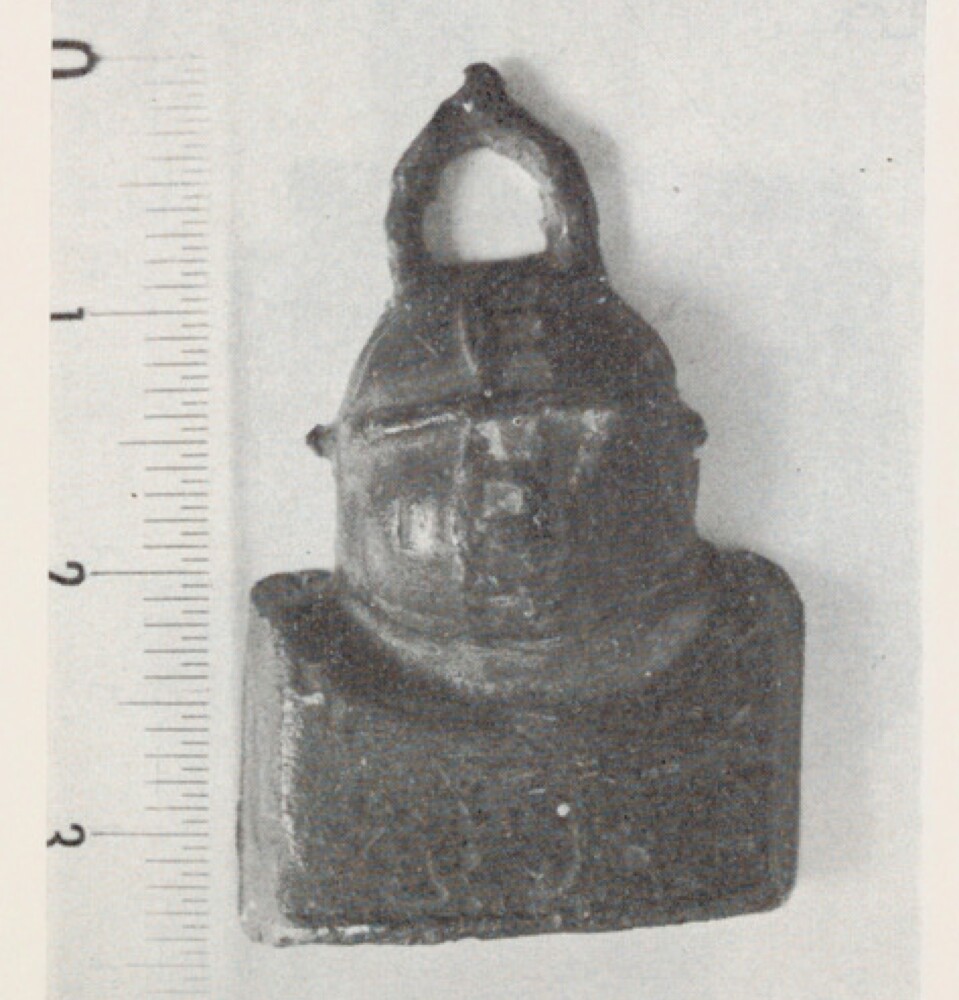
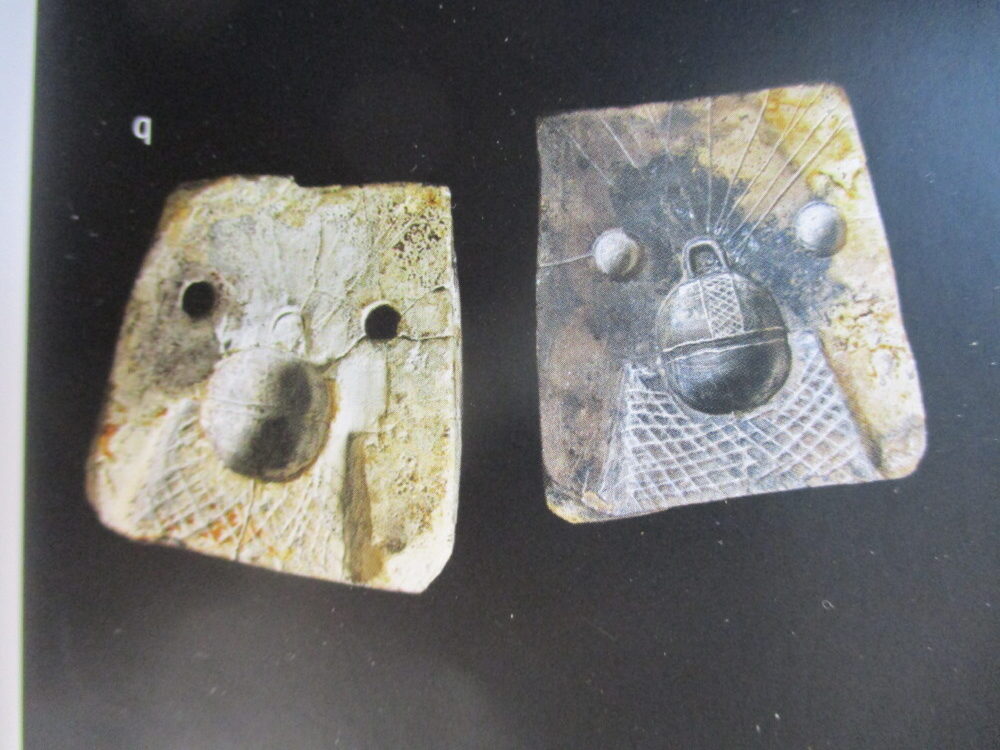
We have been wanting to make a larger, round, slush-cast bell. (Are you new to slush-casting? See the very end of this post for a brief explanation – then come back to the top!) Mac worked on the project off and on for several years. There are similar bells from London, Valenciennes, and the Netherlands. There are also (almost) two 13th-century molds (with both mold halves present) for casting them. Why almost? One of the molds has been lost, but sometime before that happened, the owner cast it, so a record of the cavity remains.

The mold on the left was found in Rostock, Germany (published in Berger, 2020, vol. 1, p.136). The lead casting in the middle was made of a mold found in the area of the medieval market and artisan quarters in Rocamadour (Rocacher, J. 1980. Les mouliers de Rocamadour. Bulletin de la Societé des Études de Lot, October–December. 284–92.) On the right, our mold.

We only knew the Rocamadour casting at first and it misled us into thinking that the mold had a core – a carefully fitted piece of wood, for example, that held the bottom of the bell open. We imagined that the tin was poured into the loop and thence the bell while the core was in place, then the core withdrawn to drain the still-molten center of the casting. This was wrong – it was impossible to get enough metal through the loop and, although we do have molds that fill at one end and drain from the other (the horn whistle, the toy ewer, and the hollow domed button), it didn’t work here.

The mold from Rostock makes it clear that the square opening is the gate for both filling and emptying the mold. The shape leaves a opening of even width once the gate is cut away, and the bell can then be cleaned up and finished. Mac’s final mold (the earlier ones were altered beyond recognition in experimentation) works the same way. It casts the “pea” at the same time.

To pour the bell, we fill the mold to the top with pure tin. After a short length of time (Mac counts seconds, depending on the temperatures of the metal and the mold, and also sloshes the metal back and forth to see whether the shell is forming) he pours back the still molten metal from the center of the bell.

The bell comes out with a square, hollow sprue. The sprue in the middle photo is unusually baroque. We clip the “peas” off.

We melt the excess sprue back into the metal in the casting ladle. We think a hot iron is probably a more authentic means of removal, but that is not convenient in our studio.

We trim along both sides of the bell to remove the sprue.

After a quick trip across the grinder (not illustrated), we drop a pea in each bell and squeeze it closed. The completed weight of the bells ranges between ~.29 and .37 ounces/8.25 and 10.5 grams (from a quick weighing of about a dozen sample bells).

Slush casting is used to make hollow objects – ampullae, whistles, toy cooking pots, three-dimensional figures. We have about two dozen items made this way. The molds have large openings and you pour the metal in, wait for it to become solid around the edges, then pour out the metal that is still liquid, leaving a shell. Often there is one gate, which you pour both in and out of. Sometimes there is a gate to fill the mold, and a different gate to empty it. We made a video of Mac pouring the toy cooking pot with lid that shows the process – check it out on Youtube!

Slush casting only works when the metal has a distinct melting point – it is liquid or it is solid. Pure lead and pure tin were the metals used in the Middle Ages to make this sort of object. We, of course, stick with tin. Alloys do not slush-cast well. The various melting points of the different metals in an alloy mean that over large temperature ranges the alloy is not either liquid or solid, but is sort of like grainy, wet sand – and it will not empty the mold.

Posted on Leave a comment

Attaching a Nick Rolin Chape to Leather

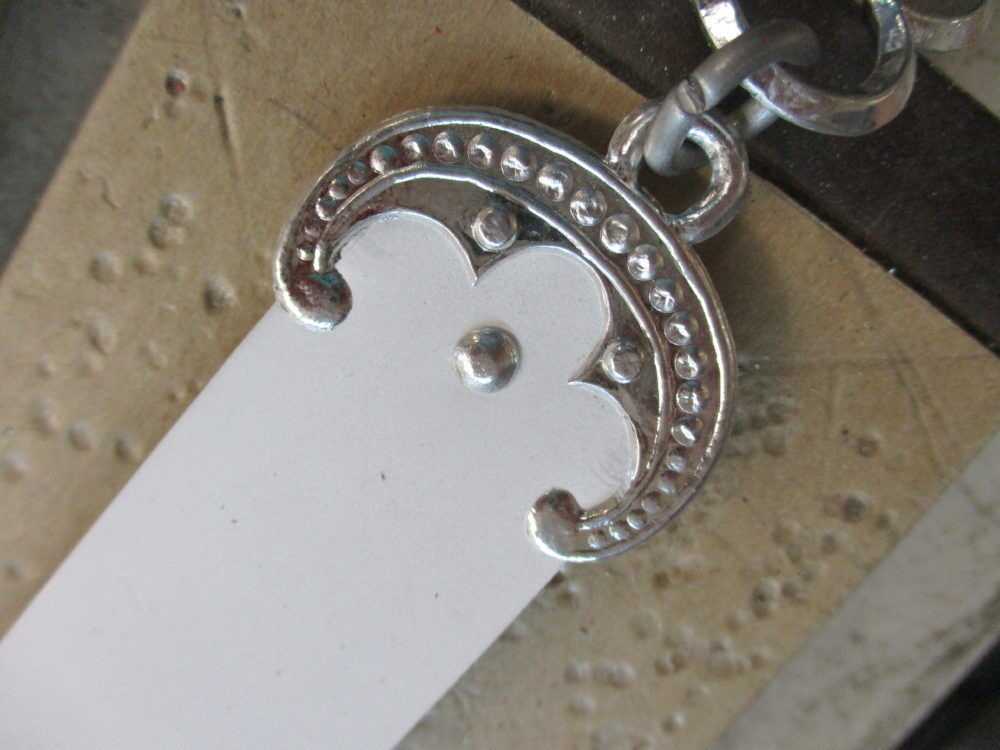
Making a collar with our Nicholas Rolin fittings? Here’s some tips on attaching the ends to the leather.

1 1/4″/30mm leather
Too thick to fit in smoothly?
Thin with skiver, splitter, abrasives. etc.
Trim end of leather to shape.
Bevel back edge.
Check fit – all edges should fit close to inside curve.
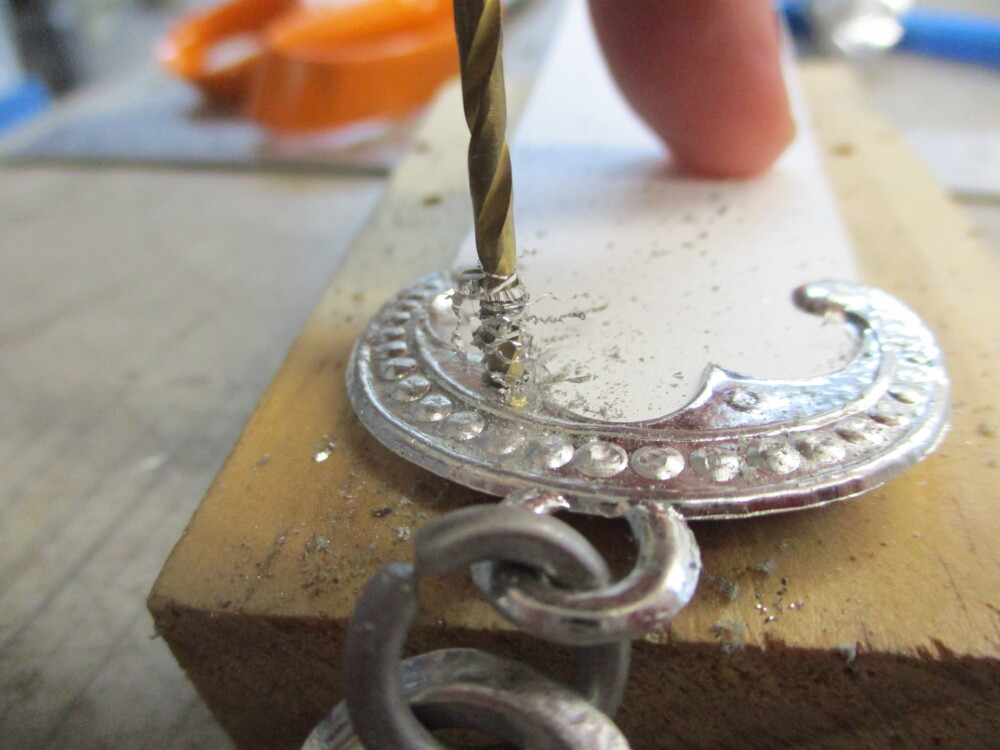
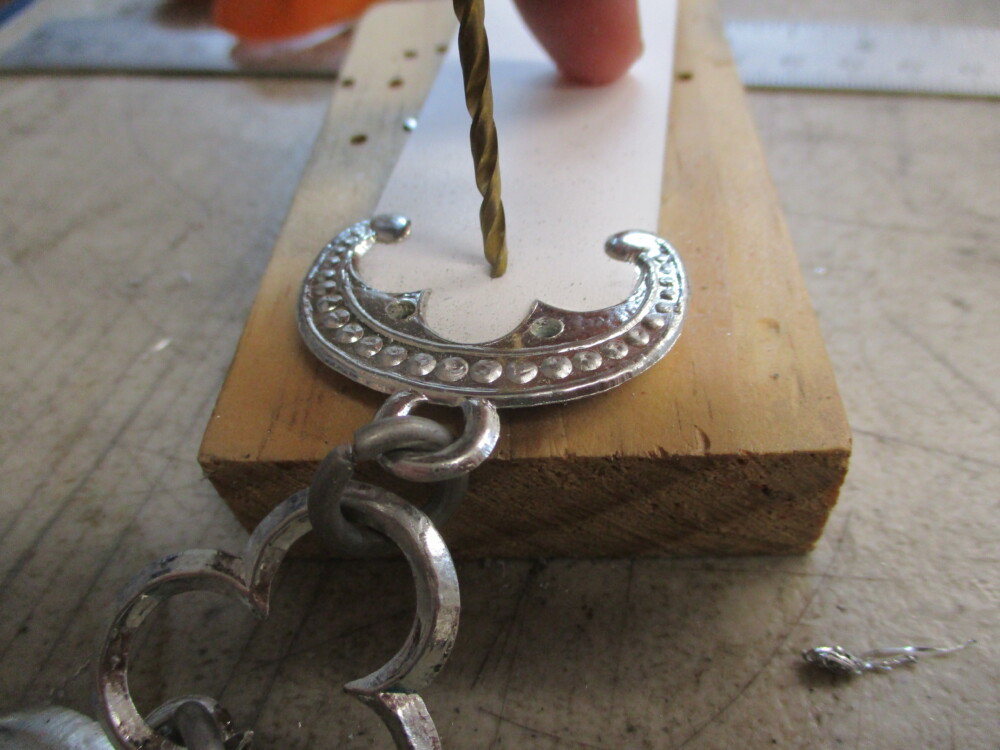
Drill through marked circles in chape while leather is inserted.
Drill hole in middle of field.
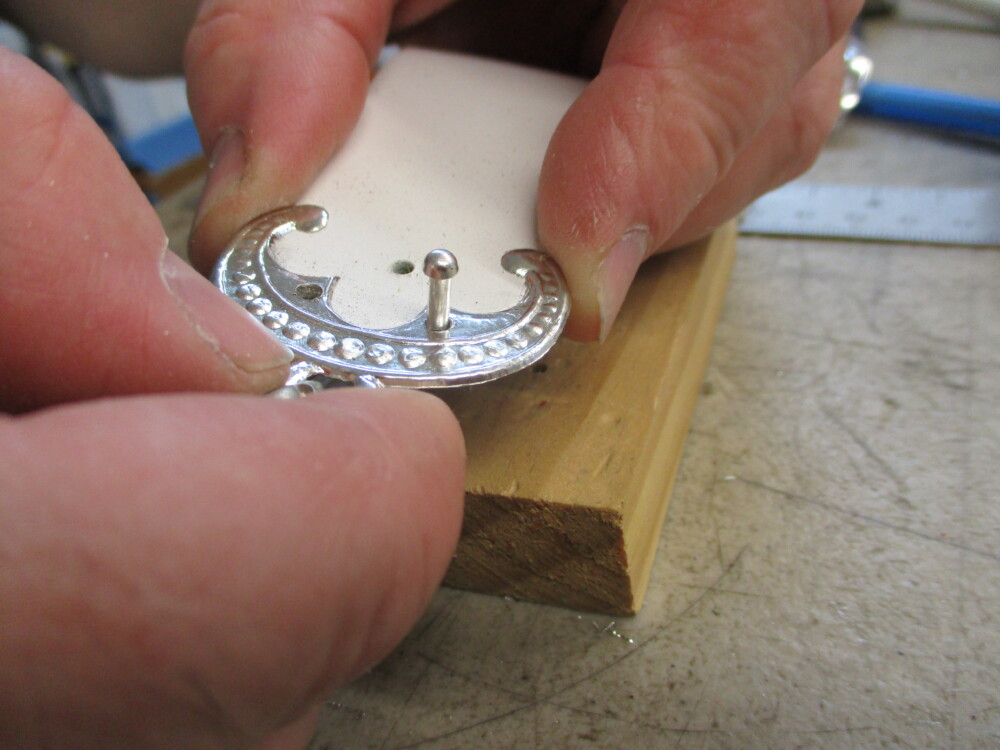
Smaller-headed rivets in holes in points.
Larger-headed rivet in center.
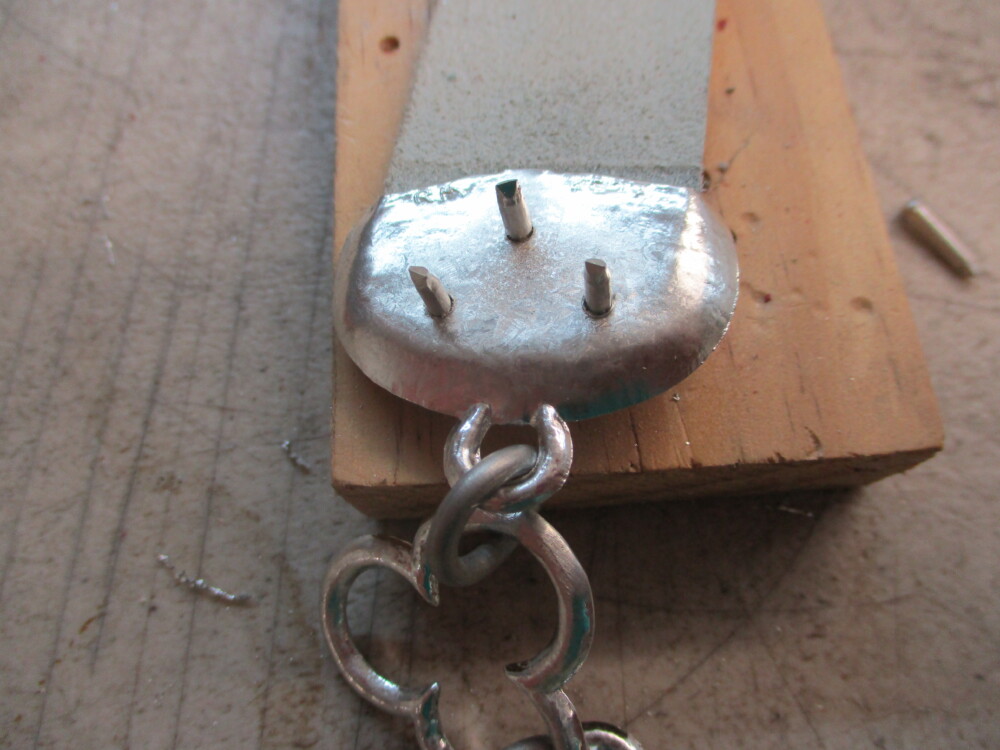
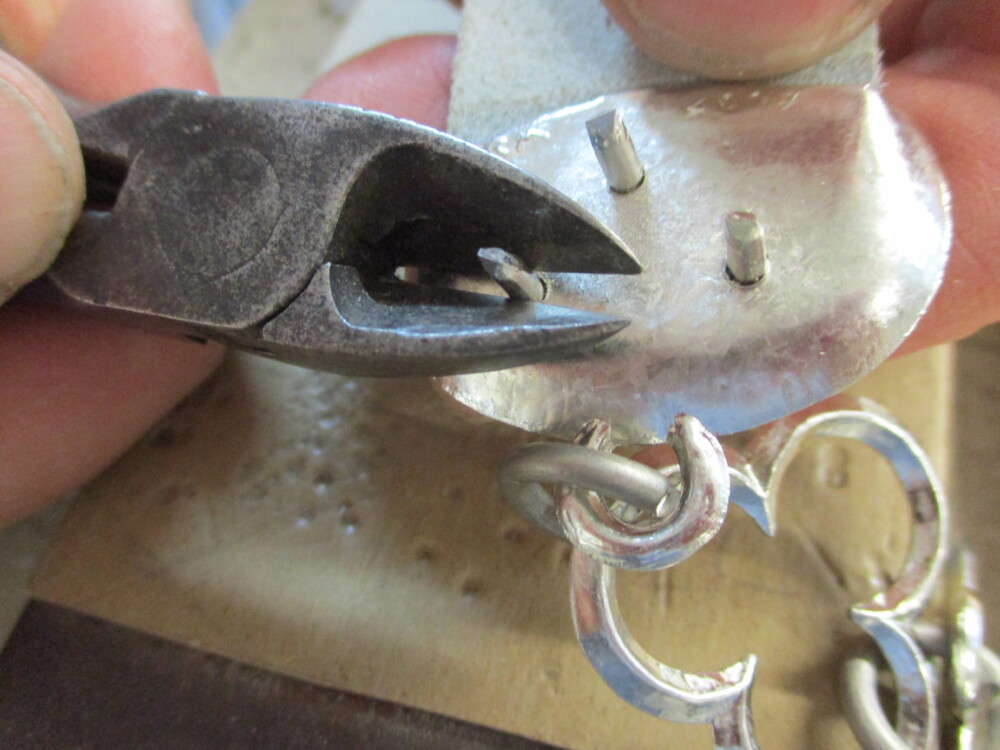
Cut all rivets off very close to back of chape.
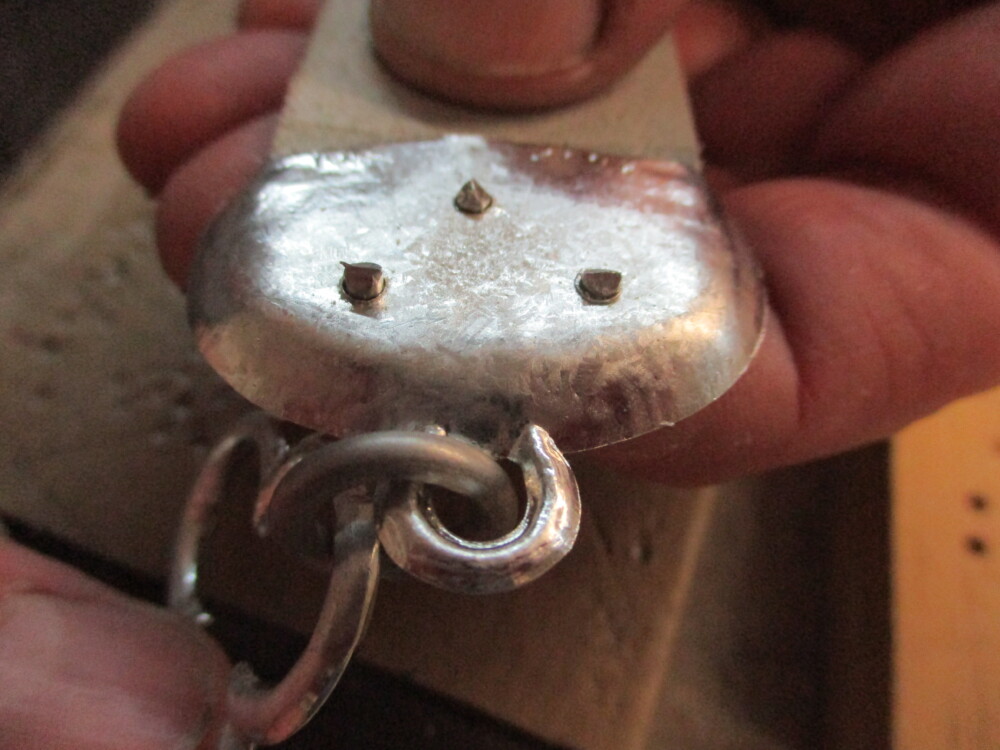
Hammer with many light blows. Support on anvil with thin cardboard padding.
Rivets tight and smooth on back.
Chape attached.